
Regular motorcycle chain maintenance is a fundamental task that directly impacts your bike’s performance, fuel efficiency, and overall safety. The drive chain is responsible for transferring the engine’s power to the rear wheel, operating under intense tension, high rotational speeds, and constant exposure to road debris. Over time, road grit, dust, and old lubricant combine to form an abrasive paste that accelerates wear on both the chain links and the sprockets. Using a dedicated motorcycle chain cleaner is the most effective way to dissolve this stubborn buildup without damaging the delicate rubber seals that keep factory grease inside modern chains. By establishing a systematic cleaning routine, you can extend the lifespan of your drivetrain and ensure a smoother, safer ride.
Prepare Your Motorcycle and Verify Cleaner Compatibility
Before you begin spraying any chemicals, you must properly prepare your workspace and your motorcycle to ensure safety and efficiency. Start by parking the motorcycle on a flat, level surface. To clean the chain effectively, the rear wheel must be able to rotate freely. The most stable way to achieve this is by using a center stand or a rear paddock stand. If your motorcycle only has a side stand, you will either need to roll the bike forward and backward in stages or use a specialized wheel roller stand designed for maintenance. Ensure the engine is switched off, the ignition key is removed, and the transmission is in neutral. If you are using a paddock stand, double-check that the front wheel is secure and the bike is completely stable before applying any force to the rear wheel.
Next, identify the specific type of chain installed on your motorcycle. Modern motorcycles typically use one of two main categories: unsealed (standard) chains or sealed chains, which include O-ring, X-ring, and Z-ring designs. Sealed chains feature tiny rubber rings sandwiched between the inner and outer link plates to seal in factory-applied grease and keep dirt out. Because these rubber seals are highly sensitive to harsh chemicals, you must verify that your chosen motorcycle chain cleaner is explicitly labeled as safe for sealed chains, O-rings, and X-rings. Using an incompatible solvent can cause the rubber seals to swell, crack, or degrade, leading to grease loss and rapid chain failure.
Products mentioned in this guide
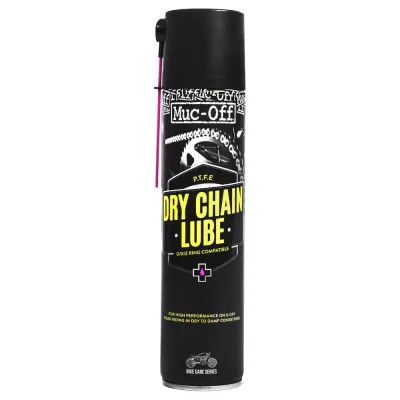
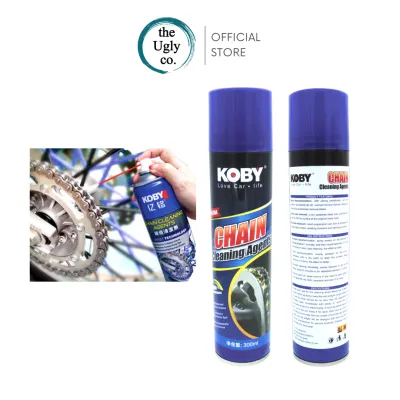
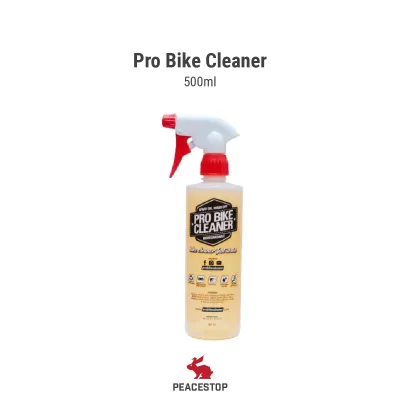
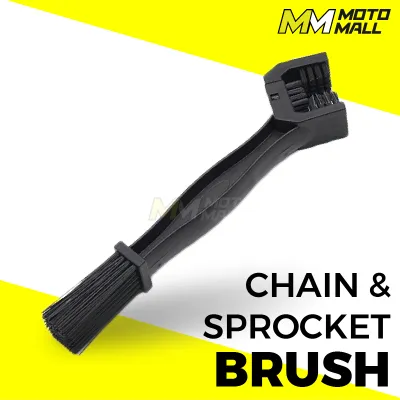
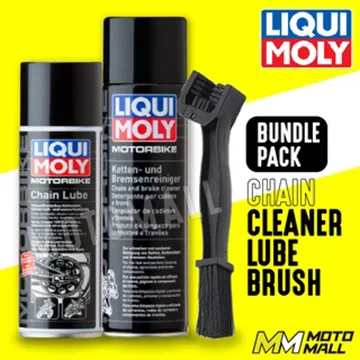
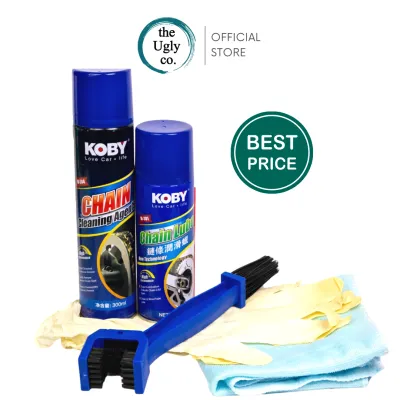
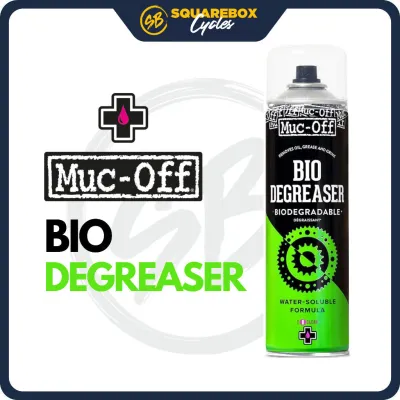
Prices are valid at publication and may change. Please refer to the product page for the latest price.
Gather all the necessary tools and safety gear before starting the process. You will need a high-quality motorcycle chain cleaner, a dedicated three-sided chain cleaning brush, several clean microfiber rags or lint-free cloths, and a piece of cardboard or a drip pan to catch runoff. Personal protective equipment is also essential. Wear nitrile gloves to protect your skin from chemical solvents and road grime, and wear safety glasses or eye protection to shield your eyes from accidental spray or debris flicked off by the brush. Working in a well-ventilated area, such as an open garage or outdoor driveway, is highly recommended to avoid inhaling solvent fumes.
Execute the Chain Cleaning Steps Safely
With your motorcycle stabilized and your tools ready, you can begin the physical cleaning process. Start by placing a piece of cardboard or a shallow drip pan directly underneath the lower run of the chain. This simple step protects your garage floor or driveway from oil stains and prevents chemical runoff from contaminating the ground. Position yourself near the rear wheel so you have clear access to the lower chain run, which is the safest and most accessible area to work on.

Hold the can of motorcycle chain cleaner a few inches away from the chain and apply it evenly to the lower run. As you spray, use your free hand to rotate the rear wheel slowly and steadily. Always rotate the wheel by hand, turning it in a direction that pulls the chain away from the rear sprocket to minimize the risk of catching your fingers. Continue spraying and rotating until the entire length of the chain is thoroughly coated with the cleaner. Be generous with the application, ensuring the solvent penetrates the gaps between the inner and outer plates, as well as the rollers.
Once the chain is fully coated, allow the product to dwell for the specific duration recommended on the manufacturer’s label. This dwell time is crucial because it gives the chemical solvents opportunity to break down hardened grease, road tar, and accumulated grit. Typically, this takes between three to five minutes. Do not allow the cleaner to dry completely on the chain, as the dissolved grime will simply re-harden onto the metal surfaces.
After the dwell period, take your dedicated three-sided chain brush and begin scrubbing. The unique shape of a three-sided brush allows you to clean the top, bottom, and sides of the chain links simultaneously, saving time and ensuring thorough coverage. Gently but firmly scrub the entire length of the chain, rotating the wheel by hand to access new sections. For areas with heavy buildup, or around the front and rear sprockets, you can use the long-bristle end of the brush or a soft-bristle utility brush to dislodge stubborn deposits. Avoid using wire brushes or highly abrasive metal tools, as these will easily tear or dislodge the delicate rubber seals of an O-ring or X-ring chain.
Once you have thoroughly scrubbed the chain, use a clean, dry microfiber rag to wipe away the dissolved dirt and excess solvent. Wrap the rag firmly around the lower run of the chain and rotate the rear wheel slowly by hand, pulling the chain through the cloth. You will likely see a significant amount of black grime transfer onto the rag. Fold the rag to a clean section and repeat the process until the chain looks clean and the rag comes away relatively free of dirt. If the chain was exceptionally dirty or has not been maintained for a long time, you may need to repeat the entire spray, scrub, and wipe process a second time to achieve a completely clean finish.
Inspect the Chain and Apply Lubricant
A clean chain provides the perfect opportunity to perform a detailed physical inspection of your motorcycle’s drivetrain. Carefully examine the entire length of the chain for any signs of damage or wear. Look closely for stiff or binding links that remain bent as they pass over the sprockets; these indicate that the internal lubrication has failed or that dirt has bypassed the seals. Check the chain slack by measuring the vertical movement of the lower run at its tightest point, comparing your measurements against the specifications listed in your motorcycle’s owner’s manual. Inspect the rear and front sprocket teeth for wear patterns such as hooking (where the teeth curve forward), thinning, or chipping. Finally, check for cracked, split, or missing rubber O-rings or X-rings. If you observe any of these conditions, or if the chain has stretched beyond its service limit, the chain and both sprockets must be replaced as a set to ensure safety and optimal performance.
Before applying any lubricant, you must ensure the chain is completely dry. Any residual chain cleaner or moisture trapped on the metal surfaces will act as a barrier, preventing the new lubricant from adhering properly. This can cause the lubricant to fling off onto your rear wheel and tire as soon as you start riding, leaving the chain unprotected and vulnerable to rapid wear and rust. Allow the chain to air dry completely, or use a clean, dry cloth to wipe away any remaining moisture.
Once the chain is dry, apply a dedicated motorcycle chain lubricant. Shake the can thoroughly to mix the active ingredients. Aim the spray nozzle at the inside of the lower run of the chain, focusing on the gaps between the inner and outer plates where the rubber seals are located, as well as the center rollers. Rotating the rear wheel slowly by hand, apply a consistent, moderate coat of lubricant along the entire length of the chain. Avoid over-saturating the chain, as excess lubricant does not provide extra protection and will only attract road dirt and fling off onto your bike’s bodywork. After application, use a clean rag to gently wipe away any excess lubricant from the outer side plates of the chain.
Avoid Common Cleaning Mistakes and Safety Hazards
While cleaning your motorcycle chain is a straightforward task, there are several common mistakes and safety hazards that you must actively avoid to prevent damage to your bike and serious personal injury. First, never use a high-pressure washer or jet wash directly on your motorcycle chain. The intense pressure of the water can easily force its way past the delicate rubber O-ring or X-ring seals, trapping water inside the rollers. This trapped moisture will cause rapid internal corrosion, leading to stiff links and premature chain failure, even if the exterior of the chain appears well-lubricated.
Second, take extreme care to prevent chain cleaner and lubricant overspray from contacting other parts of your motorcycle. Overspray on your rear tire tread, brake rotors, or brake pads can severely compromise traction and braking performance, creating an immediate and severe safety hazard on the road. Always use a cardboard shield or a rag behind the chain to block overspray, and if any product accidentally gets on your tires or brakes, clean it off immediately using a dedicated brake cleaner and a clean cloth. Also, avoid getting solvent on painted bodywork, plastic fairings, or anodized parts, as some chemicals can dull or damage these finishes.
Finally, the most critical safety rule of chain maintenance is to never run the engine and engage the transmission to spin the rear wheel while cleaning or lubricating. It can be tempting to let the engine do the work of spinning the wheel, but this practice poses an extreme danger of severe finger amputation or crushing injuries if your hand, rag, or brush gets caught between the chain and the spinning sprocket. Always keep the ignition key turned off and rotate the rear wheel strictly by hand.
Frequently Asked Questions (FAQ)
How often should I clean my motorcycle chain?
For typical street riding in dry, clean conditions, a general guideline is to clean and lubricate your motorcycle chain every 500 to 800 kilometers. However, this interval should be adjusted based on your local riding environment and weather conditions. In tropical climates like Singapore, where sudden heavy downpours, high humidity, and wet road surfaces are common, more frequent maintenance is necessary. Water can quickly wash away chain lubricant and wash road grit into the moving parts of the chain. If you frequently ride in the rain, on wet roads, or in dusty and sandy environments, you should inspect, clean, and lubricate your chain more often—ideally after every wet ride or every 300 kilometers—to prevent rust and premature wear.
Can I use household degreasers instead of dedicated chain cleaner?
It is highly recommended to avoid using household degreasers, dish soap, kerosene, gasoline, or citrus-based cleaners unless they are explicitly certified by the manufacturer as safe for sealed motorcycle chains. Many household cleaners contain harsh chemicals, strong acids, or aggressive petroleum solvents that can dry out, swell, or degrade the rubber O-rings and X-rings. Once these delicate rubber seals are compromised, the factory-installed grease inside the rollers will escape, and water and abrasive road grit will enter, leading to rapid wear, stiff links, and potential chain breakage. To protect your drivetrain investment and ensure your safety on the road, always use a dedicated motorcycle chain cleaner that is specifically formulated to dissolve heavy grease while remaining completely safe for rubber seals.

Community discussion
Share your experience or ask a question. Comments are reviewed before publication.