
Maintaining correct tire pressure while travelling is essential for vehicle safety, fuel efficiency, and tire longevity. Using a portable travel pump allows you to monitor and adjust your tire pressure anywhere, whether you are navigating daily city commutes or embarking on a long road trip. To do this properly, you must establish a cold baseline, connect the pump securely to the tire valve, inflate in controlled stages, and know when a tire requires professional repair rather than a simple top-up.
Prepare Your Vehicle and Pump for an Accurate Baseline
To get an accurate reading, your tires must be cold. Driving heats up the air inside the tires, causing it to expand and temporarily raise the pressure reading. For the most reliable baseline, ensure the vehicle has been parked for at least three hours, or has been driven less than two kilometers at moderate speed before checking.
Always refer to the vehicle manufacturer’s recommended tire pressure rather than the maximum pressure molded onto the tire sidewall. The manufacturer’s specifications are typically found on a placard inside the driver’s door jamb, or occasionally on the inside of the fuel filler flap. The number on the tire sidewall represents the absolute maximum pressure the tire can safely hold under maximum load, not the optimal pressure for your specific vehicle’s handling and comfort.
Products mentioned in this guide
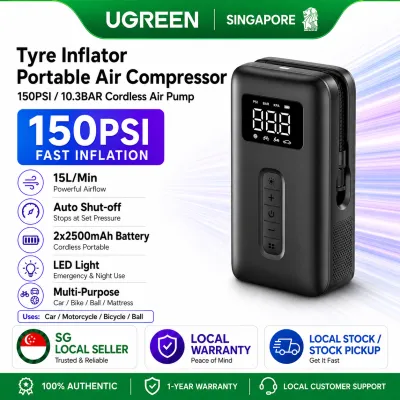
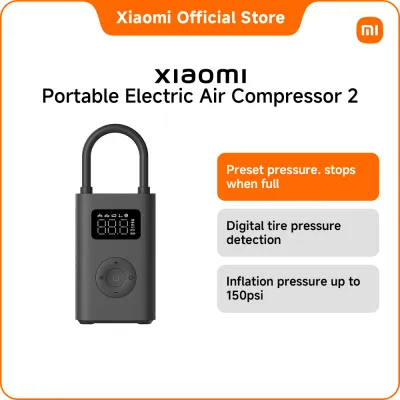
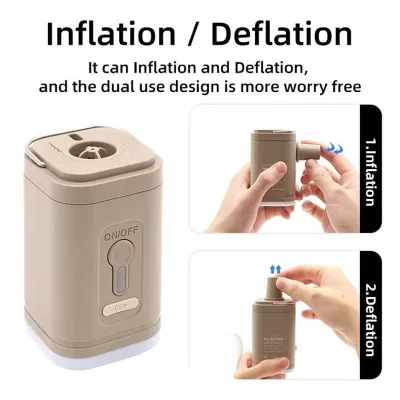
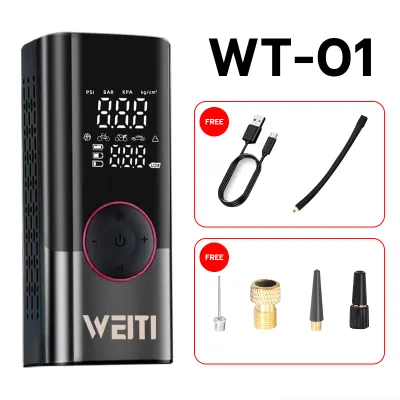
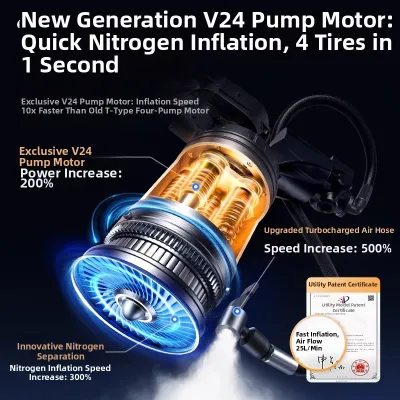
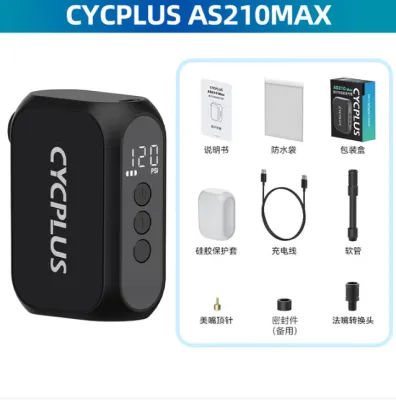
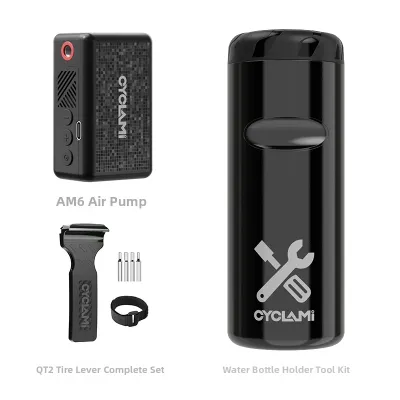
Prices are valid at publication and may change. Please refer to the product page for the latest price.
Before starting, inspect your travel pump’s power source. If you are using a cordless, battery-powered unit, verify that the battery has sufficient charge to complete the adjustment across all four tires. For wired models that plug into the vehicle’s 12V auxiliary power outlet, ensure the cable is long enough to reach all four wheels comfortably without straining the connection.
Examine the pump’s air hose and valve connectors before attaching them to your vehicle. Look closely for any signs of physical wear, such as cracks, dry rot, or debris lodged inside the connector nozzle. A damaged hose or a dirty connector can prevent a proper seal, leading to slow leaks or inaccurate pressure readings during the inflation process.
Check and Adjust Your Tire Pressure Step by Step
Begin by unscrewing the dust cap from the tire’s valve stem. Place the cap in a secure location, such as your pocket or a clean tray, to prevent it from rolling away or gathering dirt on the ground.

Press the travel pump’s hose connector firmly onto the valve stem. If your pump uses a screw-on connector, thread it clockwise until it is snug; if it uses a thumb-lock lever, press it down fully to lock the chuck in place. You may hear a brief hiss of escaping air as you attach the connector, which should stop immediately once the seal is secure.
Switch on the pump’s display to read the current pressure. Compare this live reading against the recommended pressure you located on your vehicle’s door jamb sticker. If the reading matches the specification, you can disconnect the hose and move to the next tire.
If the pressure is below the recommended level, turn on the pump to begin inflation. It is best to inflate the tire in short, controlled bursts of roughly thirty seconds to one minute, turning the pump off briefly between cycles. This pause allows the air inside the tire to stabilize, giving you a highly accurate reading on the pressure gauge before you proceed.
Should you accidentally overinflate the tire, you will need to release the excess air. Many modern travel pumps feature a built-in bleed valve or a pressure-release button near the connector that allows you to drop the pressure without disconnecting the hose. If your pump lacks this feature, you can gently depress the small metal pin inside the center of the tire’s valve stem using a small tool or the back of a pressure gauge.
Once the target pressure is reached, disconnect the hose connector swiftly to minimize any air loss. A quick, decisive pull or unscrewing motion prevents unnecessary deflation. Immediately thread the valve stem cap back on securely to protect the delicate internal valve core from road grit, moisture, and salt.
Troubleshoot Common Travel Pump Issues on the Road
If you notice the pressure gauge fluctuating wildly or failing to register a stable reading, the issue is often a poor connection. Turn off the pump, remove the connector from the valve stem, and check both the valve and the connector for dirt or debris. Re-seat the connector firmly, ensuring it is aligned straight on the valve stem threads before locking it down.
Portable travel pumps generate a significant amount of heat during operation due to the rapid compression of air. To prevent the internal motor from overheating, strictly adhere to the manufacturer’s specified duty cycle, which is often detailed in the user manual. If the pump feels hot to the touch, turn it off and allow it to cool down completely in a shaded area before attempting to inflate another tire.
Be alert to situations where the pump runs continuously but the tire pressure does not rise, or even begins to drop. This rapid loss of air indicates a severe puncture, a damaged valve stem, or an unseated tire bead. In these scenarios, stop using the pump immediately; the tire is unsafe to drive on and requires a spare tire installation or professional roadside assistance.
Store and Maintain Your Travel Pump for Future Trips
Proper storage ensures your travel pump remains reliable when you need it most. When packing up, coil the power cord and air hose loosely according to the manufacturer’s original design. Avoid wrapping them tightly around the body of the pump, as sharp bends can cause internal copper wires to break or lead to premature cracking in the rubber air hose.
Store the pump in a dedicated protective case or a dry, temperature-stable compartment within your vehicle, such as the trunk or under-seat storage. Avoid leaving the unit exposed to direct sunlight or placing heavy luggage directly on top of it, which could crack the plastic casing or damage the digital display screen.
Perform regular maintenance checks on your pump even when you are not actively travelling. For cordless models, recharge the battery every few months to maintain its overall health and prevent deep discharge. For wired models, inspect the 12V plug contacts for any signs of corrosion or dirt, cleaning them with a dry cloth to ensure a reliable electrical connection.
Know When to Stop and Seek Professional Tire Service
While a travel pump is excellent for routine maintenance, it cannot fix structural tire damage. Stop inflating immediately if you observe any unusual bulges, deep cuts, or exposed metal cords along the tire’s sidewall or tread area. These signs indicate severe structural compromise, and attempting to inflate the tire further could lead to a sudden and dangerous blowout.
Pay close attention to the physical behavior of the pump itself during operation. If the device begins to emit a burning odor, unusual grinding noises, or visible sparks from the electrical plug, switch it off and disconnect it from the power source immediately. These symptoms point to internal mechanical or electrical failure, making the pump unsafe for continued use.
If a tire repeatedly loses pressure shortly after you have inflated it, do not rely on constant top-ups to get through your trip. A slow but persistent leak often points to an embedded nail, a failing valve stem, or a bead leak where the tire meets the wheel rim. Have the tire inspected and repaired by a qualified professional at a service center to ensure it is safe for highway speeds.
Frequently Asked Questions (FAQ)
Can a travel pump inflate a completely flat tire?
Most consumer-grade travel pumps are designed for topping up low tires and lack the high volume of air flow required to seat a tire bead that has completely separated from the wheel rim. If a tire is completely flat and resting on the rim, attempting to inflate it with a small portable pump can overheat the device and fail to seal the tire. In these cases, it is safer to install your vehicle’s spare tire, use an approved emergency tire repair kit, or contact a professional roadside assistance service.
How often should I check tire pressure on a long trip?
For extended road trips, it is best practice to check your tire pressure before you set off in the morning while the tires are still cold, and then inspect them visually at every major rest stop or fuel refill. Keep in mind that environmental factors like significant changes in altitude or ambient temperature will naturally affect your tire pressure. For example, driving from a warm coastal area into cooler mountain regions will cause the air inside your tires to contract, resulting in a lower pressure reading that may require adjustment.
Do digital gauges on travel pumps need calibration?
Standard consumer digital gauges built into travel pumps are calibrated during manufacturing and generally do not support manual user calibration. Over time, rough handling or extreme temperature exposure can affect their accuracy. To ensure your readings are correct, periodically cross-check your travel pump’s digital display against a high-quality, standalone dial or digital tire pressure gauge that is kept in a protective case.

Community discussion
Share your experience or ask a question. Comments are reviewed before publication.