
Using a portable Makita air pump to maintain your vehicle’s tires is a practical way to ensure safety, optimize fuel efficiency, and extend tread life. Achieving the exact manufacturer-recommended tire pressure requires a systematic approach that combines the right equipment settings with careful verification. By understanding how to read your vehicle’s specifications, prepare your tools, and execute the inflation process step-by-step, you can confidently manage this essential maintenance task.
Proper tire inflation directly impacts how your vehicle handles, brakes, and distributes weight. Under-inflated tires increase rolling resistance, which raises fuel consumption and causes excessive heat buildup, potentially leading to tire failure. Over-inflated tires reduce the contact patch with the road surface, resulting in a harsh ride and uneven tread wear. Using a reliable inflator allows you to make precise adjustments to keep your tires within the safe operating range specified for your vehicle.
Finding Your Vehicle's Manufacturer-Recommended Tire Pressure
Before connecting your air pump, you must determine the correct inflation pressure specified by your vehicle’s manufacturer. This information is unique to your vehicle’s make, model, and weight distribution. The primary location for these specifications is the tire information placard, which is typically a bright sticker located on the driver’s side door jamb or B-pillar. If it is not visible there, consult your vehicle’s owner’s manual or check the inside of the fuel filler flap.
Products mentioned in this guide
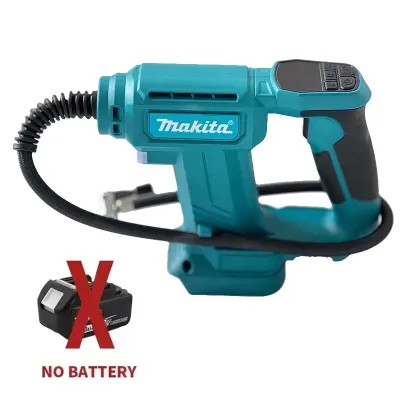
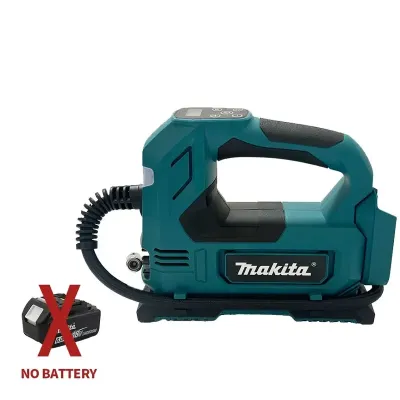
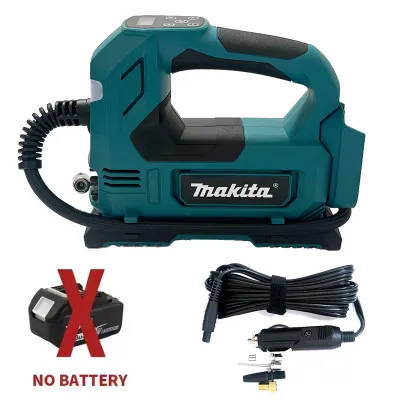
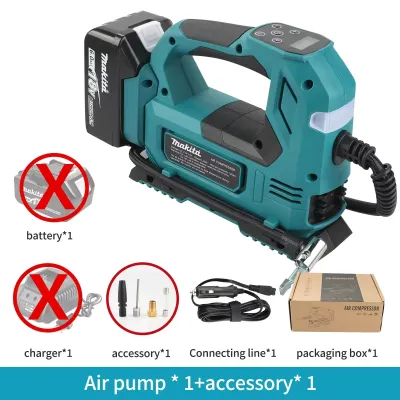
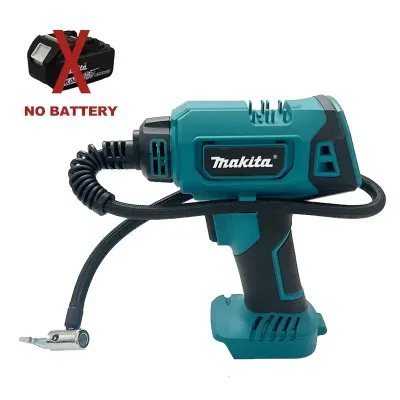
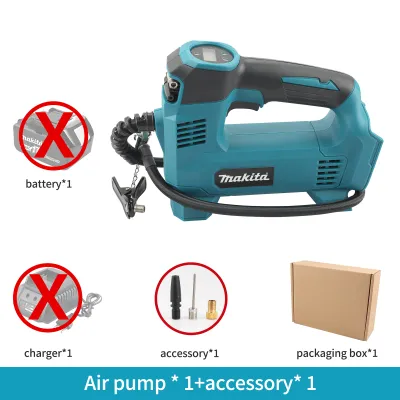
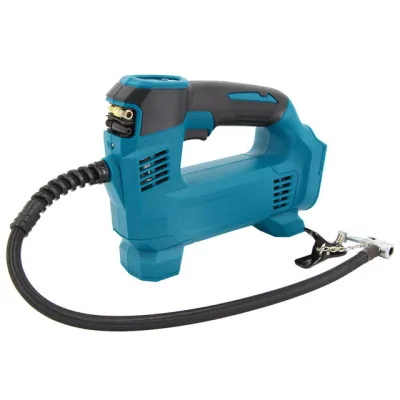
Prices are valid at publication and may change. Please refer to the product page for the latest price.
A common misconception is relying on the pressure rating printed directly on the tire’s sidewall. This number represents the maximum permissible pressure the tire can safely hold under its maximum load capacity, not the ideal pressure for daily driving. Inflating your tires to this maximum limit can severely compromise traction, increase braking distances, and cause premature wear along the center of the tread. Always prioritize the vehicle manufacturer’s recommended values over the tire sidewall markings.
Your vehicle’s manual may also outline specific scenarios where tire pressure adjustments are necessary. For instance, carrying heavy cargo, transporting a full cabin of passengers, or towing a trailer often requires higher rear tire pressure to support the additional load safely. Review these guidelines carefully before loading your vehicle for a trip, and remember to return the tires to their standard cold inflation pressure once the extra weight is removed.
Preparing Your Makita Air Pump and Vehicle for Inflation
Proper preparation ensures both your safety and the accuracy of your pressure readings during the inflation process. Start by inspecting your Makita air pump’s power source. If you are using a cordless model, check the battery’s integrated fuel gauge to ensure it has sufficient charge, as low battery voltage can cause the pump to struggle or shut off prematurely under high pressure. For corded models, inspect the power cable for fraying and ensure a secure connection to your vehicle’s 12V accessory socket or an external power outlet.

Next, examine the physical condition of the air pump and its accessories. Inspect the high-pressure hose for any signs of cracking, dry rot, or deep kinks that could restrict airflow or burst under pressure. Check the valve connector or chuck for dirt, debris, or worn threads that might prevent an airtight seal with the tire’s valve stem. Ensure the digital display or analog gauge is clean and legible so you can monitor readings clearly.
To obtain an accurate baseline reading, always park your vehicle on a flat, level surface, engage the parking brake, and ensure the tires are cold. Tires are considered cold when the vehicle has been parked for at least three hours or driven less than two kilometers. Driving generates friction and heat, which causes the air inside the tire to expand and temporarily raises the pressure reading. Adjusting your tire pressure when the tires are hot can lead to significant under-inflation once they cool down.
Step-by-Step Process for Inflating Your Tires
Begin the inflation process by unscrewing the dust cap from the tire’s valve stem. Place the cap in a secure location, such as your pocket or a clean tray, to prevent losing it in the dirt. Inspect the valve stem briefly to ensure it is straight, clean, and free of visible damage or corrosion.
Align the Makita air pump’s chuck with the valve stem and press it on firmly. If your pump features a thumb-lock chuck, push the lever down to lock it securely in place; if it is a screw-on connector, thread it clockwise until it is snug. You may hear a brief hiss of escaping air as you make the connection, which is normal, but this sound should stop completely once the chuck is fully secured. A persistent hissing sound indicates an improper seal, requiring you to release and reattach the connector.
Once the connection is secure, turn on the air pump’s power switch. If your Makita model features a digital interface, use the pressure adjustment buttons to set your desired target pressure. The screen will typically display the current tire pressure alongside your preset target. If you are using an analog model without a digital preset function, you will need to monitor the physical gauge needle closely throughout the process.
Activate the pump to begin inflating. If your unit has an automatic shut-off feature, it will run until the internal sensor detects that the preset pressure has been reached, at which point it will stop automatically. For manual models, keep your hand on the switch and turn off the unit immediately when the gauge needle aligns with your target pressure. Avoid leaving the pump running unattended to prevent over-inflation or overheating of the tool.
After the pump stops, quickly release the chuck from the valve stem to minimize the amount of air that escapes. A swift, straight pull or a quick unscrewing motion is most effective. Immediately replace the valve stem cap, screwing it on finger-tight to protect the delicate internal valve core from road grime, moisture, and road salt, which can cause slow leaks over time.
Verifying Final Pressure and Troubleshooting Issues
Even with advanced digital sensors, built-in pump gauges can experience minor reading variances due to air movement and heat generation during operation. To ensure absolute accuracy, always double-check the final pressure of each tire using a separate, high-quality, calibrated manual or digital tire pressure gauge. Take this reading only after the pump has been completely disconnected and the air inside the tire has stabilized.
If your Makita air pump stops running before reaching the target pressure, check for common operational issues. A depleted battery pack is the most frequent cause of premature shutdown in cordless models, as the motor requires more power as the resistance inside the tire increases. Additionally, check for loose hose connections or a blocked valve stem pin that might be restricting airflow and triggering the pump’s internal safety shut-off.
There are specific conditions where you must stop DIY inflation and seek professional assistance. If you hear air actively escaping from the base of the valve stem, notice deep cracks in the tire sidewall, or find that a tire repeatedly loses significant pressure shortly after inflation, do not attempt to drive on it. These symptoms often point to a damaged valve stem, a bead seal failure, or a structural puncture that requires qualified inspection and repair at a professional tire service center.
Storing and Maintaining Your Makita Air Pump
Proper post-use care preserves the reliability and performance of your air pump for future maintenance tasks. When wrapping up, avoid coiling the high-pressure hose too tightly, as sharp bends can weaken the rubber casing and lead to internal structural failure or leaks. Instead, loop the hose loosely according to the manufacturer’s storage slots or brackets on the tool’s body.
Clean the connectors and the main housing using a dry, clean microfiber cloth to remove any accumulated dust, mud, or road oils. Store the air pump in a dry, temperature-controlled environment away from direct sunlight. Avoid leaving the tool in areas prone to extreme heat, such as a vehicle trunk parked in direct sunlight, as prolonged exposure to high temperatures can degrade plastic housings, rubber seals, and internal electronic components.
For cordless models, pay close attention to battery maintenance. Always remove the lithium-ion battery pack from the tool before long-term storage to prevent slow parasitic drain. Store the battery in a cool, dry place at approximately 50% to 80% charge rather than completely empty or fully charged, which helps maintain the battery’s overall health and extends its operational lifespan.
Frequently Asked Questions (FAQ)
Can I inflate tires while the vehicle engine is running?
It is highly recommended to inflate your tires with the vehicle engine turned off and the parking brake firmly engaged. Running the engine introduces safety hazards, including exposure to toxic carbon monoxide exhaust fumes—especially in enclosed spaces like garages or multi-storey car parks—and the risk of accidental vehicle movement. Additionally, working near a running engine increases the risk of loose clothing or the pump’s hose coming into contact with hot exhaust components or moving engine parts. Always consult your vehicle’s owner’s manual and the Makita user manual to verify safe operating conditions.
How often should I check and adjust my tire pressure?
You should check your tire pressure at least once a month and always before long road trips or when carrying heavy loads. In Singapore, while seasonal temperature shifts are minimal, daily temperature fluctuations and intense tropical heat can still affect tire pressure. For every change in ambient temperature, the air pressure inside your tires can shift slightly. Regular monthly checks ensure that your tires remain at the optimal pressure despite these environmental factors, helping to prevent uneven wear and maintain fuel efficiency.
What if the pump's digital gauge differs from my manual gauge?
Slight differences between your air pump’s digital display and a standalone manual gauge are common and usually fall within standard calibration tolerances. The pump’s sensor measures pressure while air is actively moving through the system, which can introduce dynamic pressure readings. For the most accurate and reliable measurement, always trust a high-quality, calibrated standalone pocket gauge. Take the reading when the tire is completely cold and the pump is disconnected, as this represents the true static pressure inside the tire.

Community discussion
Share your experience or ask a question. Comments are reviewed before publication.