
Maintaining a motorcycle chain is one of the most critical routine tasks for any rider, directly impacting both performance and safety. Properly using a motorcycle chain cleaner ensures that road grime, grit, and old, sticky lubricant are thoroughly dissolved and removed without damaging the delicate rubber seals that keep internal factory grease intact. In tropical environments like Singapore, where sudden downpours, high humidity, and stop-and-go city traffic accelerate dirt accumulation, regular chain maintenance is even more vital to prevent premature wear and costly replacements.
To clean your chain effectively, you must follow a systematic approach that prioritizes safety, chemical compatibility, and thorough mechanical agitation. Using the correct tools and techniques not only extends the lifespan of your drivetrain but also preserves the smooth power delivery of your motorcycle. This guide outlines the essential steps, safety precautions, and common pitfalls to avoid when using a motorcycle chain cleaner during your routine maintenance sessions.
Preparation and Safety Checks
Before applying any chemical cleaner to your motorcycle chain, establishing a stable, well-ventilated, and safe workspace is paramount. Start by securing the motorcycle on a flat, level surface. Utilizing a center stand or a dedicated rear paddock stand is highly recommended, as this lifts the rear wheel off the ground, allowing you to rotate it freely and safely by hand. If your motorcycle only has a side stand, you may need to roll the bike forward and backward in increments, which is less efficient and increases the risk of accidental tipping.
Products mentioned in this guide
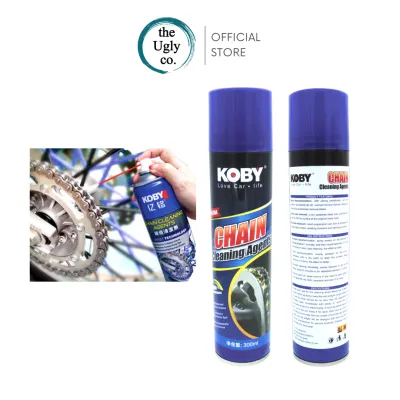
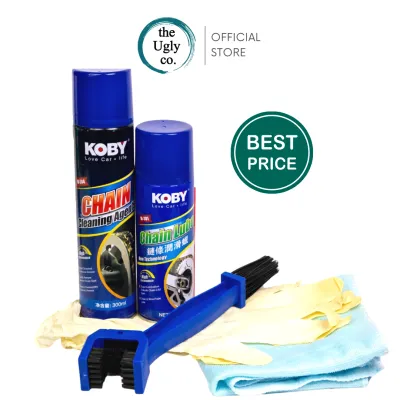
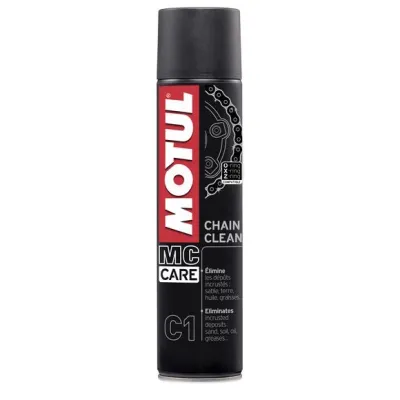
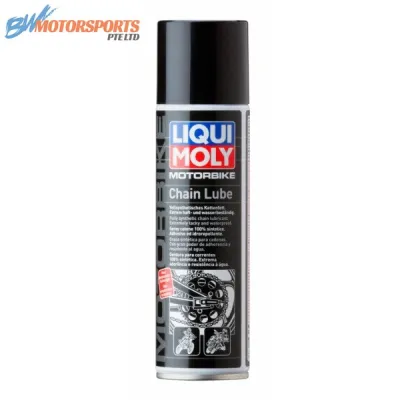
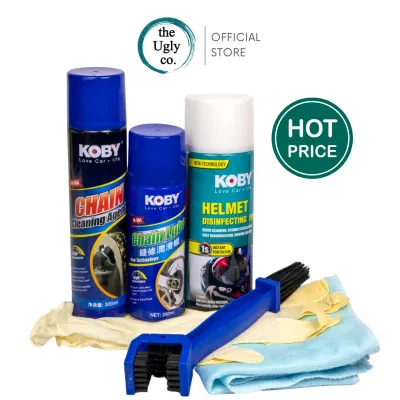
Prices are valid at publication and may change. Please refer to the product page for the latest price.
Under no circumstances should you start the engine or place the motorcycle in gear to spin the rear wheel while cleaning or wiping the chain. This is an incredibly dangerous practice that has caused severe, irreversible hand and finger injuries. Always rotate the rear wheel slowly and exclusively by hand, keeping your fingers well away from the pinch points where the chain meets the front and rear sprockets.
Next, verify the chemical compatibility of your chosen motorcycle chain cleaner. Modern motorcycle chains are typically sealed, utilizing tiny rubber O-rings, X-rings, or Z-rings sandwiched between the inner and outer link plates to lock in factory lubrication. Harsh solvents can dry out, swell, or disintegrate these rubber seals, leading to rapid internal wear and chain failure. Always inspect the product label of your chain cleaner to ensure it explicitly states compatibility with sealed chains (O-ring, X-ring, and Z-ring safe).
Finally, protect the rest of your motorcycle from chemical overspray and dripping residue. Chain cleaners are formulated to dissolve heavy grease, meaning any overspray that lands on your rear brake disc, brake calipers, or tire tread can severely compromise braking performance and traction. Slide a large piece of cardboard or a heavy-duty plastic sheet behind the lower run of the chain to act as a shield. This barrier will catch overspray and protect the rear wheel rim, tire, and brake components. Additionally, ensure the exhaust pipe is completely cool before spraying, as applying volatile solvents to hot metal surfaces poses a fire hazard and can stain the exhaust finish.
Step-by-Step Chain Cleaning Process
With your workspace prepared and safety measures in place, you can begin the actual cleaning process. The goal is to apply the motorcycle chain cleaner evenly, allow it to penetrate the accumulated grime, and then mechanically agitate the dirt away without pushing debris deeper into the chain links.

Begin by positioning yourself near the lower run of the chain, well away from the sprockets. Hold the spray can of motorcycle chain cleaner a few inches from the chain and apply a steady, even stream onto the links. As you spray, use your other hand to slowly rotate the rear wheel in a forward direction. Ensure you coat all four sides of the chain: the outer plates, the inner plates, the rollers, and the spaces between the links. Do not oversaturate the chain to the point of excessive pooling, but apply enough solvent to thoroughly wet the entire length of the chain.
Once the chain is fully coated, allow the cleaner to sit for the duration specified on the product label—typically one to two minutes. This brief dwell time allows the active solvents to break down hardened grease, road grit, and sticky chain wax. Do not let the cleaner dry completely on the chain, as the dissolved grime will simply re-harden on the metal surfaces.
Next, perform the mechanical agitation. Use a soft-bristled brush or a dedicated three-sided motorcycle chain cleaning brush to scrub the links. A dedicated chain brush is highly effective because its bristles are designed to wrap around the top, bottom, and sides of the chain simultaneously. Gently scrub the chain along its entire length, focusing on areas with heavy buildup. Avoid using wire brushes or stiff brass brushes, as these abrasive materials can easily tear or puncture the delicate rubber O-rings or X-rings, ruining the chain’s internal lubrication permanently.
After scrubbing, immediately wipe away the dissolved dirt, old grease, and dirty solvent. Use clean, dry, lint-free microfiber cloths or heavy-duty shop rags. Wrap the rag firmly around a section of the lower chain run and pull the chain through the rag by rotating the rear wheel by hand. Repeat this process with clean sections of the rag until the cloth comes away clean. Pay close attention to the rollers and the inner sides of the link plates, as residual grit left in these areas will act as an abrasive paste once you apply new lubricant.
Drying and Post-Cleaning Inspection
Cleaning the chain is only half the job; ensuring it is completely dry and inspecting its physical condition before applying fresh lubricant is crucial for a successful maintenance routine. Applying chain lube to a wet or damp chain is a common mistake that prevents the lubricant from adhering properly, causing it to fling off during your next ride.
Allow sufficient time for any remaining solvent to fully evaporate. Even after wiping the chain thoroughly with a rag, trace amounts of cleaner may still linger inside the rollers and behind the side plates. Depending on the ambient temperature and humidity, this drying process can take anywhere from 10 to 20 minutes. In humid tropical climates, you may want to allow a little extra time or use a clean, dry cloth to perform a final wipe-down. Do not use compressed air to speed up the drying process, as the high pressure can force residual solvent and microscopic dirt particles past the rubber seals and into the factory-greased chambers of the chain.
While waiting for the chain to dry completely, take the opportunity to conduct a thorough visual and mechanical inspection. Examine the exposed metal plates for any signs of surface rust or corrosion, which can weaken the chain over time. Check the rubber seals between the plates; they should look uniform, plump, and free of cracks, tears, or extrusion. If you notice tiny rubber fragments or rings hanging out from between the links, the seals have failed, and the chain must be replaced.
Additionally, check for stiff or kinked links. Manually flex the chain links as they pass over the sprockets. If certain links remain bent or do not straighten out smoothly, they are likely seized due to a lack of internal lubrication or dirt ingress. Finally, verify that no cleaning residue remains on the chain surface. The metal should feel clean and slightly dry to the touch, indicating it is perfectly prepared to receive and bond with fresh motorcycle chain lubricant.
Common Mistakes and Safety Boundaries
To protect your motorcycle’s components and ensure your personal safety, it is vital to recognize and avoid several common maintenance mistakes. While cleaning a chain is a straightforward task, improper techniques can lead to expensive damage or hazardous riding conditions.
One of the most damaging mistakes is using high-pressure water jets, such as those found at commercial car washes, to clean or rinse a motorcycle chain. While it may seem like an easy way to blast away mud and grime, the intense pressure easily bypasses the rubber O-rings or X-rings. This forces water and abrasive grit directly into the sealed link pivots while simultaneously stripping away the permanent factory grease. Once water is trapped inside the sealed chambers, internal rust develops rapidly, leading to premature chain failure and potential breakage while riding. Stick to dedicated chemical cleaners and manual brushing instead.
Another critical safety boundary involves preventing chemical contamination of your braking system. If chain cleaner, dissolved grease, or chain lubricant accidentally contacts your rear brake rotor or brake pads, it will drastically reduce your stopping power. Always use protective shielding, such as cardboard, during application. If you suspect any chemical overspray has reached your brake components, stop immediately and clean the affected areas thoroughly with a dedicated, residue-free brake cleaner. Do not ride the motorcycle until you have verified that the brakes are completely clean and functioning normally.
Lastly, know when a chain is beyond the help of a simple cleaning. Routine maintenance cannot fix a worn-out or structurally compromised drivetrain. If your inspection reveals severe rust, multiple seized or kinked links that cannot be freed, heavily worn “hooked” sprocket teeth, or extruded rubber seals, do not attempt to ride the motorcycle. In these scenarios, stop the maintenance process and consult a qualified mechanic to have the chain and sprockets replaced as a matching set.
Frequently Asked Questions (FAQ)
How often should I clean my motorcycle chain?
The frequency of your chain cleaning routine depends heavily on your riding environment and local weather conditions rather than a strict, universal mileage interval. For riders in regions with frequent rain, high humidity, or dusty roads, the chain will accumulate grime much faster. A good general guideline is to inspect, clean, and lubricate your chain every 500 to 800 kilometers. However, you should always perform a visual check before this interval. If you notice a thick buildup of black paste, road grit, or if the chain looks dry and rusty after riding through a heavy rainstorm, it requires immediate cleaning and lubrication regardless of the distance traveled since your last maintenance session.
Can I use household degreasers instead of dedicated motorcycle chain cleaner?
It is highly discouraged to use household degreasers, harsh solvents like gasoline, kerosene (unless explicitly approved by your chain manufacturer), or heavy-duty industrial cleaners on modern sealed motorcycle chains. Many household degreasers contain acidic or highly alkaline chemicals that can rapidly degrade, dry out, or swell the rubber O-rings, X-rings, or Z-rings. Once these seals are compromised, the internal factory grease escapes, and water enters, leading to rapid chain wear. Dedicated motorcycle chain cleaners are specifically formulated to dissolve stubborn road grime and chain wax while remaining completely neutral and safe for all types of rubber seals and metal finishes. Always invest in a specialized product to protect your drivetrain.

Community discussion
Share your experience or ask a question. Comments are reviewed before publication.