
Maintaining the correct tire pressure is one of the simplest yet most critical aspects of routine vehicle maintenance. Properly inflated tires ensure optimal traction, stable handling, and efficient fuel consumption. Conversely, neglecting your tires can lead to premature wear, poor handling, and even dangerous blowouts. Using a portable air pump for car inflation allows you to maintain the correct pressure from the comfort of your driveway or handle unexpected pressure drops on the road. Understanding the exact procedure for inflating your tires ensures you protect your investment and remain safe during your daily commute.
Why Correct Tire Pressure is Crucial for Safety and Tire Life
Under-inflated tires suffer from increased rolling resistance, which forces the engine to work harder and consumes more fuel. This extra resistance also generates excess heat, accelerating wear on the outer edges of the tread and increasing the risk of structural failure. When a tire is running soft, its sidewalls flex excessively, which can cause the internal components to degrade rapidly over time.
Over-inflation presents a different set of hazards. When a tire is over-filled, its contact patch—the area of rubber actually touching the road surface—shrinks significantly. This reduction in contact area results in a harsher, more uncomfortable ride as the tire loses its ability to absorb road imperfections. More critically, it compromises braking efficiency and cornering grip, while causing the center tread of the tire to wear out prematurely.
Products mentioned in this guide
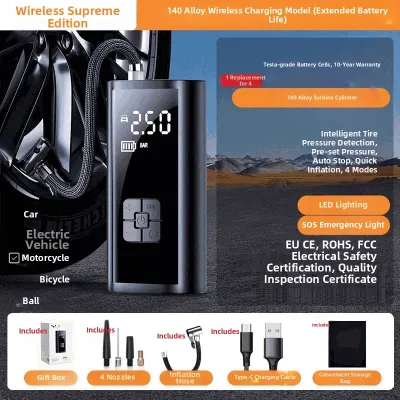
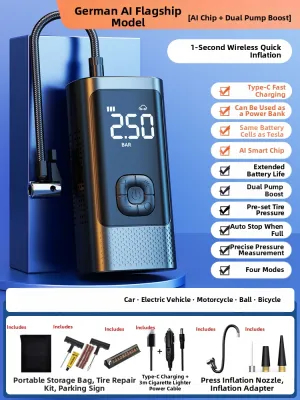
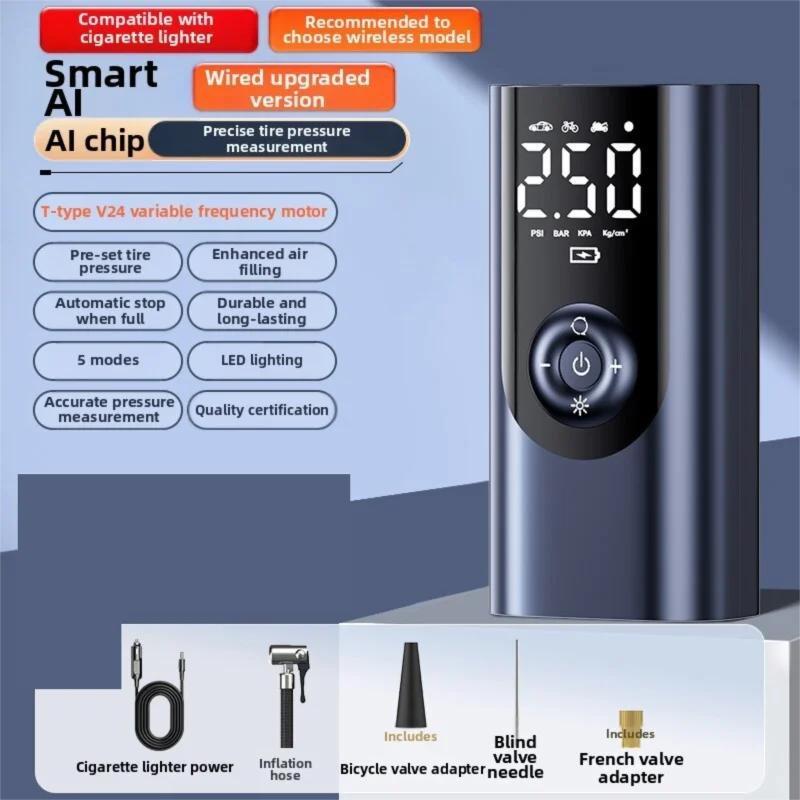
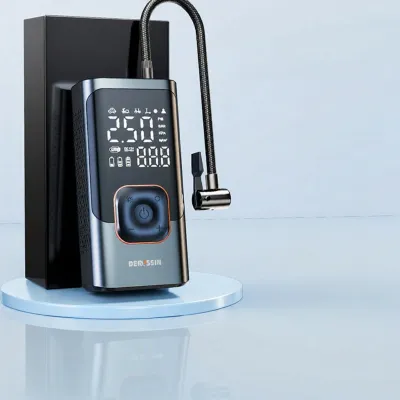
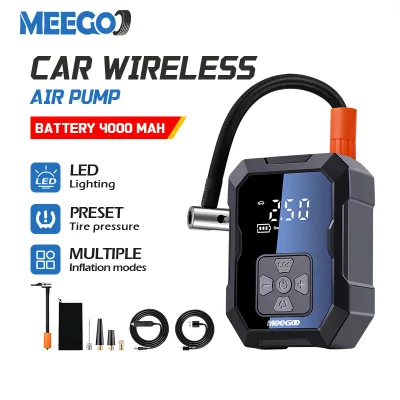
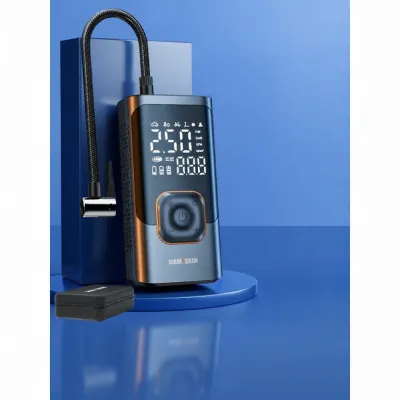
![[SG Seller]Portable Car Electric Inflator portable air pump car electric pump wireless air pump car electric pump汽车充气泵](https://img.lazcdn.com/g/p/11d7062f8a657612c19945cd3cdafcdb.jpg_400x400q80.jpg_.webp)
Prices are valid at publication and may change. Please refer to the product page for the latest price.
Environmental conditions play a subtle but continuous role in pressure fluctuations. In Singapore, the consistent tropical heat and sudden, heavy rain cycles create dynamic temperature changes on the asphalt. As the road surface temperature rises during a sunny afternoon and drops rapidly during a torrential downpour, the air inside your tires expands and contracts accordingly. These environmental fluctuations make regular pressure checks and precise adjustments essential to keep your tires operating within their safe design parameters.
Essential Tools and Preparation for Inflating Car Tires
To perform this task effectively, you need the right equipment on hand. The primary tool is a portable air pump for car tires, which is widely available in two main configurations: 12V models that plug directly into your vehicle’s auxiliary power outlet (cigarette lighter socket) and cordless, battery-operated units. Cordless pumps offer excellent portability and convenience, while 12V plug-in models provide continuous power without the risk of a flat battery during the inflation process.

While many portable pumps feature built-in pressure gauges, these integrated displays can sometimes suffer from calibration drift or reading inaccuracies. Therefore, it is highly recommended to keep a dedicated, high-quality digital or analog tire pressure gauge in your glove compartment to verify the final readings independently.
Before starting, preparation is key to safety and accuracy. Park your vehicle on a flat, solid, and level surface well away from active traffic lanes, such as a designated parking bay or a quiet driveway. Ensure the handbrake is firmly engaged and the transmission is in Park (or first gear for manual vehicles). Keep a clean microfiber cloth nearby to wipe away any dirt, mud, or road grime from the valve stems before you attach the pump nozzle, ensuring a clean seal and preventing debris from entering the valve.
Step-by-Step Guide: How to Inflate Car Tires with a Portable Air Pump
Following a structured process prevents damage to your tire valves and ensures that you achieve the exact pressure required for safe driving.
Step 1: Find the Recommended Tire Pressure
Every vehicle manufacturer specifies the ideal tire pressure for their cars based on weight distribution, handling characteristics, and original tire specifications. To find this recommended pressure, look for the tire information placard (often called the tire placard or tire pressure label). This is most commonly located on the driver’s side door jamb, visible when the door is open. If it is not there, check the inside of the fuel filler flap or consult your vehicle owner’s manual.
It is critical to understand that the recommended pressure is vehicle-specific, not tire-specific. Do not use the “Max Press” (maximum pressure) number molded onto the tire’s sidewall. This figure represents the absolute maximum pressure the tire can safely hold under maximum load, not the optimal pressure for your specific car’s daily operation. Inflating your tires to this maximum limit will result in an extremely harsh ride, poor handling, and accelerated center tread wear.
Step 2: Prepare the Tire and Air Pump
For the most accurate reading, always measure and adjust your tire pressure when the tires are “cold.” In automotive terms, cold tires are those that have not been driven for at least three hours, or have been driven for less than 2 kilometers at low speed. Driving generates friction between the tire and the road, heating up the air inside and temporarily raising the pressure reading.
If you must inflate your tires when they are “hot” from recent driving, you should account for this temporary pressure increase. A common rule of thumb is to add a small buffer of 2 to 3 PSI (approximately 14 to 20 kPa) above the recommended cold pressure specification, or simply wait for the tires to cool down completely before inflating them. Once the tires are ready, unscrew the plastic valve stem cap from the tire you wish to inflate and place it safely in your pocket or a secure tray so it does not roll away or get lost in the dirt.
Step 3: Connect the Pump and Set the Target Pressure
Take the air hose of your portable pump and press the nozzle firmly and straight onto the tire’s valve stem. It is normal to hear a brief hiss of escaping air as the nozzle engages the internal pin of the valve. Press down until the hissing stops completely. If your pump’s connector features a lock-on lever or collar, flip or twist it into the locked position to secure the hose in place and maintain an airtight seal.
If you are using a modern digital portable pump, turn the device on and select your preferred unit of measurement—typically PSI, bar, or kPa—to match the unit listed on your vehicle’s door placard. Use the interface buttons to program your exact target pressure. The pump will use this setting to automatically stop when the target is reached. If you are using an analog or manual pump, take a moment to read the current pressure indicated on the gauge dial before turning the machine on, so you know exactly how much air needs to be added.
Step 4: Inflate and Monitor the Process
Switch on the air pump to begin the inflation process. If your device features an automatic shutoff mechanism, you can let it run until it stops on its own, though you should still remain nearby to monitor the progress. If you are operating a manual pump without an auto-stop function, run the compressor in short bursts of 15 to 30 seconds, switching it off periodically to check the gauge reading. This prevents accidental over-inflation, which can occur surprisingly quickly with small-volume tires.
Safety must remain your top priority during this step. Never stand, lean, or crouch directly over the tire or the valve stem while the pump is actively running. In the rare event of a structural tire failure, bead slip, or valve failure, the sudden release of pressurized air can cause serious injury. Position yourself to the side of the wheel assembly. Additionally, be aware that portable air compressors can generate significant heat during operation. If you are inflating all four tires consecutively, the pump’s casing and hose may become hot to the touch; allow the unit to cool down for a few minutes between tires if you notice excessive heat.
Step 5: Verify and Finish Up
Once the target pressure is reached, disconnect the pump hose from the valve stem. Do this quickly and pull the nozzle straight off to minimize the amount of air that escapes during disconnection. A quick, decisive pull will limit air loss to a fraction of a PSI.
Next, use your dedicated, standalone tire pressure gauge to double-check the final pressure. If the reading is slightly higher than your target, use the small nub on the back of your pressure gauge or a small tool to gently depress the center pin (Schrader valve pin) inside the valve stem to bleed out small amounts of air until the pressure is exact. Once verified, screw the plastic valve stem cap back onto the stem tightly. This cap is vital for keeping out road grime, moisture, and dust, which can otherwise clog or damage the delicate internal valve core and lead to slow leaks.
Common Mistakes to Avoid When Using an Air Pump for Your Car
One of the most common oversights is completely ignoring the spare tire. Many drivers forget that the spare tire slowly loses pressure over time, just like the active tires. If your vehicle is equipped with a compact “donut” spare tire, keep in mind that these temporary tires require significantly higher inflation pressures—often around 60 PSI (4.1 bar)—compared to standard road tires. Check your owner’s manual for the specific spare tire pressure and check it regularly so it is ready in an emergency.
Another frequent mistake is relying solely on the built-in gauge of an inexpensive or aging portable pump. Over time, the internal sensors or mechanical springs in these consumer-grade pumps can experience calibration drift, leading to inaccurate readings. Always verify the pressure with a trusted, standalone digital or dial gauge to ensure your tires are filled to the correct specification.
Never attempt to over-inflate a tire to compensate for a known slow leak. If you notice a tire is consistently losing pressure week after week, adding extra air is a temporary and potentially dangerous distraction from the real issue. Over-inflating a compromised tire increases the risk of a sudden blowout, especially when driving at highway speeds. A slow leak indicates a puncture, a faulty valve stem, or an unseated bead, all of which require immediate professional inspection and repair.
Finally, if you are using a 12V pump that plugs into your car’s auxiliary socket, avoid running the pump with the vehicle’s engine turned off. These small air compressors draw a substantial electrical current. Running them solely on battery power can rapidly drain your car’s battery, leaving you stranded with inflated tires but an engine that will not start. Keep the engine idling while operating a 12V plug-in pump to ensure a stable electrical supply.
When to Skip the Air Pump and Seek Professional Tire Service
While a portable air pump for car tires is an incredibly useful tool for routine maintenance and minor adjustments, there are several scenarios where attempting to inflate a tire is dangerous and professional intervention is mandatory. If you observe any visible structural damage on the tire, do not attempt to inflate it. This includes bulges or bubbles in the sidewall (which indicate internal belt separation), deep cuts that expose the underlying fabric or steel cords, or severe cracking. Pressurizing a structurally compromised tire can cause it to rupture violently.
If a tire has been driven on while completely flat, even for a short distance, the internal sidewall structure is likely destroyed. The weight of the vehicle pinching the deflated rubber against the wheel rim shreds the internal liner and compromises the casing. Simply pumping air back into such a tire is highly unsafe; it must be removed from the wheel and thoroughly inspected or replaced by a qualified technician.
Additionally, if you attempt to inflate a tire and notice rapid air loss—where the air escapes almost as quickly as the pump can supply it—the tire bead may have unseated from the rim, or the puncture is too large for a temporary fix. In any of these situations, do not attempt to drive on the tire. Instead, mount your spare tire safely or contact a professional mobile tire service or towing provider to transport the vehicle to a certified workshop.
Frequently Asked Questions (FAQ)
How often should I check and inflate my car tires?
Under normal driving conditions, you should check your tire pressure at least once a month, as well as before embarking on any long road trips. Tires naturally lose air over time through a process called permeation, where microscopic amounts of air seep through the rubber compound. This natural loss typically averages about 1 to 2 PSI per month. Regular monthly checks ensure you catch this gradual drop before it affects your vehicle’s safety, fuel economy, or tire wear patterns.
What is the difference between PSI, bar, and kPa on my air pump?
These terms represent different units of measurement used to quantify air pressure. PSI stands for pounds per square inch, bar is a metric unit roughly equal to atmospheric pressure at sea level, and kPa stands for kilopascals. For reference, 1 bar is approximately equal to 14.5 PSI or 100 kPa. To avoid conversion errors and mathematical mistakes, simply look at your vehicle’s door jamb placard to see which unit is listed, and toggle the setting on your digital air pump to match that exact unit.
Can I use a portable air pump to fix a tire with a nail in it?
No, an air pump cannot repair a physical puncture. If your tire has a nail or screw embedded in it, a portable pump can only temporarily restore pressure so you can drive a short distance to a nearby repair shop or safe parking area. If you discover a nail in your tire, leave it in place; removing it will open up the hole and cause the tire to deflate much faster. Have the tire inspected by a professional technician who can determine if the puncture can be safely repaired with an internal patch-plug combination or if the tire must be replaced.

Community discussion
Share your experience or ask a question. Comments are reviewed before publication.