
Installing a car wireless charger mount involves choosing between a stable dashboard placement and a convenient air vent attachment. The ideal method depends on your vehicle’s interior layout, dashboard materials, and personal visibility preferences. Before starting, always review both your vehicle’s owner manual and the charger’s instructions to confirm compatibility with your specific dashboard materials and air vent designs. In tropical climates like Singapore, high cabin temperatures and humidity can affect adhesive durability and phone operating temperatures, making proper installation and placement critical for long-term reliability.
Preparation and Safety Checks Before Installation
Before unboxing your new charger, plan the installation layout to identify safe mounting locations that do not obstruct driving or interfere with vehicle safety systems. A poorly placed mount can become a dangerous hazard in an emergency.
First, verify that the chosen spot is entirely outside the passenger or driver airbag deployment zones. Airbags deploy with extreme force, and any object in their path can be propelled toward occupants. Consult your vehicle owner’s manual to locate the exact deployment boundaries for all front and side airbags.
Products mentioned in this guide
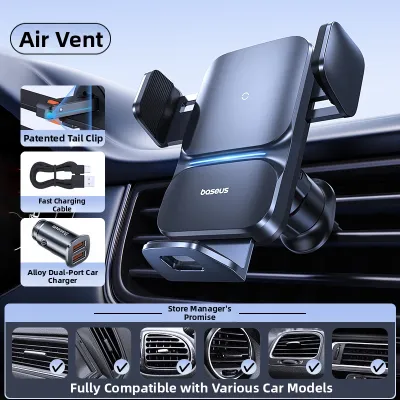
2 Lazada user ratings
The biting force feels a bit on the weaker side.

43 Lazada user ratings
Overall rating: Excellent, User experience: Great, Installation: Simple and convenient, Craftsmanship: Very good, Product material: High qua…Read full reviewShow less
Overall rating: Excellent, User experience: Great, Installation: Simple and convenient, Craftsmanship: Very good, Product material: High quality
The product feels really high-quality, the sensors and charging are very responsive, and the suction cup is strong. Definitely worth buying!
I trust Baseus, I trust the brand. Many electronics choose Baseus, they work great and charge really fast.
The stand is really good quality, easy to use, stable and sturdy, and it works well in practice.
Most of the stuff in the car is from Baseus because I trust the quality. I believe in the brand.
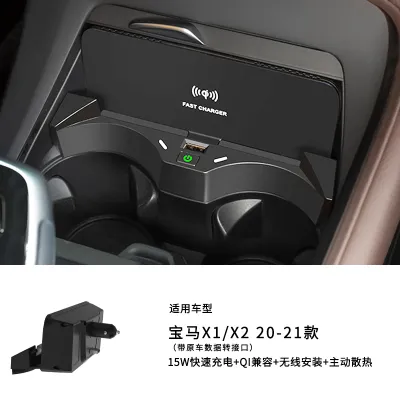
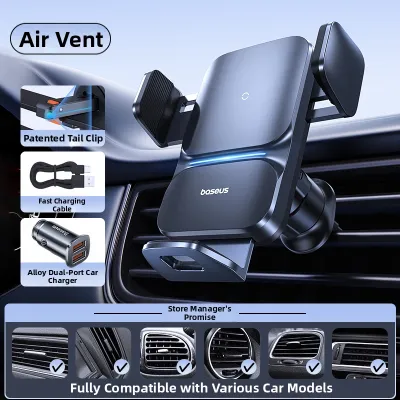
3 Lazada user ratings
Holds the phone steady, doesn't wobble while driving. Charging is a bit slow, but works great overall.
Great design, high charging efficiency, and stable quality.
Installation is really easy and saves time and effort.
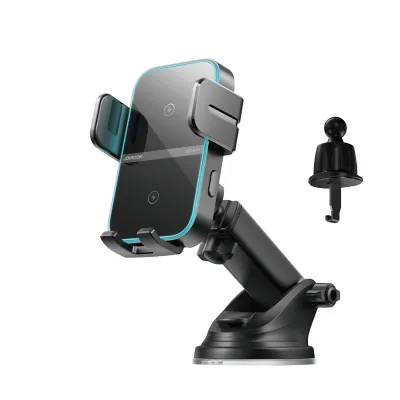
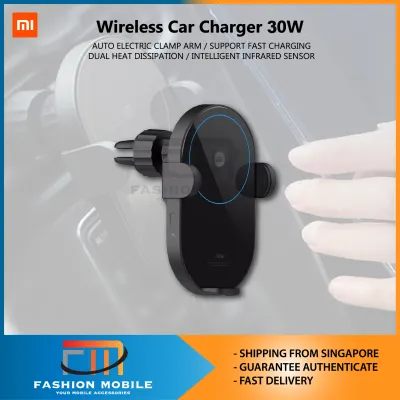
8 Lazada user ratings
Hopefully can fit in nicely in my ride and strong enough on a bumpy ride
Great product. Works perfectly. Cheaper than Xiaomi store.
Very good for cars

4 Lazada user ratings
Functionality:very good. mechanical button for release serves better than touch sensor in my opinion.
👌Ease of Use:Excellent 🔌Compatibility:Excellent
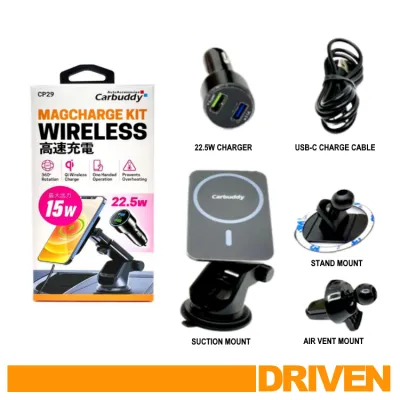
6 Lazada user ratings
Thanks. Good quality and very useful
Prices are valid at publication and may change. Please refer to the product page for the latest price.
Second, ensure the mount does not block your line of sight through the windshield or restrict access to essential climate and infotainment controls. You must be able to view the road clearly without looking through or around the phone.
Finally, consult the vehicle owner’s manual for specific warnings or restrictions regarding adhesive use on your dashboard materials. Some manufacturers explicitly warn against using chemical cleaners or strong adhesives on delicate soft-touch plastics, synthetic leather, or real wood veneers. Taking these precautions beforehand prevents costly interior damage and ensures a safer driving environment.
Tools and Materials Required
A successful installation relies on proper preparation and having the right tools on hand. Gathering these items before you begin ensures a clean, secure, and organized installation that looks professional and lasts.

You will need a clean microfiber cloth and high-quality isopropyl alcohol for thorough surface preparation. Standard household glass cleaners or interior detailers often leave behind silicone or wax residues that prevent adhesives and suction cups from bonding correctly.
For cable management, prepare a set of small adhesive cable clips or ties. These help route the power cable neatly along the dashboard panels, preventing loose wires from dangling near your controls.
Ensure you have all the specific mounting hardware, backing plates, or support legs provided by the charger manufacturer. If your charger requires a specific power input to enable fast wireless charging, verify that you have a compatible 12V auxiliary power adapter that matches the charger’s specifications. Many built-in vehicle USB ports do not supply sufficient wattage for fast wireless charging.
How to Mount the Charger on the Dashboard
Mounting a wireless charger on the dashboard provides an eye-level view of your navigation and keeps your air vents completely unobstructed. To securely attach the dashboard mount using a suction cup or adhesive pad, you must prepare the surface meticulously to protect the vehicle interior and ensure a lasting bond.
Begin by identifying a flat, smooth section of the dashboard. Avoid mounting on soft-touch, heavily textured, or sharply curved surfaces where suction or adhesion is likely to fail over time. Textured plastics allow air to seep under suction cups, causing them to fall off repeatedly, while curved surfaces prevent adhesive pads from making full contact.
Once you select a suitable spot, clean the target area thoroughly with a microfiber cloth dampened with isopropyl alcohol. Wipe the surface gently to remove dust, oils, and any leftover interior dressings. Allow the area to dry completely before proceeding; even a small amount of moisture can ruin the adhesive bond.
If your mount uses an adhesive pad, peel the protective backing and press the mount firmly onto the cleaned surface. Apply steady, even pressure for at least 30 seconds. It is crucial to follow the manufacturer’s specific curing or waiting time before attaching the weight of the phone. Many high-bond adhesives require 24 hours to cure fully. Attempting to use the mount immediately will likely cause the adhesive to fail.
For suction cup mounts, place the cup flat against the surface, press down firmly to expel the air, and flip the locking lever. If your dashboard has a slight texture, you may need to use an adhesive dashboard disc first. This disc provides a completely smooth glass-like surface for the suction cup to grip. Keep in mind that Singapore’s intense midday sun can heat dashboards to high temperatures, which can soften adhesives or cause suction cups to lose their vacuum seal. Checking the mount’s stability periodically is a good habit.
How to Attach the Charger to an Air Vent
An air vent mount is an excellent alternative if you prefer to keep your dashboard clear or want to avoid using adhesives. This method keeps your phone within easy reach and utilizes the vehicle’s air conditioning to keep the device cool during operation.
First, identify your vehicle’s vent blade design. Air vents come in horizontal, vertical, or circular configurations. Ensure the specific clip mechanism on your charger is compatible with your vent style. Standard spring-loaded clips work well on horizontal blades but may slip on vertical or circular designs. Some chargers come with specialized hook-style clips that latch securely behind the vent blade for added stability.
Next, align the clip properly with one of the middle or lower vent blades. Slide the clip as far back onto the blade as possible to minimize leverage and reduce strain on the plastic. Lock the clip firmly according to the product instructions. If your mount includes an adjustable support leg or stabilizer, position it so it rests against the outer frame of the vent or the dashboard trim. This support leg is critical because it transfers the weight of the phone away from the fragile vent blades.
Finally, position the phone to minimize direct hot or cold air exposure. While cold air from the air conditioning is highly beneficial for preventing your phone from overheating while charging, direct hot air from the heater can trigger the phone’s thermal charging limits. If you need to run the heater, close that specific vent or redirect the airflow away from the phone to prevent charging interruptions.
Cable Routing and Power Connection
A clean installation is not just about aesthetics; it is also a matter of safety. Loose, dangling cables can easily snag on your hand while shifting gears or, worse, interfere with your steering wheel and pedals.
Start by plugging the power cable into the wireless charger mount. Route the cable downward, following the natural seams and panel gaps of your dashboard. Use small, adhesive-backed cable clips to secure the wire along the trim. If possible, tuck the cable gently into the gaps between dashboard panels using a plastic trim tool to hide it completely from view.
When routing the cable toward the power source, ensure it stays entirely clear of the steering wheel column, gear shifter, and foot pedals. Never run a cable across the driver’s footwell where it could interfere with your ability to brake or accelerate safely. If you must route the cable near the floor, run it along the passenger side and secure it under the floor mats or behind the center console side panels.
Connect the cable to a compatible 12V socket or USB port. Note that some vehicle accessory ports only supply power when the ignition is turned on, while others remain active constantly. If your vehicle’s port is constantly powered, leaving the charger plugged in when the engine is off could slowly drain your car battery. Always verify how your vehicle’s electrical system behaves when the key is removed. Additionally, ensure your USB adapter provides the correct voltage and amperage required by your wireless charger to prevent slow charging or connection drops.
Testing the Setup and Basic Troubleshooting
Once the mount is secure and the cable is routed, it is time to test the system to ensure reliable power delivery and stable mounting.
Start your vehicle’s engine to activate the power source. Place your phone onto the mount and observe the device screen. Look for the active charging indicator or the charger’s built-in LED status light to confirm that power is flowing. If the charger has automatic motorized clamps, verify that they close securely around your phone when placed on the sensor.
If the phone does not charge, or if charging is slow and intermittent, begin troubleshooting by checking your phone case. Thick protective cases, rugged armor cases, metal plates used for magnetic mounts, or integrated card holders can block the wireless charging signal or cause excessive heat buildup. Try removing the case to see if charging improves.
Next, adjust the phone’s position slightly to align the internal charging coils. Wireless charging relies on precise alignment between the coil inside the charger and the coil inside your phone. Many mounts feature adjustable bottom feet; slide or click these feet up or down until your specific phone model aligns precisely with the center of the charging pad. If the charging indicator blinks or changes color, consult the charger’s manual to identify the specific error code, which often points to foreign object detection or insufficient input power.
Frequently Asked Questions (FAQ)
Can I use an adhesive mount on a leather or soft-touch dashboard?
Using strong adhesives on leather, vinyl, or soft-touch synthetic dashboard materials is not recommended. The chemical compounds in high-bond adhesives can react with the plasticizers in synthetic materials or the natural oils in leather, leading to permanent discoloration, staining, or peeling when the mount is eventually removed. If your vehicle features these delicate surfaces, opt for non-destructive mounting alternatives such as suction cups applied to the windshield, air vent mounts, or specialized mounts that clip into CD slots or console seams.
Will an air vent mount break my car's AC blades?
Air vent blades are typically made of thin, lightweight plastic that is not designed to support heavy loads. The combined weight of a wireless charging mount and a modern, heavy smartphone can put significant stress on these blades, potentially causing them to sag, bend, or snap over time. To prevent physical damage to your vehicle, always check the mount’s weight limits and gently test the sturdiness of your vent blades before final installation. Using a mount equipped with a stabilizer leg or support bracket is highly recommended, as it transfers the weight from the delicate blades to the rigid outer frame of the vent.
Why does my phone stop charging while mounted on the air vent?
If your phone suddenly stops charging while mounted on an air vent, the most likely cause is thermal throttling. Smartphones have built-in safety mechanisms that slow down or completely halt wireless charging when the internal battery temperature rises too high. When you run your vehicle’s heater, direct hot air blowing onto the back of the phone can quickly trigger this safety shutoff. To resolve this issue, close the airflow valve for that specific vent, redirect the air vents away from the device, or switch to a dashboard or windshield mount during colder weather when heating is required.

Community discussion
Share your experience or ask a question. Comments are reviewed before publication.