
Maintaining the correct tire pressure is one of the simplest yet most critical aspects of routine vehicle maintenance. Whether you are using a portable digital inflator like a keelat air pump or a standard analog model, inflating your tires to the exact manufacturer-recommended level is vital for your safety, vehicle handling, and fuel efficiency. This guide outlines the complete process for safely checking and adjusting your tire pressure at home or on the road.
Operating a portable pump incorrectly can lead to inaccurate readings, under-inflation, or dangerous over-inflation. By establishing a systematic workflow, you can protect your tires from uneven wear and ensure your vehicle performs reliably under various driving conditions.
Finding the Manufacturer-Recommended Tire Pressure
Before you connect any inflation equipment, you must determine the precise tire pressure required for your specific vehicle. This information is highly customized to your car’s weight distribution, suspension design, and original tire dimensions. Never guess the correct pressure or assume it is the same for every vehicle.
Products mentioned in this guide
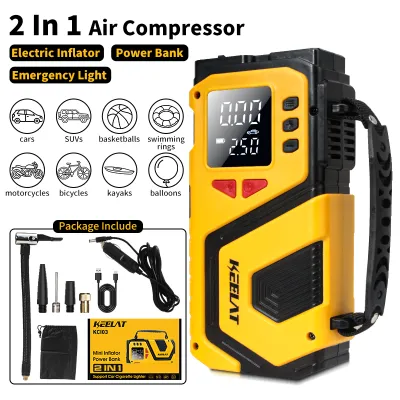
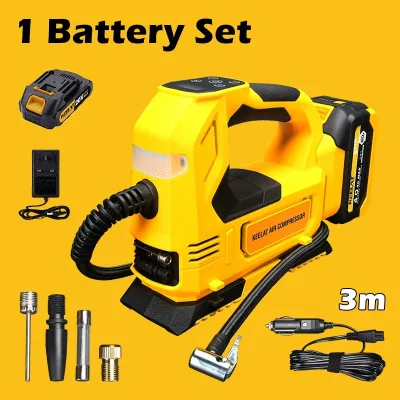
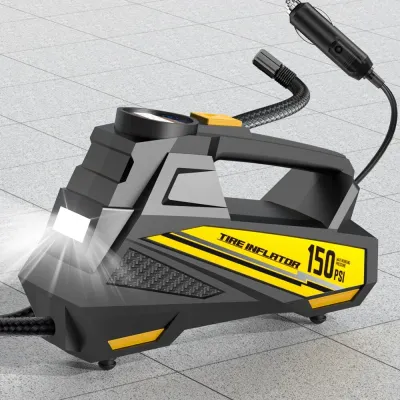
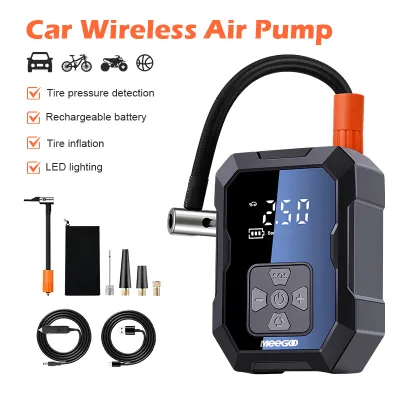
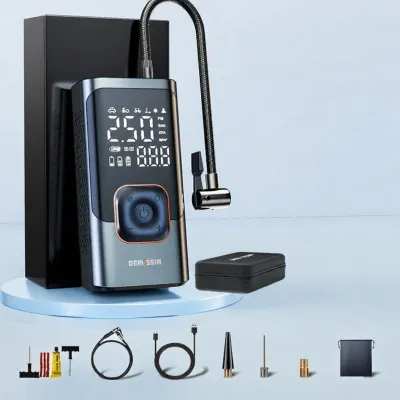

Prices are valid at publication and may change. Please refer to the product page for the latest price.
To find the recommended cold tire pressure, locate the vehicle’s tire information placard. This sticker is typically positioned on the driver-side door jamb or B-pillar, but it can also be found inside the fuel filler flap or within the owner’s manual. The placard lists the exact pressure requirements, measured in pounds per square inch (PSI) or kilopascals (kPa), often specifying different levels for the front and rear tires.
Do not use the maximum pressure number printed on the tire sidewall itself. This figure represents the absolute maximum pressure the tire can safely hold under its maximum load capacity, not the optimal operating pressure for your vehicle. Inflating your tires to this maximum limit results in a harsh ride, reduced traction, and accelerated wear along the center of the tread.
Always measure and adjust your tire pressure when the tires are “cold.” Tires are considered cold when the vehicle has been parked for at least three hours or driven less than two kilometers. Driving generates friction and heat, which causes the air inside the tire to expand and temporarily raises the pressure reading. Adjusting hot tires to the recommended cold PSI will leave them under-inflated once they cool down.
Preparing Your Vehicle and Portable Air Pump
Proper preparation ensures a safe working environment and prevents damage to your vehicle’s electrical system or the inflation equipment. Begin by parking your vehicle on a flat, stable, and level surface away from active traffic. Engage the parking brake firmly to prevent any accidental rolling while you work around the wheels.

Identify the power source required for your portable air pump. Many portable models, including digital units like the keelat air pump, run on the vehicle’s 12V DC accessory outlet, while others connect directly to the car battery terminals using clamps. Inspect the power cord and air hose for any signs of wear, cuts, or damage before plugging the unit in.
Consult your pump’s instruction manual to determine if the vehicle’s engine should be running during operation. For most 12V accessory outlet pumps, keeping the engine idling is highly recommended. This practice prevents the pump from draining your car battery and ensures the compressor receives a stable, consistent voltage for efficient operation.
Once the vehicle is secured and the pump is powered, locate the valve stems on the tires you plan to service. Unscrew the valve stem caps and place them in a secure, clean location, such as your pocket or the vehicle’s center console. Keeping these small caps free of dirt and debris prevents contamination from entering the valve core when you replace them.
Step-by-Step Tire Inflation Process
With your vehicle prepared, you can begin the inflation process. Take the air hose from your portable pump and attach the connector securely to the tire’s valve stem. Depending on the pump model, this connector will either screw onto the threads or lock in place with a quick-release thumb lever. Ensure the connection is straight and tight; a brief hiss of escaping air is normal during attachment, but it should stop completely once the connector is fully secured.
Read the initial pressure displayed on the pump’s gauge to determine how much air needs to be added. If your pump uses an analog dial, or if you suspect the built-in gauge is inaccurate, use a separate, reliable standalone tire pressure gauge to verify this baseline reading before turning on the compressor.
If your portable air pump features an automatic shutoff function, program your target PSI into the digital interface. This feature is highly convenient, as it automatically stops the compressor once the tire reaches the set pressure, minimizing the risk of over-inflation. Double-check that you have selected the correct unit of measurement (PSI or bar) on the display before starting.
For manual pumps without an auto-shutoff feature, turn the power switch on and monitor the pressure gauge closely as the compressor runs. Add air in short, controlled bursts rather than running the pump continuously for long periods. Turn the pump off periodically to let the pressure stabilize, as the active airflow and motor vibrations can cause the gauge to display a temporarily inflated reading.
Avoid leaving the pump unattended while it is running. Portable air pumps can vibrate and move slightly on the ground during operation, and monitoring the process closely allows you to react quickly if a hose disconnects or if the pump begins to overheat.
Adjusting Pressure and Final Verification
If you accidentally add too much air and exceed the manufacturer’s recommended PSI, you must release the excess pressure. Many portable pumps and standalone gauges feature a built-in bleed valve or a small deflation pin on the back of the chuck. Pressing this valve allows you to release air in small, controlled increments until the pressure drops to the correct level.
Do not rely solely on the portable pump’s built-in gauge for your final pressure reading. Built-in gauges can experience calibration drift over time due to the heat and vibration of the compressor motor. Always perform a final verification check on each tire using a high-quality, standalone digital or dial tire pressure gauge to ensure accuracy.
Repeat the connection, inflation, and verification steps for all four tires on your vehicle. Additionally, locate and check your spare tire if your vehicle has one. Spare tires often require a significantly higher pressure level (frequently around 60 PSI for compact space-saver spares) than standard tires, which is detailed on your vehicle’s tire placard or in the owner’s manual.
Once all tires are verified to be at the correct pressure, retrieve your valve stem caps and screw them back onto each valve stem securely. While these caps do not keep the air inside the tire, they perform the critical role of protecting the delicate inner valve core from road grime, dust, moisture, and salt, which can cause slow leaks over time.
Safety Boundaries and When to Stop
While inflating your tires is a straightforward task, you must recognize the physical limits of DIY maintenance and know when to seek professional assistance. If you hear a persistent hissing sound that does not stop when you adjust the pump connector, or if you notice air escaping from the base of the valve stem, stop inflating immediately. This indicates a damaged valve stem or a bead seal failure that requires professional repair.
Never attempt to inflate a tire that shows visible structural damage. Inspect the tire sidewalls carefully for bulges, bubbles, deep cuts, severe dry rot cracking, or exposed metal cords. These conditions indicate that the tire’s internal structure is compromised, and adding pressurized air can cause a sudden, dangerous blowout.
If a tire is repeatedly low on air or loses pressure rapidly after you inflate it, do not continue to refill it indefinitely. A rapid drop in pressure indicates a puncture, a failing valve, or a damaged wheel rim. Drive slowly to a professional tire shop or call for roadside assistance to have the tire inspected and repaired or replaced.
After inflating your tires to the correct pressure, you may need to reset your vehicle’s Tire Pressure Monitoring System (TPMS) to clear any warning lights on your dashboard. Refer to your owner’s manual for the specific reset procedure, which often involves a button on the dashboard or a setting in the infotainment menu. If the TPMS warning light remains illuminated after driving a short distance, have the system inspected by a qualified technician.
Frequently Asked Questions (FAQ)
Can I use a portable air pump for run-flat tires?
Yes, you can use a portable air pump to inflate run-flat tires, but you must exercise caution. Run-flat tires are designed with reinforced sidewalls that allow you to drive a limited distance at reduced speeds after a puncture. However, if a run-flat tire has been driven on while completely flat, the internal structure may be severely damaged. Always consult your vehicle’s owner’s manual and the tire manufacturer’s guidelines before attempting to reinflate or continue driving on a damaged run-flat tire.
How often should I check my tire pressure?
It is highly recommended to check your tire pressure at least once a month and always before embarking on long road trips. Tire pressure naturally drops over time due to permeation through the rubber, typically losing about 1 to 2 PSI per month. Additionally, ambient temperature changes significantly affect tire pressure; a drop in temperature causes the air inside to contract, which can trigger your TPMS light during seasonal transitions.

Community discussion
Share your experience or ask a question. Comments are reviewed before publication.