
Maintaining the correct tire pressure is one of the simplest yet most critical aspects of vehicle maintenance. Properly inflated tires ensure optimal traction, improve fuel efficiency, extend tread life, and significantly enhance overall driving safety. Using a car air pump to adjust your tire pressure is a straightforward task that you can easily perform at home or at a service station, provided you follow the correct steps and safety guidelines.
To achieve the best results, you must know where to find your vehicle’s specific pressure requirements, gather the right tools, and execute the inflation process systematically. This guide walks you through the entire procedure, from locating the manufacturer’s specifications to safely operating a portable inflator, helping you maintain your tires in peak condition.
Finding the Manufacturer's Recommended Tire Pressure
Before you connect a car air pump to your tires, you must determine the exact pressure level recommended by your vehicle’s manufacturer. This specification is unique to your car’s make, model, and weight distribution, and relying on guesswork can lead to under-inflation or over-inflation, both of which compromise road safety.
Products mentioned in this guide
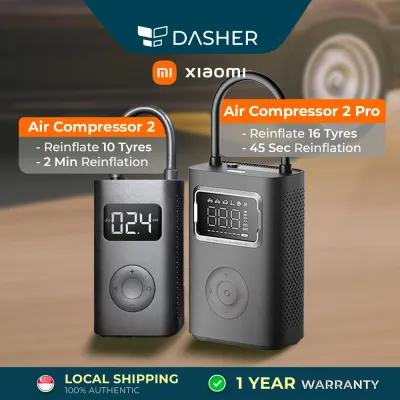
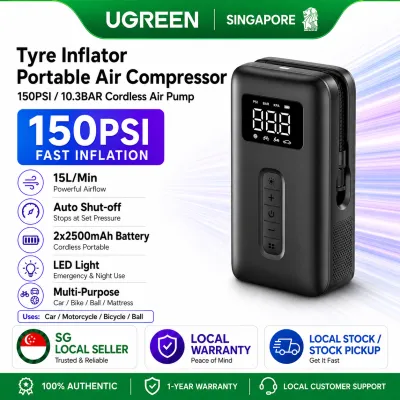
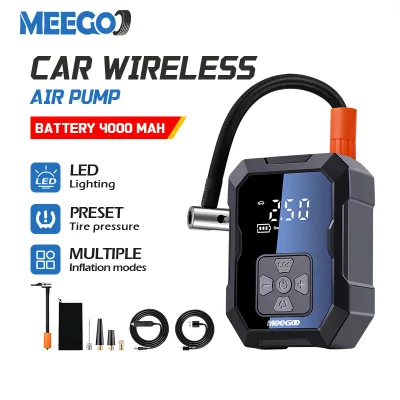
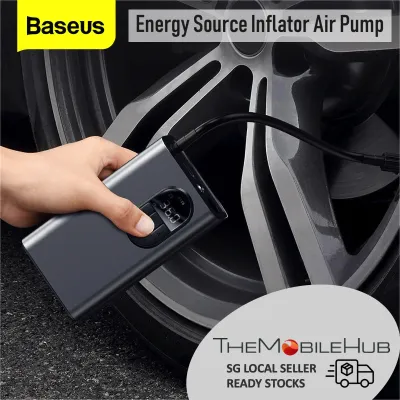
![[SG Stock] Air Pump Car Inflator Compressor Portable Ball Bike Bicycle Rechargeable Basketball Soccer Volleyball Tyre Wheel Tire 12V LED Fast Auto Shut-off Emergency](https://img.lazcdn.com/g/p/cc7d92c566c3860fbbfa1d535cc6f3bb.jpg_400x400q80.jpg_.webp)
Prices are valid at publication and may change. Please refer to the product page for the latest price.
The primary location for this information is the tire information placard, which is typically a sticker located on the driver’s side door jamb. Open the driver’s door and look along the pillar where the door latches to find this label. It clearly lists the recommended inflation pressure for both the front and rear tires, which may sometimes require different values.
If the placard is missing or illegible, your next step is to consult the vehicle owner’s manual. The manual provides comprehensive details on tire care, including specific pressure adjustments required for unique driving conditions. For instance, the manufacturer may recommend increasing the pressure slightly when carrying heavy cargo, towing, or driving at sustained high speeds on the highway.
It is crucial to distinguish between the manufacturer’s recommended cold tire pressure and the maximum pressure rating molded onto the tire sidewall itself. The number on the sidewall, often labeled as “Max Press,” represents the absolute maximum pressure the tire can safely hold under maximum load. This is a safety limit set by the tire manufacturer, not a daily driving recommendation, and inflating your tires to this maximum level will result in a harsh ride and accelerated wear.
Essential Tools for the Job
Having the correct tools on hand ensures that your tire inflation process is accurate, efficient, and safe. While many modern air pumps come equipped with built-in pressure displays, relying solely on a single reading can sometimes lead to errors if the device is out of calibration.

A reliable, independent tire pressure gauge is the most important tool for verifying your readings. You can choose between a digital gauge, which offers a clear numerical readout, or a traditional dial gauge, which uses a physical needle. Keeping a dedicated gauge in your glove compartment allows you to double-check the accuracy of any air pump you use.
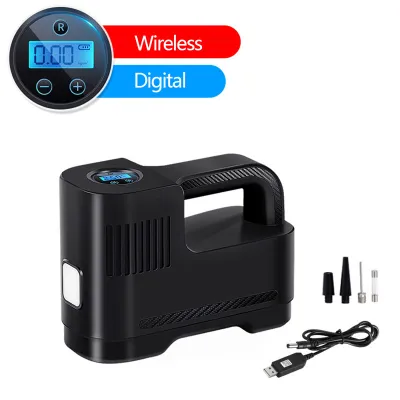
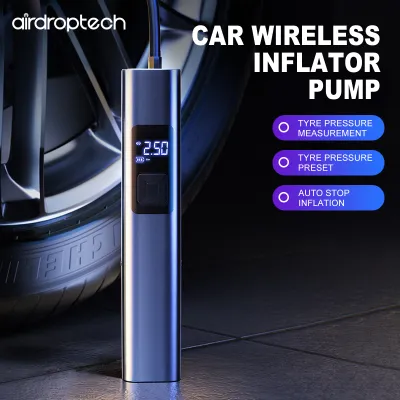
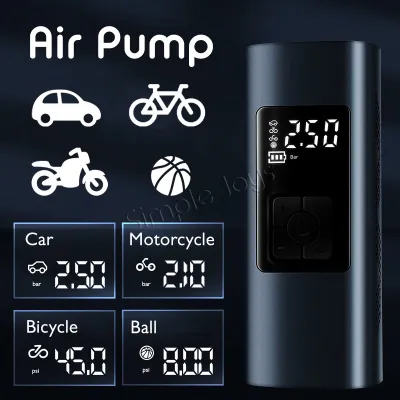
The central tool for this task is a portable 12V car air pump or access to a calibrated service station air compressor. When purchasing a portable pump, always verify your vehicle model, interface compatibility, power requirements, and mounting position against the product documentation to ensure a proper fit. Portable inflators typically plug directly into your vehicle’s 12V accessory socket or connect to the battery terminals, offering the convenience of roadside inflation.
Additionally, it is helpful to have a simple valve core tool or a small, blunt object, such as the tip of a pen or a small screwdriver. If you accidentally over-inflate a tire, you will need this tool to depress the center pin of the valve stem to release excess air. Having these items ready before you begin saves time and prevents unnecessary interruptions.
Step-by-Step Guide to Inflating Your Tires
To get an accurate reading and ensure safe inflation, you must always start with cold tires. Tires are considered cold when the vehicle has been parked for at least three hours, or if it has been driven for less than one kilometer at moderate speeds. Driving heats up the air inside the tires, causing it to expand and temporarily raise the pressure reading, which can lead to under-inflation if adjusted while hot.
Begin by parking your vehicle on a flat, level surface, engaging the parking brake, and turning off the engine. Walk around the vehicle and unscrew the plastic valve stem cap from the first tire you wish to check. Place the cap in a secure location, such as your pocket or the cup holder, so it does not get lost in the dirt or grass.
Take your independent tire pressure gauge and press it firmly onto the valve stem. You should hear a brief hiss of escaping air before the gauge seals completely against the stem. Hold the gauge steady for a moment until the reading stabilizes, then note the current pressure. Compare this number to the manufacturer’s recommended value on your door placard.
If the tire pressure is below the recommended level, it is time to connect your car air pump. If you are using a portable digital inflator, plug it into the 12V outlet, start your car’s engine to prevent draining the battery, and set your target pressure on the pump’s digital interface. Securely attach the pump’s chuck to the tire valve stem, ensuring a tight seal, and turn the unit on.
For pumps equipped with an automatic shutoff feature, the device will stop inflating once it reaches the pre-set target. If you are using a manual pump or a service station compressor, inflate the tire in short bursts of ten to fifteen seconds. Frequently stop the inflation process to check the pressure with your independent gauge, ensuring you do not overshoot the target.
If you accidentally over-inflate the tire, use your blunt tool or the back of your pressure gauge to gently press the small pin inside the valve stem. This will release air in controlled bursts. Recheck the pressure after each release until the reading matches your target exactly. Once the pressure is correct, wipe any dirt from the valve stem and screw the cap back on tightly to protect the valve core from moisture and road debris. Repeat this entire sequence for the remaining three tires.
Common Mistakes and Safety Boundaries
One of the most common errors drivers make is inflating their tires to the maximum pressure listed on the tire sidewall. Doing so reduces the tire’s contact patch with the road, leading to uneven tread wear in the center of the tire, reduced traction, and a significantly harsher ride where you feel every bump on the road. Always stick to the vehicle manufacturer’s placard recommendations.
If you find yourself in a situation where you must inflate hot tires—such as during a long road trip—keep in mind that the pressure will read higher than normal. If you must add air immediately, inflate the tires to approximately 3 to 4 psi above the recommended cold specification to account for the heat expansion. However, you must treat this as a temporary measure and verify the pressure again once the tires have cooled down completely.
Operating a portable car air pump also requires attention to equipment safety. These small compressors generate a significant amount of heat during operation, especially when inflating multiple tires. Always consult your pump’s instruction manual to understand its duty cycle, which is the maximum continuous run-time allowed before the unit must be turned off to cool down. Exceeding this limit can overheat the motor and cause permanent damage to the pump.
Always refer to your vehicle’s original owner’s manual for specific safety boundaries and instructions regarding tire maintenance. If you are unsure about any aspect of tire safety or notice severe damage, consult a qualified professional before operating the vehicle.
When to Stop and Seek Professional Help
While routine tire inflation is a straightforward DIY task, certain situations indicate underlying mechanical issues that require professional inspection. If you find that a specific tire consistently loses a significant amount of pressure within a few days or hours, there is likely a slow leak. This can be caused by a small puncture from a nail, a failing valve stem, or a poor seal between the tire bead and the wheel rim, all of which require a professional repair shop to diagnose and fix.
You should also inspect your tires visually during every inflation session. If you notice any structural abnormalities, such as bulges in the sidewall, deep cuts, cracks, or exposed steel cords, do not attempt to inflate the tire further. These signs indicate that the internal structure of the tire has failed, making it highly susceptible to a dangerous blowout, and the tire must be replaced immediately.
Finally, pay attention to your vehicle’s dashboard warnings. If your Tire Pressure Monitoring System (TPMS) warning light remains illuminated even after you have verified that all tires are inflated to the correct pressure, the system may require calibration or a sensor replacement. A qualified technician can scan the system, identify any faulty sensors, and ensure your safety monitoring tools are functioning correctly.
Frequently Asked Questions (FAQ)
How often should I check and adjust my tire pressure?
You should check your tire pressure at least once a month and always before embarking on long road trips or carrying heavy loads. Tire pressure naturally fluctuates with changes in ambient temperature; as the weather cools, the air inside your tires contracts, resulting in a drop in pressure. Regular monthly checks allow you to catch these seasonal drops early and maintain optimal driving safety.
Can I use a portable car air pump for all four tires in one session?
Yes, you can use a portable car air pump for all four tires, but you must monitor the unit’s temperature to prevent overheating. Most consumer-grade portable inflators have a limited duty cycle, often requiring a rest period after ten to fifteen minutes of continuous use. Check your specific pump’s manual for its operational limits, and feel the unit’s casing; if it feels excessively hot to the touch, turn it off and let it cool down before continuing.

Community discussion
Share your experience or ask a question. Comments are reviewed before publication.