
Finding a spot for your car tissue box without interfering with your phone mount comes down to careful spatial planning and choosing a compatible accessory profile. When these two items compete for the same limited dashboard real estate, they can create visual clutter, block charging ports, or obstruct your view of the road. By measuring your existing setup and selecting a low-profile or alternative mounting design, you can maintain a clean, functional, and safe cabin environment.
Assess Your Dashboard Space and Phone Mount Setup
To find a compatible setup between your phone mount and a tissue box, start by analyzing the physical footprint of your current phone holder. Use a tape measure to determine the dimensions of the mount’s base, as well as the reach and swing radius of its articulating arm. Remember to mount your phone in both portrait and landscape orientations during this measurement process, as a rotating phone requires a wider clearance zone that can easily knock into a nearby tissue box.
Next, identify the flat, stable areas of your dashboard that are completely free of existing controls, vents, and displays. Avoid placing any accessory where it might block your view of the instrument cluster, head-up display, or the road ahead. The ideal location is a flat surface that sits lower than your primary sightline but remains within comfortable arm’s reach from the driver’s seat.
Products mentioned in this guide
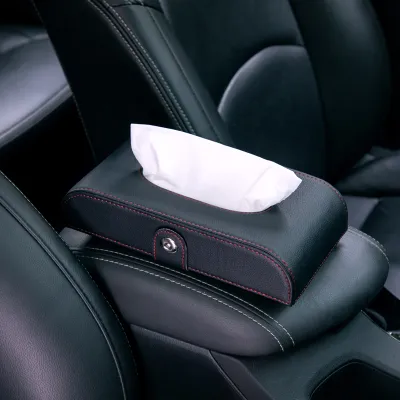
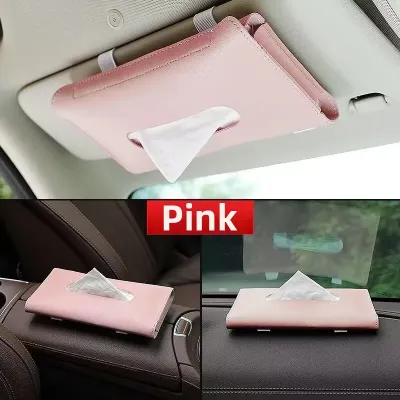
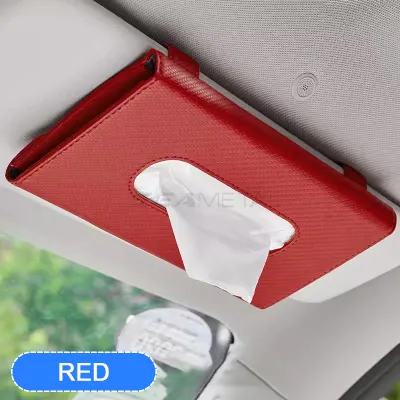

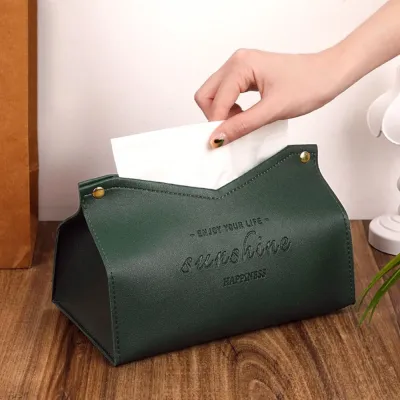
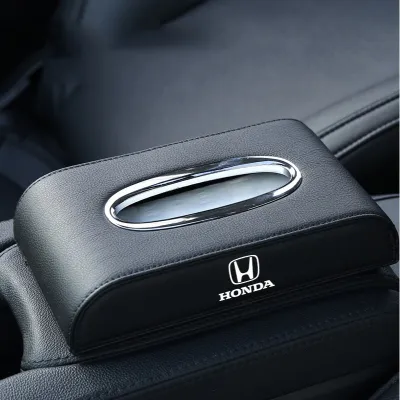


Prices are valid at publication and may change. Please refer to the product page for the latest price.
The specific type of phone mount you use heavily dictates how much adjacent dashboard space remains available. For instance, a heavy-duty suction cup mount attached to the windshield or dashboard typically requires a large, clear radius to allow the arm to adjust freely. Conversely, a vent clip mount leaves the top of the dashboard completely open but may restrict you from placing a tissue box directly in front of the air vents, which could block airflow or cause condensation to build up on the tissue packaging.
Finally, pay close attention to the angle of your windshield and how light enters the cabin. Placing any object, including a tissue box, near the base of the windshield can create distracting reflections and glare on the glass, especially during bright midday driving. Before finalizing any placement, place a temporary object of similar size on the spot and check for distracting reflections from the driver’s seat.
Safe Placement Zones and Airbag Clearance
While convenience is important, driving safety must always take priority when arranging dashboard accessories. Your primary safety concern when placing a tissue box is the vehicle’s airbag system, specifically the front passenger airbag. Locate the deployment zone, which is typically marked by an “SRS Airbag” or “Airbag” emblem embossed on the passenger side of the dashboard.

Establish a strict, non-negotiable rule: never place a tissue box, non-slip mat, or any other accessory directly on top of or immediately in front of this airbag cover. During a collision, the passenger airbag deploys with extreme speed and force. Any object resting on the deployment seam can become a dangerous high-velocity projectile inside the cabin, risking severe injury to the occupants.
Always consult your vehicle’s owner’s manual to review the manufacturer’s specific warnings regarding dashboard cargo and accessory placement. Many modern vehicles feature advanced sensor systems embedded in the dashboard that detect passenger weight or airbag clearance, and placing objects in these zones can interfere with their operation.
Additionally, consider the physical dynamics of your vehicle during sudden maneuvers, emergency braking, or sharp turns. Avoid positioning a loose or poorly secured tissue box in any area where gravity or centrifugal force could cause it to slide off the dashboard and fall into the driver’s footwell. A loose object rolling under the brake or accelerator pedal presents an immediate, critical safety hazard that can prevent you from controlling the vehicle.
Tissue Box Profiles That Coexist with Phone Mounts
To prevent your dashboard from looking cluttered and to ensure your phone mount remains fully functional, you must select a tissue box with a compatible profile. Low-profile dashboard boxes are specifically designed to address this issue. These slim, flat, or wedge-shaped containers sit low to the dashboard surface, allowing them to slide underneath the projecting arm of a phone mount or sit alongside it without blocking the phone’s screen or interfering with charging cables.
Another option is a slim crevice design. These long, narrow tissue holders are engineered to tuck into the tight gap where the dashboard meets the windshield or along the edge of the center console stack. Because they utilize otherwise dead space, they keep the main surface of your dashboard clear for your phone mount, provided you verify that their placement does not cause distracting reflections in the glass.
If your dashboard is exceptionally compact or highly curved, you should explore alternative, off-dashboard mounting locations to completely eliminate clutter. Sun visor tissue organizers clip securely onto the passenger-side sun visor, keeping tissues within easy reach without taking up any dashboard space. Alternatively, you can look for models designed to strap onto the center console armrest compartment or hang from the back of the front seats, which keeps the dashboard entirely dedicated to your phone mount and driving view.
When selecting any dashboard accessory, always check the material and finish of the exterior casing. Avoid glossy plastics, chrome accents, or bright colors that can catch the sunlight and create blinding reflections on your windshield. Instead, opt for matte, textured, or dark-colored finishes—such as matte black silicone, dark grey fabric, or non-reflective faux leather—which blend into the dashboard and minimize visual distractions.
Secure Mounting Methods for Sudden Stops
A tissue box sitting loosely on your dashboard is a safety hazard during sudden stops or sharp turns. To keep the box firmly in place, you must choose a secure, reliable mounting method that matches your dashboard’s specific material. Non-slip silicone mats are effective for flat, textured plastic or vinyl dashboards, as they rely on friction to hold objects in place without leaving sticky residues. For curved surfaces or leather dashboards, removable double-sided adhesive tapes designed specifically for automotive interiors may be necessary, but you must verify compatibility to avoid peeling or staining the delicate surface.
In Singapore’s tropical climate, cabin temperatures can rise dramatically when the vehicle is parked outdoors under direct sunlight. This extreme heat can quickly degrade standard consumer adhesives, causing them to melt, lose their grip, or leave a stubborn, sticky residue on your dashboard. When choosing adhesives or non-slip pads, ensure they are rated for high-temperature automotive environments to prevent them from failing or damaging your car’s interior trim.
To maintain the effectiveness of your chosen mounting method, establish a routine inspection and maintenance schedule. Over time, dust, lint, and cabin debris will accumulate on non-slip silicone pads, causing them to lose their tackiness. Periodically remove the pad and the tissue box, wash the silicone pad with mild soap and water to restore its grip, and thoroughly clean the dashboard surface before reinstallation.
If you notice that a mounting adhesive is beginning to lift, leave marks, or soften under the heat, stop using it immediately to prevent permanent damage to your dashboard. If you are concerned about preserving the resale value of a high-end leather or soft-touch dashboard, consult an automotive detailing professional about applying a protective clear film or using non-invasive mounting alternatives, such as visor or headrest attachments, rather than applying adhesives directly to the dashboard.
Frequently Asked Questions (FAQ)
Can I put a tissue box on the driver's side dashboard?
Placing a tissue box or any other accessory on the driver’s side of the dashboard is highly discouraged due to the safety risks involved. This area must remain completely clear to ensure you have an unobstructed line of sight to the road, side mirrors, and the vehicle’s instrument panel. Furthermore, placing an object on the driver’s side increases the risk of the item shifting during sudden turns or hard braking, potentially falling into your lap, blocking your view, or sliding down into the footwell where it could dangerously jam the steering column or foot pedals. Keep the driver’s side entirely clear and utilize the center console, passenger side, or visor for accessories.
Will a dashboard tissue box block my view of the road?
Whether a dashboard tissue box blocks your view depends on its height, placement, and your seating position. To evaluate this, sit in your normal driving position and check if the proposed placement obscures your view of the hood line, road markings, or low-lying hazards like crosswalks and pedestrians. When a tissue box is placed directly next to a phone mount, their combined height can create a substantial visual barrier and a blind spot in your forward field of vision. If you find that any part of your forward or diagonal view is compromised, you should immediately opt for a lower-profile box or relocate the tissue holder to an off-dashboard position.

Community discussion
Share your experience or ask a question. Comments are reviewed before publication.