
Applying chain lube to your motorcycle chain is a straightforward but precise maintenance task that ensures smooth power delivery, extends the life of your drivetrain, and prevents expensive premature wear. To do it properly, you must clean the chain thoroughly, apply the lubricant specifically to the inner rollers and rubber seals while rotating the wheel by hand, and wipe off any excess product to avoid attracting abrasive road grit.
In Singapore’s highly humid and often wet tropical climate, maintaining a clean and well-lubricated motorcycle chain is even more critical. Road grime, rain, and puddle water can quickly strip away protective lubricants, leading to rapid rust formation and stiff chain links. By mastering the correct application technique, you protect your motorcycle’s secondary drive system from the elements and keep your ride running quietly and efficiently.
Understanding the Goal: Even Coverage Without Grime Buildup
When maintaining your motorcycle, applying the chain lube motor drives depend on is not a matter of spraying the entire chain until it drips. Many riders mistakenly believe a wet, heavily coated chain is well-protected. In reality, modern motorcycle chains are highly engineered components requiring precise, targeted lubrication.
Products mentioned in this guide
![Toyo-G Chain Lube - 300ml [Specially designed for motorbike. Bicycle and industrial chain also can use] strong film Thermal resistant water proof anti-fling no fling liqui moly RK STP Yamalube](https://img.lazcdn.com/g/p/5e507e8e1c8b9c4093aeef203bbf134e.png_400x400q80.png_.webp)
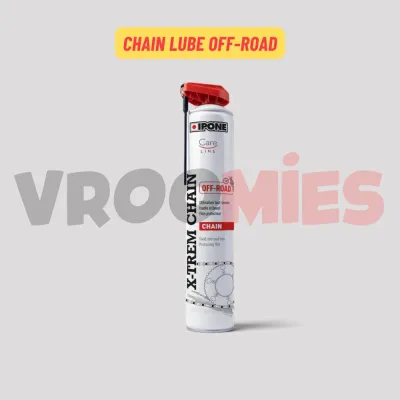
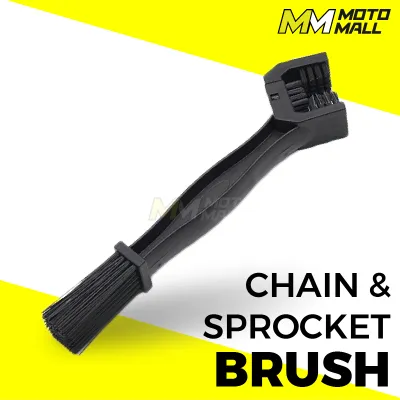
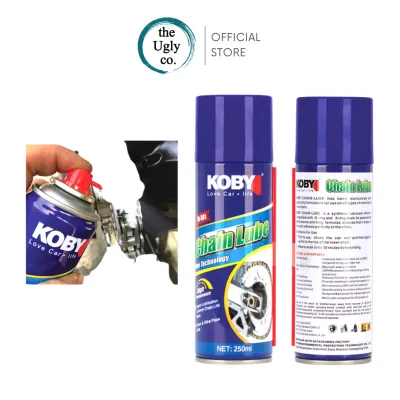
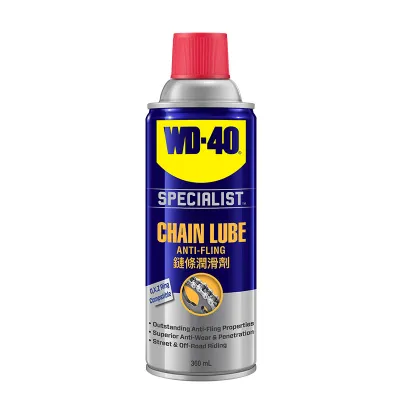
![SQUIRT CHAIN LUBE - 120ml [bicycle/motorcycle chain Wax and water emulsion lube] Grease Free Clean Chain no Oil](https://img.lazcdn.com/g/p/26050cb557475c002adff8ba52160062.jpg_400x400q80.jpg_.webp)
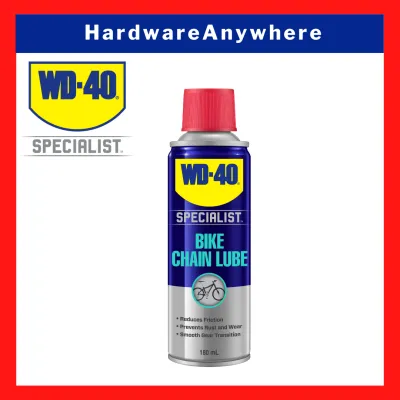
Prices are valid at publication and may change. Please refer to the product page for the latest price.
The primary objective is to protect internal components where metal-to-metal friction occurs. Modern street motorcycles use sealed chains featuring rubber O-rings, X-rings, or Z-rings sandwiched between the inner and outer plates. These seals hold factory grease inside the pins and bushings. Your job when applying aftermarket lubricant is to keep these rubber seals moist while lubricating the contact points between rollers and sprockets.
Applying lubricant to the outer side plates serves little functional purpose and can harm your drivetrain. A wet exterior acts as a magnet for road dust, sand, and environmental debris. This mixture forms an abrasive grinding paste that wears down sprockets, tears rubber seals, and shortens the lifespan of the entire assembly.
The ideal outcome is a chain that operates smoothly and quietly, with well-conditioned rubber seals and a dry, clean exterior. Achieving this balance requires the right tools, a methodical technique, and a small amount of patience to let the product set before riding.
Essential Tools and Materials for the Job
Before starting, gathering the correct tools makes the process faster and far more effective. Using the wrong cleaning agents or lubricants can permanently damage your chain’s internal seals. Always consult your motorcycle’s owner’s manual to verify your specific chain type and review any manufacturer-specific care instructions.

Before applying any cleaner or lubricant, check your product’s label and your motorcycle manufacturer’s instructions. If these instructions conflict, if your chain type is unidentified, or if your specific use case is not covered, stop and consult the manufacturer or a qualified professional before proceeding.
To perform this task properly, you will need the following items:
- Motorcycle-Specific Chain Cleaner: A dedicated, residue-free cleaner formulated to dissolve stubborn road grime and old grease without harming sensitive rubber seals.
- Dedicated Chain Lube: Select a high-quality aerosol or liquid chain lube designed specifically for motorcycles. Aerosol cans with a thin straw applicator are highly recommended for precise delivery.
- Three-Sided Chain Brush (Grunge Brush): This tool features stiff bristles arranged to clean three sides of the chain simultaneously, significantly reducing cleaning time.
- Clean Microfiber Rags: You will need several clean rags to wipe away dissolved dirt and remove excess lubricant.
- Nitrile Gloves: Protecting your hands with nitrile gloves keeps grease, solvents, and sticky lubricants off your skin.
- Rear Paddock Stand: A paddock stand elevates the rear wheel safely, allowing you to rotate the wheel continuously and smoothly by hand.
Before applying any product, check the labels of both your cleaner and lubricant. Ensure they explicitly state they are safe for sealed chains, including O-ring, X-ring, and Z-ring varieties.
Step 1: Clean the Chain to Prevent Grinding Paste
Applying fresh lubricant over a dirty chain traps abrasive particles against the moving parts of your drivetrain. To ensure the new lubricant can penetrate the rollers and protect the rubber seals, you must first remove all traces of old grease, road grit, and moisture.
Begin by placing your motorcycle on a stable rear paddock stand on a flat, level surface. Ensure the engine is switched off, the ignition key is removed, and the transmission is in neutral. Work in a well-ventilated area, and consider placing a piece of cardboard underneath the lower run of the chain to catch any dripping cleaner.
Instead of spraying the chain cleaner directly onto the chain—which can cause significant overspray onto your rear tire and brake rotor—apply a generous amount of the cleaner directly onto your three-sided brush. If you must spray the chain directly, hold a clean rag behind the chain to act as a shield, preventing hazardous chemicals from contaminating your rear braking system.
Position your brush over the lower run of the chain. Slowly rotate the rear wheel in a forward direction by hand to pull the chain through the brush’s bristles. Focus your scrubbing on the inner rollers, the gaps between the side plates, and the outer links to break up caked-on grime.
Once you have loosened the grime, wrap a clean microfiber rag around the lower run of the chain. Rotate the rear wheel by hand to pull the chain through the rag, wiping away dissolved dirt. Repeat with clean sections of the rag until it comes away virtually free of dark residue.
Safety Warning: Under no circumstances should you ever start the motorcycle’s engine, put the bike into gear, and let the idling engine spin the rear wheel while cleaning or lubricating. This dangerous practice has resulted in severe finger amputations and hand injuries. Always rotate the rear wheel manually by hand, keeping your fingers well away from the sprockets and pinch points.
Step 2: Apply the Lube to the O-Rings and Rollers
With your chain clean and dry, you are ready to apply the fresh lubricant. Precision is key during this step; your goal is to place the lubricant exactly where it can perform its job, avoiding wasteful overspray and messy cleanup.
Identify the specific areas that require lubrication: the rubber O-rings or X-rings located between the inner and outer link plates, and the center rollers that make direct contact with the sprocket teeth. These are the only parts of the chain that experience friction and wear. The outer faces of the metal side plates do not require lubrication.
To apply the lubricant, position the aerosol straw close to the inner side of the lower chain run, pointing toward the gaps between the plates. By applying the product to the inside of the chain run rather than the top, centrifugal force will naturally push the lubricant outward into the pins and rollers as you ride, ensuring maximum penetration.
Slowly rotate the rear wheel backward by hand while spraying a thin, steady stream of lubricant along the inner chain run. Focus first on the left side where the inner and outer plates meet to coat the first set of rubber seals. Once you have completed a full rotation, repeat on the right side to lubricate the opposite set of seals. Finally, apply a light, even spray directly down the center of the rollers.
Using a precise applicator straw is crucial for controlling the flow. It prevents the product from misting onto your rear tire tread, wheel rim, or swingarm. If any lubricant does drift onto these areas, wipe it off immediately with a clean rag dampened with a mild degreaser to prevent safety hazards.
Step 3: Wipe Off Excess to Avoid Attracting Dirt
Once you have applied the lubricant, you must allow the product to settle before completing the job. Most modern lubricants contain carrier solvents that keep the product thin upon application, allowing it to penetrate deep inside the rollers. These solvents must evaporate, leaving behind a tacky, protective film.
Refer to your specific product’s label to determine the recommended setup or ‘flash-off’ time, which typically ranges from 10 to 20 minutes. During this brief waiting period, do not touch the chain or rotate the wheel excessively, allowing the lubricant to work its way into the links.
After the waiting period has elapsed, take a clean, dry microfiber rag and gently wrap it around the chain. Slowly rotate the rear wheel by hand to run the chain through the rag, wiping away any excess lubricant from the outer side plates and the exterior surfaces of the rollers.
Remember that any wet lubricant left on the exterior serves no protective purpose and will immediately attract road dust and grit. Wiping down the exterior ensures your chain remains clean while preventing the buildup of destructive grinding paste. Additionally, a dry exterior prevents the lubricant from flinging off at high speeds onto your rear wheel or riding gear.
For the best results, allow the lubricant to fully cure before taking your motorcycle out for a ride. While some products claim to be ready instantly, allowing the chain to sit for several hours—or ideally overnight—ensures the tackiness additives have fully bonded to the metal. This curing period is especially important in hot, humid environments like Singapore, where ambient moisture can interfere with the bonding process.
Step 4: Verify Coverage and Check Chain Tension
Before packing away your tools, take a moment to perform a final inspection of your work. A quick visual and physical check ensures that your chain is safely configured, properly lubricated, and ready for the road, catching any minor issues before they turn into costly mechanical problems.
Conduct a thorough visual inspection of the entire length of the chain. The rollers and rubber O-rings should look lightly moistened and conditioned, showing a thin, uniform sheen of lubricant. There should be no visible pooling, dripping, or heavy caking of product. If you notice dry spots, apply a tiny, targeted amount of lube; if you see excess accumulation, wipe it away.
With the rear wheel still elevated, take this opportunity to inspect your motorcycle’s chain tension. Refer to the manufacturer’s specifications, which are typically printed on a sticker on the swingarm or detailed in your owner’s manual. Measure the chain slack at the tightest point along the lower run. If the slack falls outside the recommended range, adjust the chain tension according to your manual’s instructions before riding.
Once you are satisfied with both the lubrication and the tension, carefully lower your motorcycle off the paddock stand. Store your tools and dispose of any dirty rags safely. Before embarking on a long journey, perform a brief, low-speed test ride in a safe, controlled area, listening closely for any unusual metallic rattling, clicking, or binding noises.
Common Application Mistakes to Avoid
Even experienced riders can fall into bad habits when it comes to drivetrain maintenance. Avoiding these common pitfalls will save you time, protect your motorcycle from unnecessary wear, and ensure your safety on the road.
One of the most frequent mistakes is using general-purpose household penetrants or harsh solvents. Products like standard WD-40 are excellent water dispersants but are too thin to provide lasting lubrication for a high-speed motorcycle chain. Furthermore, aggressive solvents can penetrate past the delicate rubber seals, dissolving the critical factory-installed grease inside the pins and causing the chain to wear out prematurely.
Another critical error is careless spraying. When applying aerosol chain lube, it is easy to accidentally spray the product onto your rear tire tread or your rear brake rotor. Because chain lubricants are designed to be highly slippery and sticky, even a tiny amount of overspray on your tire or brake components can drastically reduce traction and braking efficiency, creating an immediate safety hazard. Always use a cardboard shield behind the chain to catch overspray, and clean any affected parts immediately with a dedicated brake cleaner.
Many riders also suffer from the ‘more is better’ misconception, over-lubricating their chains in an attempt to provide maximum protection. This excess product does not offer additional lubrication; instead, it flings off onto your rear wheel and riding jacket, while acting as a magnet for abrasive road grit. A thin, targeted application is always more effective.
Finally, avoid lubricating your chain immediately after a long, aggressive ride when the chain is extremely hot. While a warm chain can help some lubricants flow, excessive heat can cause the carrier solvents to evaporate almost instantly upon contact. This rapid evaporation prevents the lubricant from flowing deep into the tight spaces around the rollers, leaving the internal components dry. Allow the chain to cool down to a warm or ambient temperature before applying any product.
Frequently Asked Questions (FAQ)
How often should I lubricate my motorcycle chain?
As a general baseline, you should clean and lubricate your motorcycle chain every 500 to 1,000 kilometers. However, this interval is highly dependent on your riding environment and weather conditions. In Singapore, where heavy tropical downpours and high humidity are common, water can quickly wash away chain lubricant and promote surface rust. If you frequently ride in the rain, on wet roads, or through coastal areas, you should inspect your chain after every wet ride and apply fresh lubricant immediately if the rollers appear dry or show early signs of discoloration.
Can I use motor oil instead of dedicated chain lube?
Using standard motor oil or gear oil is not recommended for modern sealed motorcycle chains. While these oils do provide lubrication, they lack the specialized tackiness additives found in dedicated motorcycle chain lubricants. Without these additives, the oil will rapidly fling off the chain at highway speeds under centrifugal force, leaving your drivetrain dry and unprotected while covering your rear wheel, swingarm, and brake components in a messy, hazardous layer of oil. Dedicated chain lubes are specifically formulated to cling to the moving parts, ensuring long-lasting protection and minimal mess.

Community discussion
Share your experience or ask a question. Comments are reviewed before publication.