
Using a car polish machine can transform a dull, scratched finish into a glossy-like shine, but it also carries the risk of inflicting severe damage if handled incorrectly. For beginners, the learning curve involves understanding how the machine, pad, and compound interact with your vehicle’s clear coat. This guide breaks down the most frequent technique and preparation errors that cause swirl marks, holograms, and burned paint, providing clear boundaries and inspection-ready results during your first detailing session. By mastering the fundamentals of surface preparation, pad selection, and machine handling, you can safely achieve professional-grade results.
Preparation Mistakes That Cause Swirl Marks Before You Even Start
Skipping the decontamination wash and clay bar process is one of the most common errors beginners make. Even if a car looks clean after a standard wash, microscopic contaminants like industrial fallout, brake dust, and road grit remain tightly bonded to the clear coat. When you run a high-speed car polish machine over these particles, the polishing pad traps them and drags them across the paint surface. This action acts like sandpaper, inflicting deep, circular scratches and severe swirl marks that ruin the finish you are trying to improve. Always perform a thorough decontamination wash followed by a clay bar treatment to ensure the paint is completely smooth before the machine touches it.
Another frequent mistake is polishing in direct sunlight or on hot body panels. In warm, humid climates like Singapore, vehicle panels can reach extremely high temperatures when exposed to the sun. When you apply polishing compounds to a hot surface, the solvents and lubricants in the product evaporate almost instantly. This causes the compound to dry out prematurely, leading to excessive dusting, reduced working time, and a high risk of micro-marring the paint. The dried residue also becomes incredibly difficult to buff off, which can lead to scratching the paint as you struggle to wipe it away. Always work in a cool, shaded area and verify that the panels are cool to the touch before starting.
Products mentioned in this guide
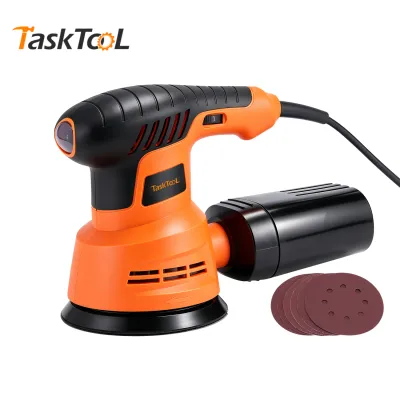
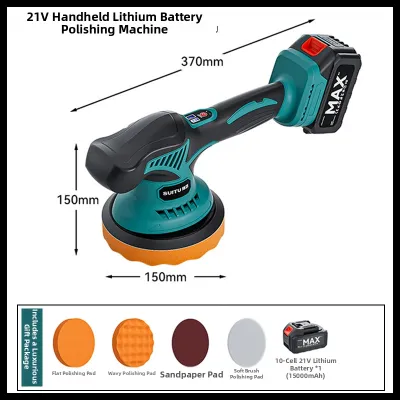
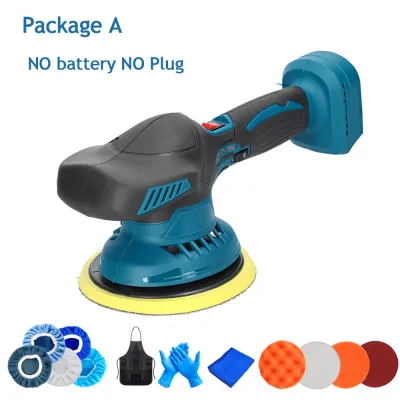
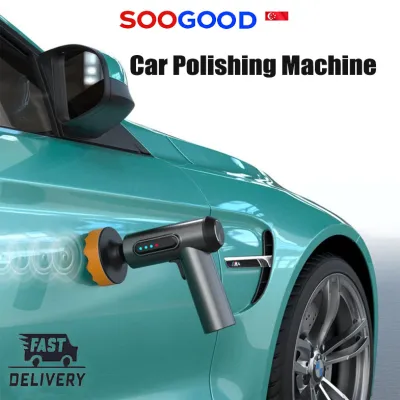
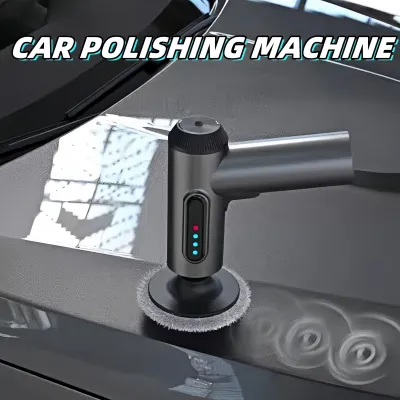

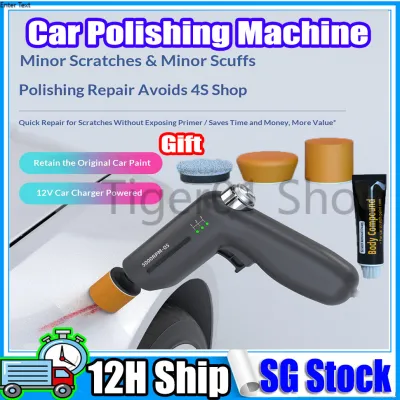
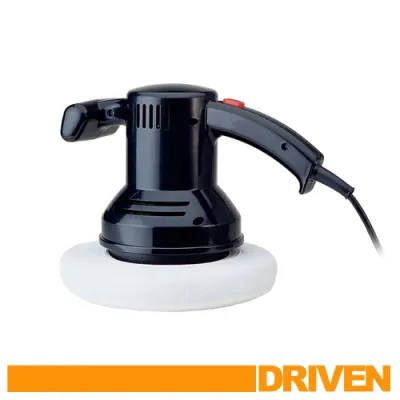
Prices are valid at publication and may change. Please refer to the product page for the latest price.
Failing to tape off trim, rubber seals, and plastic edges is a preparation oversight that can lead to permanent damage. The high-speed friction generated by a polishing pad can easily burn, melt, or discolor delicate rubber window seals, unpainted plastic trim, and chrome accents. Furthermore, polishing compounds contain white fillers and abrasives that leave stubborn, chalky stains on textured plastics, which are exceptionally difficult to clean once dry. Applying high-quality automotive masking tape over these sensitive areas before you begin protects them from accidental contact and saves you hours of tedious cleanup work.
Pad and Compound Mismatches That Damage Clear Coats
Using an overly aggressive cutting pad or compound on soft or thin clear coats without performing a test spot first is a recipe for disaster. Beginners often assume that a heavy-cut compound and a hard wool or microfiber pad will deliver the fastest and best results. However, different car manufacturers use different paint formulations, resulting in varying levels of clear coat hardness. If you use an aggressive combination on soft paint, you will strip away an unnecessary amount of clear coat and leave behind severe micro-marring and haze. Always start with the least aggressive pad and polish combination, and perform a test spot on a small, inconspicuous area to verify how the paint responds before committing to the entire vehicle.

Mismatching the pad size to the backing plate or the machine’s intended throw is another technical error that compromises safety and performance. Polishing pads must be properly sized and centered on the backing plate to ensure balanced rotation and even pressure distribution. If the backing plate is larger than the pad, the hard plastic or metal edge of the plate can easily make contact with the paint, especially when working near curves or tight body lines, causing deep, irreparable gouges. Verify the pad dimensions and compatibility with your specific machine model and backing plate specifications before beginning.
Ignoring manufacturer instructions regarding compound curing times, working temperatures, or recommended application amounts can lead to poor results and paint damage. Every detailing product is formulated with specific chemical properties that dictate how it should be applied. Overloading a pad with too much compound does not increase its cutting power; instead, it saturates the pad, dampens the machine’s movement, and causes excessive product sling. On the other hand, using too little compound leads to dry buffing, which generates dangerous levels of heat. Always read the product labels to verify the correct amount of product to use and the recommended speed settings for your specific machine.
Handling Errors That Burn Paint or Leave Buffer Trails
Applying excessive downward pressure is one of the most instinctive yet damaging mistakes beginners make. When faced with a stubborn scratch, the natural reaction is to press down hard on the machine. However, modern polishing compounds rely on engineered abrasives that require a specific speed and motion to break down and polish the surface. Pressing down too hard creates extreme friction, which rapidly builds up heat in a localized area. This heat can soften the clear coat to the point where the pad burns right through it, exposing the base coat or primer. Let the weight of the car polish machine and the action of the pad do the work, using only enough hand pressure to keep the machine flat and stable.
Moving the machine too quickly across the paint or using an erratic, non-overlapping pattern is another common technique error. If you sweep the polisher rapidly back and forth, the abrasives do not have enough time to level the clear coat evenly. This results in patchy correction, missed spots, and unsightly buffer trails or holograms. To achieve a flawless, uniform finish, move the machine slowly—aiming for about two to three centimeters per second—and follow a strict, overlapping cross-hatch pattern. Overlap each pass by fifty percent to ensure that every square inch of the panel receives the exact same amount of correction.
Running the polisher on a dry pad is a major cause of micro-marring and paint haze. A dry pad lacks the lubrication provided by the polishing compound, causing the foam or microfiber material to grab and abrade the paint aggressively. Before you place a new pad on the paint, you must prime it by working a small amount of compound evenly into the face of the pad, ensuring there are no dry spots. As you work, remember to add fresh drops of compound for each new section, and clean the pad regularly with a pad brush or compressed air to remove spent product and paint residue.
Knowing when to stop immediately is critical to preventing permanent damage to your vehicle’s finish. You must monitor the temperature of the panel constantly by touching it with the back of your hand after each pass; if the paint feels hot, stop immediately and let it cool down. Other immediate stop conditions include the pad stalling (stopping its rotation), which indicates you are applying too much pressure or working at an incorrect angle, or the compound turning into dry, white dust, which means the product has dried out and is no longer lubricating the surface safely.
Inspecting Your Work and Knowing When to Stop Polishing
Wiping away residue properly is essential for an accurate inspection of your progress. After completing a polishing pass, the panel will be covered in spent compound and lubricating oils. Beginners often make the mistake of simply wiping this away with any old cloth, which can re-introduce scratches. Instead, use a clean, plush, high-quality microfiber towel and a dedicated panel prep spray or an isopropyl alcohol (IPA) solution. This chemical wipe dissolves the polishing oils that can temporarily fill and hide scratches, revealing the true, bare state of the clear coat.
Inspecting the paint under the correct lighting is the only way to verify if you have successfully removed defects. Standard garage lighting or direct sunlight can often hide fine scratches, holograms, and buffer trails. To get an accurate view, use a bright, diffuse LED detailing light or a high-intensity flashlight held at various angles to the panel. This specialized lighting will reveal any remaining micro-marring or faint circular shadows, letting you know if you need to adjust your technique or proceed to a finer finishing polish.
Recognizing the physical limits of your vehicle’s clear coat is a vital skill that prevents catastrophic paint failure. Every car has a limited amount of clear coat, and aggressive polishing removes a small fraction of this protective layer. If you encounter deep scratches that catch your fingernail, these have penetrated through the clear coat and into the paint or primer. No amount of machine polishing can safely remove these deep defects; attempting to do so will only result in burning through the clear coat. In these cases, you must accept the defect or seek professional help for localized paint repair.
Frequently Asked Questions (FAQ)
Can I use a car polish machine on matte or satin paint?
No, you should never use a car polish machine or abrasive compounds on matte or satin finishes. Polishing works by leveling the clear coat to create a flat, highly reflective surface, which will permanently ruin the flat, light-diffusing properties of matte paint. This results in unwanted glossy patches and uneven reflections that cannot be undone. For matte or satin finishes, consult your vehicle manufacturer’s specific care guide and use only dedicated, non-abrasive matte-safe cleaning and protection products.
How do I clean and store polishing pads after use?
To extend the lifespan of your polishing pads and prevent cross-contamination, clean them thoroughly immediately after your detailing session. Rinse out the spent compound residue using warm water and a dedicated pad cleaner, gently massaging the foam or microfiber to release the trapped product. Avoid using harsh household detergents or stiff-bristled brushes, as these can degrade the pad’s adhesive backing and delicate structure. Once clean, allow the pads to air-dry completely with the face pointing downward, and store them in a clean, dust-free container or zip-lock bag to prevent airborne debris from embedding in the fibers.

Community discussion
Share your experience or ask a question. Comments are reviewed before publication.