
Choosing the right car rim protector depends on three key factors: your wheel’s physical diameter, the geometry of its outer lip, and the condition of the alloy surface. A car rim protector acts as a sacrificial barrier against curb damage, but it only works if the attachment method matches your wheel design. Installing an incompatible style can lead to adhesive failure, tire bead interference, or poor aesthetic results.
Before purchasing any wheel accessory, you must evaluate how your vehicle is driven, where it is parked, and the exact specifications of your existing wheel and tire setup. This guide details how to assess your needs, compare protector designs, verify your sizing, and ensure a secure installation that withstands local driving conditions.
Assessing Your Need: Do Your Wheels Actually Require a Protector?
Before investing in a car rim protector, evaluate your daily driving environment and parking habits to determine if your wheels are at high risk. Tight parallel parking spaces, steep driveway ramps, and narrow concrete barriers in multi-storey carparks are primary sources of wheel damage. If you frequently navigate these tight spaces, a protector can absorb minor scuffs that would otherwise gouge your alloy wheels.
Products mentioned in this guide
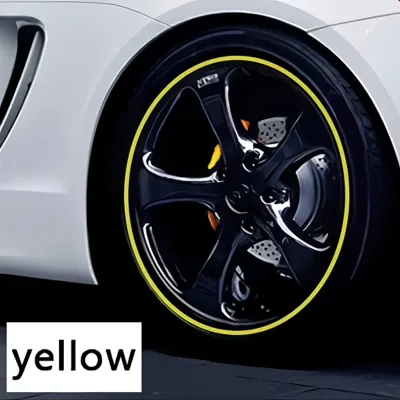
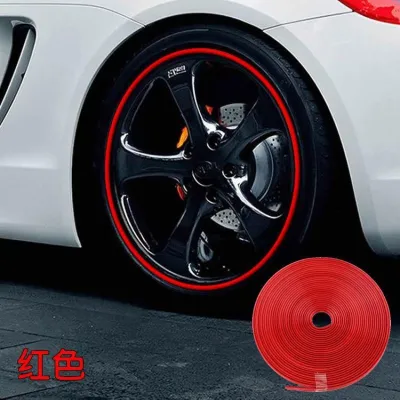
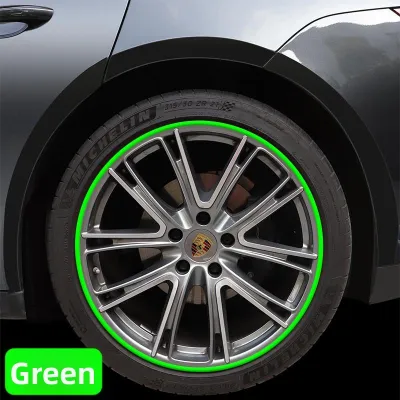
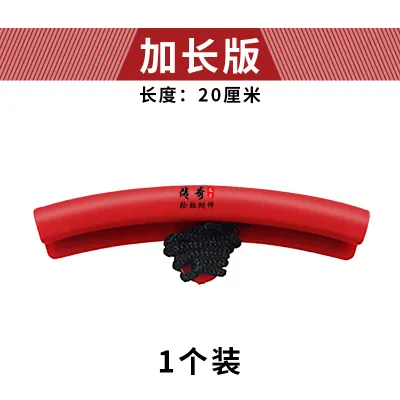
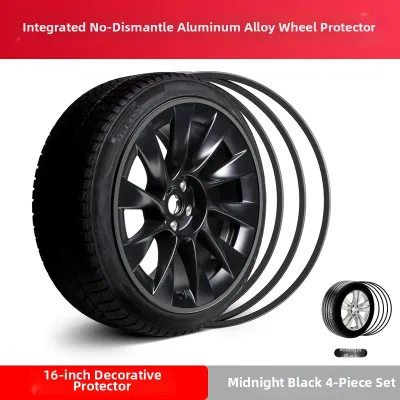
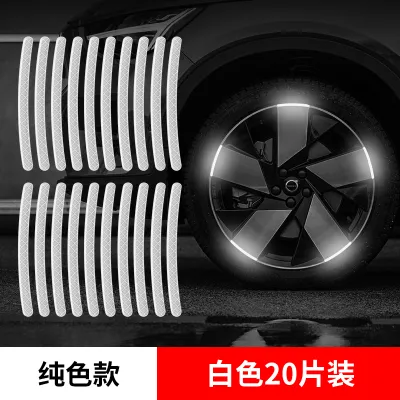
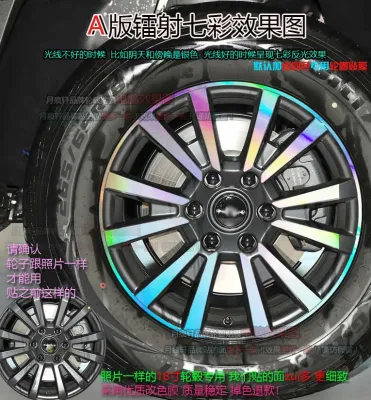
Prices are valid at publication and may change. Please refer to the product page for the latest price.
It is critical to distinguish between preventive protection for pristine wheels and attempting to cover up existing, deep curb rash. Rim protectors are designed to prevent damage, not to repair or structurally reinforce a compromised wheel. If your wheels already have deep structural gouges, sharp metal burrs, or peeling paint, an adhesive protector will not bond correctly. In these cases, the wheel must undergo professional alloy refurbishment to restore a smooth, structurally sound surface before any protector is applied.
There are also scenarios where skipping a protector entirely is the safest and most practical choice. Wheels with heavily damaged rims, highly complex spoke geometries that extend past the outer lip, or extremely narrow outer lips cannot safely support standard protectors. Attempting to force a fitment on an incompatible wheel design can cause the protector to detach at high speeds, posing a safety hazard to your vehicle and others on the road.
Matching Protector Styles to Your Wheel Lip and Spoke Design
The physical profile of your wheel face—whether flat, stepped, or deeply recessed—dictates the type of protector that can physically sit flush against the metal. If a protector does not align properly with the wheel’s geometry, it may interfere with the tire bead or fail to adhere correctly. Understanding these physical differences prevents installation failures and ensures the protector remains securely attached.

Adhesive Strips vs. Continuous Full Rings
Flexible adhesive strips are highly versatile and conform well to wheels with complex spokes, uneven lips, or stepped designs where a rigid ring cannot lay flat. These strips are typically made of flexible rubber or thermoplastic elastomers (TPE) and are applied directly to the outer edge of the rim using high-strength adhesive tape. Because they are flexible, they can adapt to minor variations in the wheel’s edge profile, making them compatible with a wider variety of aftermarket wheel designs.
Continuous full rings, on the other hand, are rigid or semi-rigid circles made of durable plastics or nylon. These are best suited for smooth, flat-lip wheels where a seamless look and uniform impact absorption are desired. Some full-ring designs lock directly into the gap between the tire and the wheel rim, requiring the tire to be deflated or demounted during installation. This mechanical locking mechanism provides excellent structural retention and superior impact resistance compared to purely adhesive options.
While adhesive strips offer easier installation and greater design flexibility, they present visual trade-offs, such as a visible seam where the two ends meet. Continuous full rings provide a cleaner, integrated appearance but require a perfectly flat, unobstructed outer wheel lip to seat properly. If your wheel spokes curve outward and overlap the outer rim edge, a continuous full ring will not fit, and flexible adhesive strips are the only viable option.
Universal Fit vs. Custom-Fit Profiles
Universal-fit protectors are highly cost-effective and designed to accommodate a broad range of wheel diameters. However, they often require manual trimming, precise cutting, and heat-gun shaping during installation to conform to your specific wheel curvature. Because they are designed to fit many different profiles, they may not sit perfectly flush on every wheel, leaving small gaps that can trap water, road grime, or brake dust, which gradually degrades the adhesive backing.
Custom-fit protectors are tailored for specific original equipment manufacturer (OEM) wheel profiles to ensure exact alignment with the wheel lip. These options minimize the risk of peeling or water ingress because they match the precise radius and edge thickness of the factory wheel. They provide a much tighter fit and a more integrated look, but they are limited to specific vehicle models and factory wheel options.
Before committing to any custom-fit claims, always check your exact wheel part number or manufacturer specifications. Aftermarket wheels or optional factory upgrades can change the wheel profile, rendering a model-specific protector incompatible. If you have modified your wheels, universal-fit protectors or flexible strips are generally safer choices, provided you take the time to measure and trim them with precision.
Sizing Checks: Verifying Wheel Diameter and Tire Overhang
To avoid purchasing the wrong size, you must accurately verify your wheel’s physical dimensions rather than relying on guesswork. Never assume your wheel size based on your car model or trim level alone, as previous owners or dealerships may have upgraded the wheels to an aftermarket size.
First, read the tire sidewall markings to confirm the exact wheel diameter. Look for the standardized alphanumeric sequence printed on the side of your tire (for example, 225/45/R18). The number immediately following the “R” indicates the wheel diameter in inches—in this case, an 18-inch wheel. Your rim protector must match this exact diameter; an R17 protector will not stretch to fit an R18 wheel, and an R19 protector will be too loose to secure safely.
Next, check the tire-to-rim overhang, which is the physical clearance between the tire sidewall and the outer edge of the metal rim. Use a straightedge or ruler placed flat against the tire sidewall to see if the tire rubber bulges outward past the metal lip, or if the metal lip is exposed. The rim protector must sit flush against the metal lip without protruding past the tire’s outermost rubber edge. If the protector sticks out further than the tire rubber, it will scrape against obstacles during normal driving, causing the adhesive to shear and the protector to peel off prematurely.
Additionally, verify that there is adequate clearance between the wheel rim and the tire bead. If you are choosing a locking-ring style protector that inserts between the tire and the wheel, consult a professional tire shop to ensure the protector’s thickness will not compromise the tire’s bead seal or affect inflation safety.
Installation Realities and Climate Considerations for Local Driving
Proper surface preparation is the single most important factor in determining how long an adhesive rim protector will stay attached. Before installation, the wheel must be thoroughly washed to remove all brake dust, road grime, and tire shine overspray. Follow this with a dedicated degreasing step using isopropyl alcohol or an authorized prep solution to strip away any remaining microscopic oil barriers. Any leftover residue will severely compromise the adhesive bond, leading to premature lifting.
Local climate conditions play a major role in adhesive longevity. In tropical environments like Singapore, high ambient temperatures, intense sunlight, and heavy, frequent rainfall accelerate the degradation of standard adhesives. To prevent the protector from peeling off at high speeds, you must use automotive-grade, weather-resistant acrylic foam adhesives (such as high-temperature VHB tapes) rather than standard household glues. These specialized adhesives are engineered to withstand extreme road surface temperatures and constant moisture exposure without losing structural integrity.
Always check your wheel manufacturer’s care instructions and warranty terms before applying any adhesive or mechanical protector. Some aftermarket finishes, including delicate painted, highly polished, anodized, or diamond-cut alloy surfaces, can be damaged by strong adhesives or the chemical solvents required to remove them. If your wheels feature a specialized clear coat or custom finish, verify that the adhesive chemical composition is safe for that specific material to avoid voiding your wheel warranty.
Your Decision Path: Choosing the Right Protector Based on Your Diagnosis
To determine the best course of action for your vehicle, match your wheel’s current condition and design to one of the following three paths:
- Path A (Standard, Flat-Lip Wheels in Good Condition): If your wheels have a smooth, flat outer lip with no existing damage, purchase universal or custom-fit continuous full rings. These provide the cleanest, seamless look and offer excellent, uniform impact absorption across the entire circumference of the wheel.
- Path B (Complex, Lipped, or Stepped Wheel Designs): If your wheels feature intricate spoke designs, stepped lips, or multi-piece construction, opt for flexible adhesive strips or highly adaptable universal-fit profiles. These flexible materials can conform to irregular shapes and can be custom-trimmed to fit around complex spoke configurations.
- Path C (Damaged or Unsuitable Wheels): If your wheels already have deep structural gouges, severe curb rash, or peeling clear coats, skip the rim protector entirely. Your first step must be to seek professional alloy wheel refurbishment to repair the damage and restore a smooth, safe surface. Once the wheels are professionally restored, you can re-evaluate Path A or Path B.
Frequently Asked Questions (FAQ)
This section provides quick reference answers to common technical and maintenance concerns regarding the use of rim protectors on modern alloy wheels.
Will removing adhesive rim protectors damage my alloy wheels?
Removing adhesive rim protectors is generally safe if done correctly using heat and gentle plastic prying tools. Use a heat gun or hairdryer on a low setting to soften the adhesive backing before slowly peeling the protector away from the metal. Avoid using metal scrapers or harsh chemical solvents that are not rated for automotive paint. Be aware that painted, powder-coated, or diamond-cut wheels may suffer clear-coat peeling or adhesive residue damage if the finish was already compromised or if the removal is forced. Always test any adhesive remover on a small, hidden area of the wheel first, or consult a professional wheel technician if you are unsure.
Do rim protectors affect wheel balancing or TPMS sensors?
Standard, lightweight rim protectors generally do not disrupt dynamic wheel balancing because their weight is distributed evenly around the circumference of the wheel. However, if an adhesive strip is cut unevenly or installed with significant overlapping, it can introduce a minor imbalance that may require re-balancing at a tire shop. Externally mounted rim protectors do not interfere with internal Tire Pressure Monitoring System (TPMS) sensors, as they sit on the outer metal lip and do not block the valve stem or modify the internal air chamber. For locking-ring style protectors that require tire demounting, have a qualified technician perform the installation and re-balance the wheel assembly to ensure continued safety and sensor accuracy.
Community discussion
Share your experience or ask a question. Comments are reviewed before publication.