
To keep your KTM Duke 390 stopping safely, you must regularly inspect the condition of your brake pads. A visual check is the most direct way to assess wear. Position your motorcycle on flat ground and use a flashlight to peer into the brake caliper window. Look for the small wear indicator grooves cut into the pad’s friction material. If these grooves are no longer visible, or if the remaining material looks thinner than 1 mm, your pads require immediate replacement.
Listening to your motorcycle during braking also provides critical clues. A high-pitched squealing or scraping noise often indicates that the pads are glazed or that the wear indicators are making contact with the rotor. If you hear a harsh, metallic grinding sound, the friction material has worn away completely. This means the metal backing plate is pressing directly against the rotor, which causes severe damage and compromises your safety.
Your hands and feet can feel when something is wrong with the braking system. A spongy or soft brake lever often points to air in the hydraulic lines, but it can also occur when pads are unevenly worn or glazed from overheating. If you feel a pulsing sensation or vibration through the lever or pedal when applying pressure, this suggests uneven pad wear or a warped brake rotor.
Products mentioned in this guide
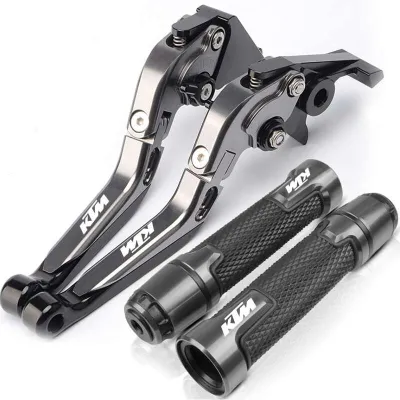
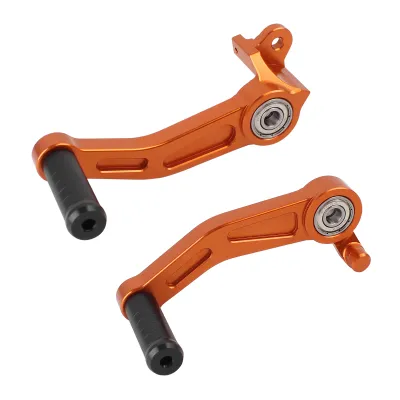
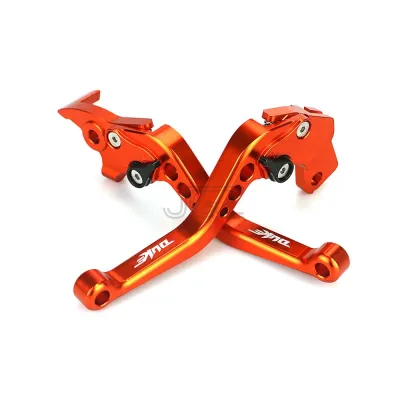
Prices are valid at publication and may change. Please refer to the product page for the latest price.
Finally, monitoring your brake fluid reservoirs is an excellent indirect way to track pad wear. As the friction material thins, the caliper pistons must extend further to push the pads against the rotor. This displacement draws fluid down from the master cylinder, causing the level in the sight glass to drop. If you notice the fluid level is low, inspect your pads before topping up, as installing new pads will push the pistons back and could cause the reservoir to overflow.
Choosing the Right Brake Pad Compound for Your Riding Style
Selecting the right brake pad compound for your Duke 390 depends heavily on your daily riding environment and personal habits. Organic compounds, often made from rubber, glass, and resins, are highly suitable for daily street commuting. These pads offer a smooth, predictable initial bite and operate very quietly. They are gentle on your brake rotors, which helps extend the life of the disc. However, organic pads wear down relatively quickly and can lose stopping power under extreme heat.
Sintered metallic compounds are manufactured by fusing metallic particles together under intense heat and pressure. This compound is often the standard choice for riders who enjoy aggressive canyon carving or occasional track days. Sintered pads offer exceptional heat resistance and a strong, progressive bite that remains consistent even under heavy use. The trade-offs include faster rotor wear, increased brake dust, and occasional low-speed squealing when the brakes are cold.
Ceramic compounds provide a balanced, premium option for riders seeking a middle ground. Composed of ceramic fibers and non-ferrous metal filaments, these pads deliver stable performance across a wide temperature range. They produce minimal brake dust, keep your wheels cleaner, and operate almost silently. While they do not offer the extreme high-temperature bite of sintered pads, they are highly durable and gentle on your rotors.
When choosing, match the compound to your primary riding environment. Commuters who prioritize quiet operation and rotor longevity will benefit most from organic pads. Riders who demand high stopping power during spirited runs should opt for sintered metallic pads. For those who want a clean, quiet, and consistent ride across mixed conditions, ceramic pads represent an excellent investment.
Essential Steps and Safety Rules for Brake Pad Replacement
Replacing brake pads is a critical maintenance task that directly impacts your safety on the road. If you lack the proper tools, experience, or confidence to perform this work, always have it completed by a qualified motorcycle mechanic. Before starting, consult your Duke 390 owner’s manual to verify the exact torque specifications, mounting positions, and interface requirements for your specific model year.

Begin by securing your motorcycle on a stable paddock stand on flat ground. Cover your front fender, fuel tank, and surrounding bodywork with clean cloths to protect them from accidental brake fluid spills, which can quickly ruin paint. Gather your tools, including a socket set, a piston retraction tool, a soft toothbrush, and a can of dedicated motorcycle brake cleaner.
Once you remove the caliper mounting bolts and slide the caliper off the rotor, extract the retaining pins to release the old pads. Before pushing the caliper pistons back into their bores, spray them thoroughly with brake cleaner and scrub away accumulated road grime and brake dust. Pushing dirty pistons back can damage the delicate rubber seals, leading to fluid leaks or sticky calipers that drag against the rotor.
Carefully retract the pistons to make room for the thicker new pads, keeping a close eye on the master cylinder reservoir to ensure the rising fluid does not overflow. Install the new pads, secure the retaining hardware, and mount the caliper back onto the fork leg, tightening all bolts to the manufacturer’s specified torque. Before riding, pump the brake lever several times to restore hydraulic pressure, and perform a series of gentle, controlled stops from moderate speeds to bed in the new pads.
Frequently Asked Questions (FAQ)
Do I need to replace the brake rotors when changing the pads?
You do not always need to replace the brake rotors when installing new pads, but a thorough inspection is essential. Run your fingernail across the rotor surface to check for deep grooves, ridges, or uneven wear. Look closely for signs of warping, heat discoloration, or severe rust. Use a micrometer to measure the thickness of the rotor at several points and compare it to the minimum thickness specification stamped on the rotor carrier. If the rotor is worn below this limit, warped, or deeply grooved, you must replace it to ensure proper braking performance and safety.
Why is my brake lever feeling spongy after installing new pads?
A spongy brake lever after a pad replacement typically indicates that air has entered the hydraulic lines or that the new pads are not fully seated. If you opened the hydraulic system or pushed the pistons back too rapidly, air bubbles may have been introduced, requiring a proper brake bleeding procedure to restore pressure. Additionally, ensure that the caliper pistons were retracted evenly and that the caliper is correctly aligned on its mounting bracket. If the spongy feeling persists after bleeding the brakes and verifying the alignment, do not ride the motorcycle and consult a qualified mechanic immediately.
Community discussion
Share your experience or ask a question. Comments are reviewed before publication.