
To address cosmetic scuffs and scrapes on your wheels at home, selecting the right rim repair kit requires a clear understanding of your wheel’s material, the severity of the damage, and the chemical compatibility of the repair materials. A complete, high-quality rim repair kit must provide the necessary abrasive papers, high-adhesion metal fillers, primers, color-matched paints, and protective clear coats to restore your wheel’s appearance. By matching the kit’s components to your specific wheel finish, you can achieve a clean, lasting repair while avoiding costly professional refurbishment for minor curb rash.
Identify Your Wheel Damage to Choose the Right Kit
Before purchasing any repair products, you must accurately diagnose the type and extent of the damage on your wheels. Wheel damage generally falls into two categories: cosmetic surface wear and structural defects. Cosmetic issues include light surface scratches, minor curb rash, clear coat peeling, and shallow stone chips. These blemishes only affect the outer paint or clear coat layers and do not compromise the structural integrity of the wheel. DIY rim repair kits are designed specifically and exclusively for these cosmetic surface restorations.
In contrast, structural damage presents a severe safety hazard. This category includes deep cracks, bent or buckled rims, flat spots, missing chunks of the alloy, or any damage that extends to the bead seat where the tire seals against the wheel. Wheels are subjected to extreme rotational forces, cornering loads, and impact stresses from road imperfections. Any structural compromise can lead to sudden wheel failure, rapid tire deflation, or loss of vehicle control at high speeds. DIY kits cannot restore the structural strength of cast or forged aluminum. If you observe any bends, cracks, or deep gouges that penetrate past the outer cosmetic layer, you must bypass DIY repair entirely and seek an immediate professional assessment from a qualified wheel specialist.
Products mentioned in this guide
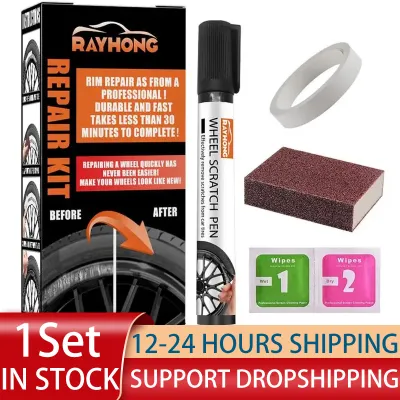
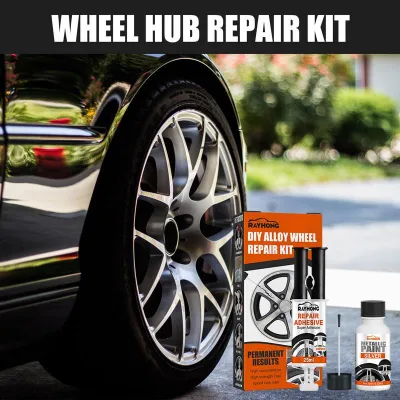
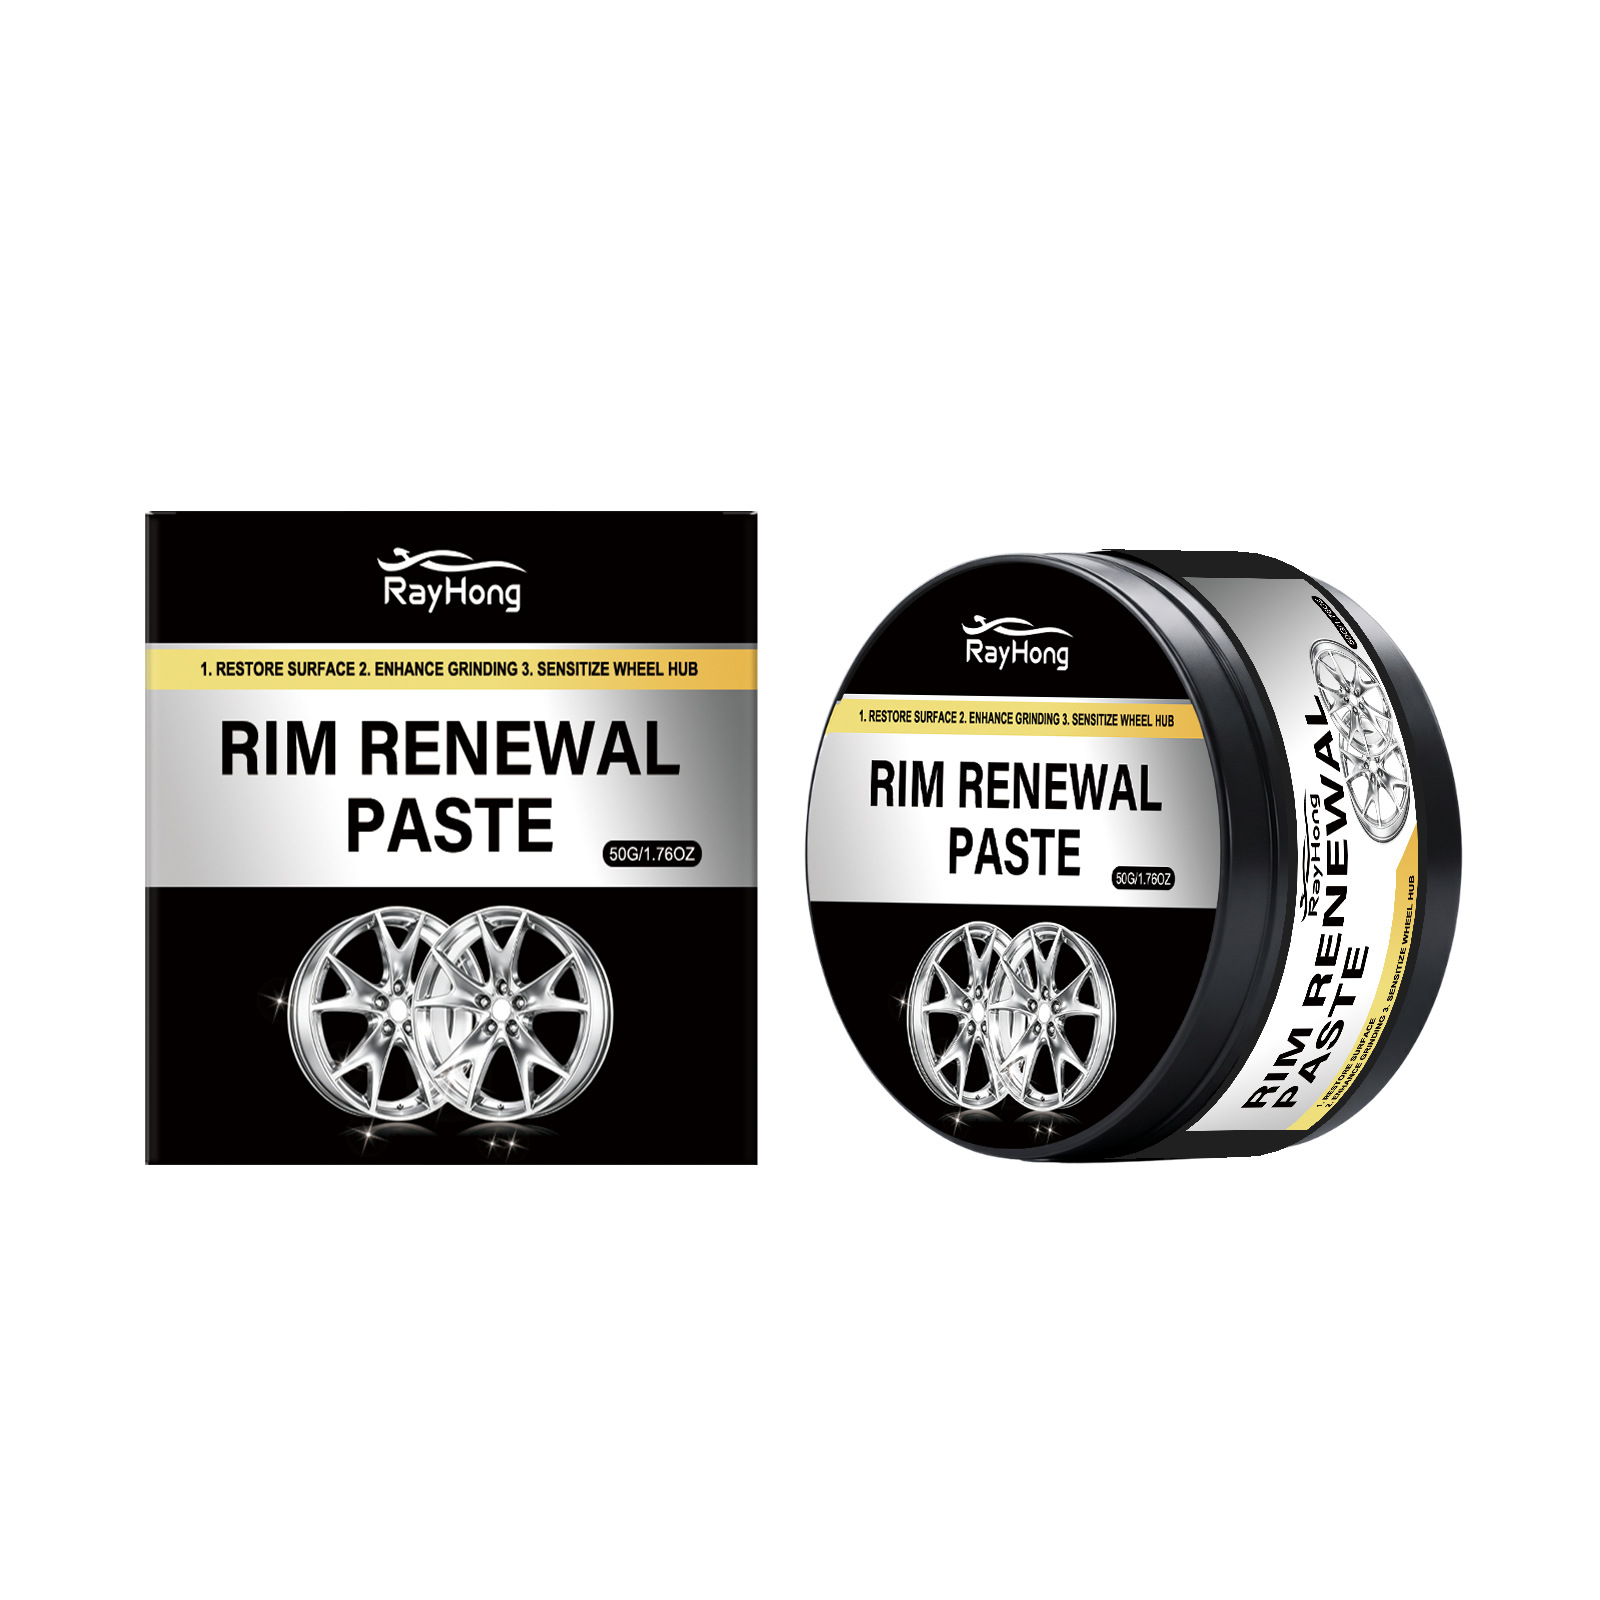
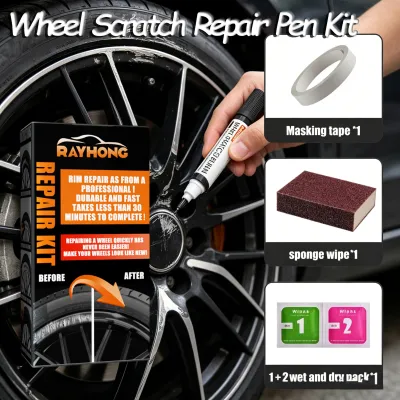
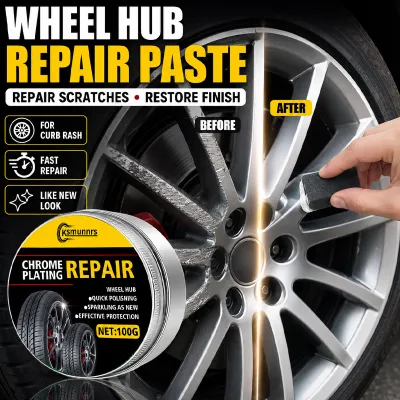
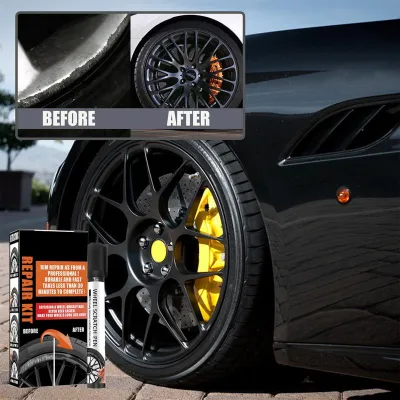
Prices are valid at publication and may change. Please refer to the product page for the latest price.
Additionally, you must identify your wheel’s material and factory finish to ensure chemical and aesthetic compatibility. Most modern vehicles are equipped with painted aluminum alloy wheels, which are the primary candidates for DIY kits. However, steel wheels require different primer formulations to prevent rust, while specialty finishes like chrome, polished aluminum, or diamond-cut faces require highly specialized processes. Diamond-cut wheels feature a micro-grooved metallic face created by a precision CNC lathe, covered by a clear coat. Applying standard silver paint to a diamond-cut wheel will ruin its distinctive two-tone appearance. Always verify your wheel’s specific finish type and consult your vehicle manufacturer’s care instructions before selecting any repair products.
Must-Have Components in a Quality Rim Repair Kit
A comprehensive rim repair kit should contain all the essential tools and chemical agents required to complete the repair process from initial surface preparation to the final protective seal. Relying on incomplete kits often leads to poor adhesion, uneven surfaces, and premature paint peeling. When evaluating different kits, ensure they contain the following four categories of components:

Preparation Tools Proper surface preparation is the most critical step in ensuring a long-lasting repair. Your kit should include an assortment of wet-and-dry sandpaper grits. Coarse grits (such as 240-grit or 320-grit) are necessary to grind down sharp metal burrs and level the damaged area. Medium and fine grits (such as 400-grit, 800-grit, and 2000-grit) are required to smooth out the filler and feather the edges of the surrounding factory paint. Additionally, the kit must include high-quality, high-tack masking tape to protect your tire sidewall and adjacent wheel spokes from accidental sanding or overspray. Specialized cleaning solvents, such as isopropyl alcohol wipes or paint-safe degreasers, are also essential to remove stubborn brake dust, road tar, and silicone residues that prevent paint adhesion.
Filling Materials For repairs involving physical indentations or curb rash, a high-quality filling material is mandatory. Look for kits that feature a two-part epoxy putty or a specialized metallic polyester alloy filler. These materials are engineered to bond directly with aluminum and steel. Once fully cured, the filler must be sandable, carvable, and capable of holding a sharp edge to reconstruct the wheel’s outer lip contour.
Finishing Materials The aesthetic success of your repair depends heavily on the quality of the finishing chemicals. A complete kit must include an adhesion-promoting primer, which provides a chemical bridge between the bare alloy or filler and the color coat. Next is the color-matched wheel paint, typically available in common automotive shades like metallic silver, gunmetal grey, or gloss black. Finally, the kit must provide a durable, UV-resistant clear coat to seal the paint, protect the repair from corrosive brake dust, and match the gloss level of the rest of the wheel.
Application Tools Precision application tools prevent messy finishes and ensure clean lines. Ensure your kit includes small, fine-tipped detail brushes for touch-up paint, plastic or flexible metal spatulas for mixing and spreading the epoxy putty, and microfiber polishing pads to buff the final clear coat.
Before starting, always verify that all included solvents, primers, and paints explicitly state their safety for use on automotive clear coats and your specific wheel finish on the product label. If instructions conflict, the treated item is unidentified, or the use is not covered, stop and consult the manufacturer or a qualified professional.
Recommended Rim Repair Kit Types for Different Damage Levels
Selecting the right kit formulation depends heavily on matching the product to the depth of the damage and your personal comfort level with DIY tasks. Rim repair kits are generally categorized into three distinct types, each suited for specific scenarios.
Paint and Clear Coat Touch-Up Kits
These kits are designed specifically for addressing minor cosmetic surface scratches, small stone chips, and localized clear coat peeling where the underlying alloy metal has not been gouged or scraped away. They typically contain a small bottle of color-matched paint, a clear coat applicator, and basic fine-grit sanding blocks.
- Pros & Cons: These kits are highly beginner-friendly, require minimal sanding, and carry a very low risk of making the damage look worse. However, they lack any structural filling compounds, meaning they cannot fill deep physical indentations or level out rough curb rash.
- Pre-Purchase Check: Before purchasing, verify the paint viscosity and the applicator tip size. A fine-point pen tip is ideal for pinpoint stone chips, while a small brush applicator is better suited for longer, thin scratches.
Filler and Paint Combination Kits
These kits represent the standard for addressing moderate curb rash, scuffs, and shallow gouges where the alloy wheel has been physically scraped but remains structurally sound. They bundle together epoxy putty or metallic fillers with primers, paints, and clear coats.
- Pros & Cons: By including a filling compound, these kits allow you to rebuild the lost metal contours of your wheel's lip, resulting in a virtually seamless repair. The trade-off is that they require significantly more patience, multiple stages of dry and wet sanding, and intermediate DIY skills to shape the putty correctly.
- Pre-Purchase Check: Ensure the included filler is explicitly labeled as heat-resistant. Your car's braking system generates substantial thermal energy during operation, which transfers directly to the wheel hub and spokes. Standard household or wood fillers will crack, bubble, or degrade under these high temperatures; only specialized automotive alloy fillers can withstand these thermal cycles.
Professional-Grade Alloy Repair Kits
These kits are aimed at restoring severe cosmetic damage across larger surface areas of standard painted alloy wheels. They feature professional-grade aerosol spray cans for the primer, paint, and clear coat, along with industrial-strength two-part chemical fillers.
- Pros & Cons: The use of aerosol spray cans allows for a highly atomized, factory-like paint application that blends seamlessly with the undamaged areas of the wheel. The clear coats provided are often highly durable and chemical-resistant. However, these kits have a steep learning curve, require meticulous masking of the entire tire and vehicle, and demand a well-ventilated, completely dust-free environment to prevent airborne particles from ruining the wet paint.
- Pre-Purchase Check: Confirm that the kit includes ample masking materials, such as tire masking cards or oversized plastic sheeting. Additionally, verify that the aerosol propellants and paint chemicals are suitable for the ambient temperature and environmental conditions in which you plan to apply them.
Comparing Rim Repair Kit Types
To help you decide which kit matches your specific repair needs, the following matrix compares the three primary options across key performance and usability dimensions:
| Kit Type | Damage Severity | Skill Level Required | Curing Time | Finish Durability |
|---|---|---|---|---|
| Paint & Clear Coat Touch-Up | Minor (scratches, chips) | Beginner | 1 to 2 hours | Moderate (requires careful washing) |
| Filler & Paint Combination | Moderate (curb rash, gouges) | Intermediate | 12 to 24 hours | High (heat-resistant, durable bond) |
| Professional-Grade Alloy | Severe Cosmetic (large scuffs) | Advanced | 24 to 48 hours | Very High (excellent chemical resistance) |
Safety Boundaries and Climate Considerations for DIY Repairs
When undertaking wheel repairs at home, you must prioritize chemical safety, component compatibility, and the impact of your local environment on the chemical curing process. Automotive paint and repair chemicals require careful handling to protect both your health and your vehicle’s components.
Chemical Safety and PPE Aerosol primers, color coats, clear coats, and strong degreasing solvents release volatile organic compounds (VOCs) and fine chemical mists that are hazardous if inhaled or absorbed through the skin. Always perform your repairs in a highly ventilated area, preferably outdoors or in an open carport. Wear appropriate personal protective equipment (PPE), including solvent-resistant nitrile gloves, safety goggles to protect against flying metal debris during sanding, and a well-fitting particulate respirator mask when spraying or sanding.
Compatibility and Component Protection Before applying any solvent, filler, or paint to your wheel, perform a spot test on an inconspicuous area, such as the inner barrel or the back of a spoke. This step ensures the repair chemicals will not react negatively with or strip the original factory finish. Furthermore, take extreme care to protect adjacent vehicle components. Mask off or temporarily remove wheel weights, tire valve stems, and tire pressure monitoring system (TPMS) sensors. Getting paint or epoxy on these sensitive electronic and mechanical components can interfere with their operation, potentially leading to inaccurate tire pressure readings or wheel imbalance. If your wheel features complex multi-piece construction or integrated sensors that you cannot safely isolate, consult a qualified professional before proceeding.
Climate Impact in Singapore If you are performing this repair in Singapore, you must account for the local tropical climate, which is characterized by high ambient temperatures (often around 30°C to 33°C) and consistently high relative humidity (frequently exceeding 80%). These environmental factors drastically alter how solvents evaporate and how paints cure:
- Solvent Flashing: High temperatures cause the solvents in spray paints to evaporate (flash) very quickly. If the paint dries too fast mid-air before landing on the wheel, it can create a rough, textured surface known as "dry spray."
- Moisture Blushing: High humidity can trap moisture within the wet clear coat layer as it dries. This leads to "blushing," a phenomenon where the clear coat develops a cloudy, milky, or dull appearance instead of a crystal-clear gloss.
- Filler Curing: While high heat can accelerate the initial hardening of epoxy fillers, excessive humidity can interfere with the chemical cross-linking of certain two-part resins, potentially weakening the final bond.
To mitigate these climate challenges, avoid working in direct midday sunlight, which can superheat the metal wheel and cause instant paint flashing. Instead, perform your repairs in a shaded, covered, and well-ventilated area during the cooler morning hours. Monitor the weather and avoid painting if rain is imminent, as the sudden spike in humidity will almost certainly cause clear coat clouding. Apply multiple thin, light coats of paint and clear coat rather than a single heavy coat; this allows solvents to escape cleanly without trapping moisture or creating paint runs.
Manage Your Expectations: DIY Results vs. Professional Refurbishment
While high-quality rim repair kits can deliver impressive cosmetic improvements, it is essential to maintain realistic expectations regarding the final aesthetic outcome and long-term durability of a home repair compared to a professional refurbishment service.
One of the greatest challenges of DIY wheel repair is achieving a perfect color match. Factory wheel finishes are highly complex. Many modern wheels use multi-stage metallic paints, hyper-silver finishes (which require a specific black undercoat and semi-transparent silver topcoats), or dark tinted clear coats. Standard silver paints included in retail kits are designed to be general matches and will rarely align perfectly with your specific vehicle’s factory hue. Under direct sunlight, the boundary between the repaired area and the original paint may remain slightly visible. Furthermore, wheels with machined faces or diamond-cut edges feature microscopic concentric grooves that reflect light in a distinct rainbow pattern. A DIY paint kit cannot replicate this metallic texture; any painted repair on a diamond-cut face will appear as a flat, painted patch.
There is also a significant durability gap between DIY materials and professional refinishing. Professional wheel refurbishment shops chemically strip the entire wheel, apply electrostatic powder coatings, and bake the finishes in high-temperature curing ovens. This process creates an incredibly hard, durable, and chemical-resistant shell. In contrast, DIY kits rely on air-dried acrylic or single-part polyurethane paints. These air-cured finishes are inherently softer and more susceptible to stone chips, road debris, and the corrosive effects of hot brake dust. Over time, a DIY repair may require periodic touch-ups or eventual professional rework to maintain its appearance.
You should abandon the DIY approach and seek a qualified wheel refurbishment specialist under the following conditions:
- The wheel has sustained structural damage, such as a bend, crack, or flat spot.
- The cosmetic damage covers more than 25% of the wheel's surface area, making a hand-blended repair highly noticeable.
- The wheel features a diamond-cut or polished chrome finish that requires CNC lathe machining or professional chemical re-plating to restore.
- The damage has exposed bare alloy in a highly corrosive environment, and deep pitting or oxidation has already begun to undermine the surrounding paint.
Frequently Asked Questions (FAQ)
Can I use a rim repair kit on chrome or polished wheels?
No, you should not use standard filler-and-paint rim repair kits on chrome or bare polished aluminum wheels. Standard kits are formulated specifically to bond with and match painted alloy finishes. Applying these materials to a mirror-like chrome or polished surface will ruin the reflective finish and will fail to adhere properly, resulting in peeling and an unsightly appearance. For chrome wheels, minor surface tarnish should be treated with specialized, non-abrasive metal polishes. For deep scratches or peeling chrome plating, you must consult a professional wheel refinishing shop that specializes in chemical stripping and electroplating.
How long should I wait before washing my car after a DIY rim repair?
Although the clear coat in a rim repair kit may feel dry to the touch within 1 to 2 hours—especially in Singapore’s warm climate—the underlying chemical layers require significantly more time to fully cure, cross-link, and harden. You should wait at least 48 hours before exposing the wheel to light water contact, and a minimum of 7 days before washing your car thoroughly. Avoid using high-pressure water sprays directly on the repaired area, automatic car washes, or aggressive wheel cleaners and degreasers during this 7-day curing window, as these harsh forces and chemicals can easily strip or dull the freshly applied clear coat.
Community discussion
Share your experience or ask a question. Comments are reviewed before publication.