
The safest and most reliable way to transport a bicycle on a vehicle roof rack is by using high-quality cam buckle straps made from heavy-duty, UV-resistant polyester webbing. Unlike mechanical ratchet straps, which can easily apply excessive force and crush lightweight bicycle frames, cam buckle straps rely on manual pulling tension. This design provides precise control, ensuring the bike is held securely without risking structural damage.
Securing a bicycle to a roof rack presents unique dynamic challenges. The bike is exposed to high-velocity wind, sudden braking, and constant road vibrations. Choosing the correct tie down strap is not just a matter of convenience; it is a critical safety decision that protects your bicycle, your vehicle, and other road users.
Why Roof Rack Transport Requires Specific Tie Down Straps
When you mount a bicycle on top of your car, it acts like a sail. At highway speeds—such as driving at 90 km/h along Singapore’s Pan Island Expressway (PIE) or East Coast Parkway (ECP)—the bike is subjected to massive aerodynamic drag and upward lift. A standard utility strap that stretches or slips under dynamic loads will quickly fail, allowing the bike to sway or lift. This lateral movement can destabilize the vehicle’s handling and place immense stress on the roof rack mounting points.
Products mentioned in this guide

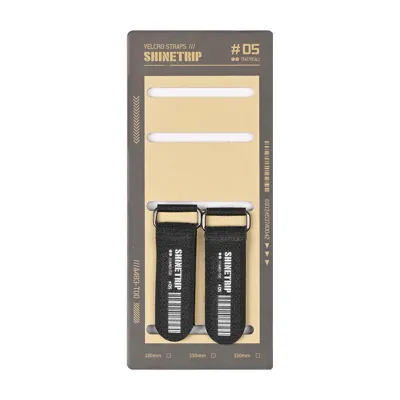
![[SG 🚚] 1M Lashing Strap W/ Buckle Nylon Quick Release fr Cargo Tie Down Luggage Bag](https://img.lazcdn.com/g/p/ce8e306f523e8daf0180e5a61e0003a6.jpg_400x400q80.jpg_.webp)
Prices are valid at publication and may change. Please refer to the product page for the latest price.
Road vibrations from uneven asphalt, speed bumps, and expansion joints on flyovers are transmitted directly through the vehicle’s suspension to the roof rack. This constant high-frequency shaking can cause low-quality buckles to slip or cheap nylon straps to stretch. In Singapore’s tropical climate, sudden downpours can also lubricate the strap material, increasing the risk of slippage if the hardware lacks a high-grip design.
Bicycles, particularly modern carbon fiber road bikes or lightweight aluminum mountain bikes, are engineered to withstand specific directional forces (like riding over bumps) but are incredibly vulnerable to lateral crushing forces. A strap that is too tight or poorly positioned can easily crack a carbon top tube. Conversely, a loose strap allows the bike to rock, scratching the car’s paintwork, denting the roof, or damaging the roof rack crossbars. Specialty straps prevent these risks by balancing secure tensioning with frame protection.
Cam Buckle vs. Ratchet Straps: Which is Safer for Bikes?
While both types of straps are widely available in automotive shops and online marketplaces, they serve fundamentally different purposes. Understanding their mechanical differences is crucial to protecting your bicycle and vehicle.

Cam Buckle Straps: The Safer Default for Bike Frames
Cam buckles feature a spring-loaded thumb trigger with a ridged, cast-metal cam. You thread the webbing through the buckle and pull it tight by hand. The teeth of the cam bite into the webbing, preventing it from slipping backward under load.
Because there is no mechanical leverage, the maximum tension is limited by your physical pulling strength. This manual feedback makes it almost impossible to accidentally apply enough force to crush a delicate carbon fiber frame or bend thin-walled aluminum tubes. You can feel exactly how tight the strap is as you pull.
These straps are exceptionally fast to thread, adjust, and release. When you are lifting a bike onto a high roof rack, especially on an SUV or crossover, you want a securing mechanism that is simple, quick, and manageable with one hand while the other hand stabilizes the bicycle. Cam buckles allow you to lock the bike in place in seconds.
Ratchet Straps: High Risk of Over-Tightening
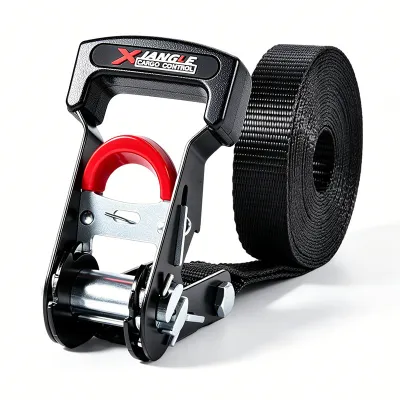
Ratchet straps use a gear-and-pawl mechanism operated by a handle. This design provides immense mechanical advantage, allowing a user to easily generate hundreds of kilograms of clamping force with minimal effort.
While excellent for securing heavy cargo like timber or motorcycles, this extreme force is highly destructive to bicycles. It takes only a couple of extra clicks of a ratchet handle to crush a bicycle’s top tube, warp a wheel rim, or bend the aluminum crossbars of your roof rack. In severe cases, the downward tension can pull so hard on the rack that it deforms the vehicle’s roof gutters or mounting points.
The only scenario where a ratchet strap might be considered is when securing heavy, steel-framed cargo or exceptionally heavy utility e-bikes (often weighing over 25 kg) to heavy-duty, reinforced commercial rack systems. Even then, the strap must only secure the wheels or heavy steel frame elements, and extreme caution must be exercised. For standard recreational bikes, ratchet straps should be avoided entirely.
Must-Have Features for Roof Rack Bike Straps
To ensure maximum safety and protect your gear, look for these specific features when purchasing a tie down strap:
Soft Loops and Protective Sleeves Direct contact between rough webbing and a bicycle’s painted frame or a roof rack’s anodized finish can cause severe abrasion over time. Look for straps with integrated soft loops or sliding neoprene sleeves. These allow you to loop the strap around the frame or rack without any hard materials rubbing against sensitive surfaces.
Buckle Coating Metal buckles can easily swing and strike your car’s roof or the bike’s frame during loading or unloading. Choose straps with rubberized or silicone-coated buckles. This protective padding acts as a bumper, preventing unsightly dings, chips, and scratches on your vehicle’s paintwork.
Webbing Material and Width The webbing should be made of high-tenacity, UV-resistant polyester rather than nylon. Nylon tends to stretch when wet and degrades more rapidly under intense sunlight. Polyester retains its tension, resists water absorption, and withstands prolonged exposure to harsh tropical UV rays. A width of 1 inch (25 mm) to 1.5 inches (38 mm) is ideal, providing a balance of high break strength (typically rated for at least 200 kg to 400 kg) and a wide footprint that distributes pressure evenly across the frame.
Appropriate Length A strap that is too short won’t reach your anchor points, while an excessively long strap leaves meters of loose webbing to manage. For roof rack bike transport, a length of 6 to 10 feet (approximately 1.8 to 3 meters) is usually perfect. This provides enough length to loop around the frame and secure to the crossbars without creating a massive bundle of excess strap.
Step-by-Step Guide to Securing Bikes on a Roof Rack
Always consult your vehicle’s manual, the roof rack manufacturer’s instructions, and your bicycle manufacturer’s guidelines before mounting and securing your bike. Ensure your roof rack is rated for the total weight of your bicycles and that the rack itself is professionally installed or verified according to the manufacturer’s specifications.
1. Anchor Point Selection Identify the strongest structural points on your roof rack. These are typically the metal crossbars themselves or dedicated heavy-duty tie-down loops integrated into the rack system. Never attach straps to plastic end caps, decorative vehicle trim, wind fairings, or thin plastic components, as these can easily snap under the dynamic loads of highway driving.
2. Routing the Strap Thread the strap through the bicycle’s main frame triangle (the intersection of the top tube, down tube, and seat tube). This ensures that even if the bike shifts slightly, it remains physically trapped within the loop of the strap. Avoid wrapping straps solely around components that can rotate, slide, or bend, such as the handlebars, seat post, front forks, or wheels. While wheel straps are excellent for keeping the wheels from spinning or sliding in their trays, they must be supplemented by frame-securing straps.
3. Proper Tensioning Thread the free end of the webbing through the underside of the cam buckle. Pull the strap tight with steady, firm hand pressure. The bike should be held snugly against the rack cradle or tray with absolutely zero wobble. Stop pulling immediately if you observe any flexing in the bicycle frame, or if the protective rubber padding on the buckle begins to deform excessively.
4. Managing Loose Ends Once tensioned, you will have excess webbing flapping in the wind. At highway speeds, a loose strap end acts like a whip, creating loud, distracting buzzing noises and potentially scratching your car’s roof or wrapping around other components. Secure the excess tail by wrapping it tightly around the crossbar and tying it off with a series of half-hitches, or use integrated hook-and-loop keepers to hold it flat.
Pre-Drive Safety Checks and Local Route Considerations
Before setting off, perform a physical “shake test.” Grasp the bicycle by the frame or seat post and shake it firmly in all directions. The entire vehicle should rock slightly on its suspension; if the bike moves independently of the roof rack, your straps are not tight enough or are routed incorrectly.
Once on the road, pull over safely after the first few kilometers of your journey to re-inspect the straps. Webbing can settle, and the bicycle may shift slightly into its cradles during initial acceleration, braking, and cornering, which can reduce strap tension. A quick adjustment ensures safety for the rest of your trip.
When driving in Singapore, carrying bikes on the roof significantly alters your vehicle’s vertical profile. You must calculate the total height of your vehicle with the bikes mounted. This is especially critical when navigating local infrastructure:
- Multi-Storey Car Parks: Many HDB and commercial multi-storey car parks in Singapore have low clearance heights, often ranging from 1.8 to 2.1 meters. Attempting to enter these with roof-mounted bikes will cause catastrophic damage.
- ERP Gantries and Overhead Barriers: While standard Electronic Road Pricing (ERP) gantries generally have ample clearance, keep a keen eye out for height-limit barriers at condominium entrances, drive-thrus, and older industrial estates.
- Tree Branches: Singapore's lush green canopy means low-hanging branches on side roads can strike roof-mounted bikes. Stay central in your lane to avoid roadside foliage.
Frequently Asked Questions (FAQ)
Can I use bungee cords or rope instead of tie down straps?
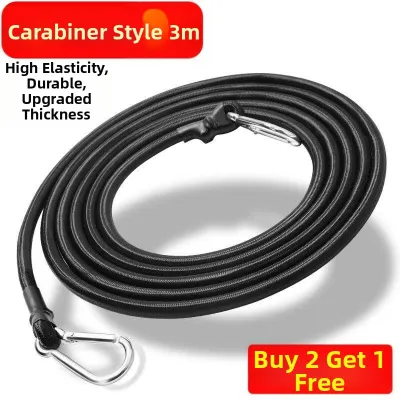
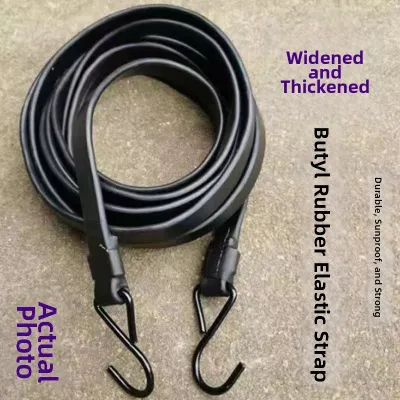
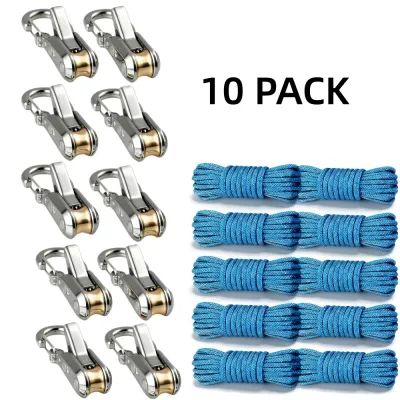
No, you should never use bungee cords or standard rope to secure a bicycle on a roof rack. Bungee cords are highly elastic; they stretch under the aerodynamic lift and lateral forces experienced at highway speeds, allowing the bike to sway violently or detach entirely. Standard utility rope lacks the precise tensioning and quick-release safety features of purpose-built cam buckle straps. Furthermore, tying secure knots with rope requires specific expertise, and any knot slippage can result in a catastrophic accident.
How do I know when it is time to replace my straps?
Inspect your tie down straps before every single trip. Look for physical signs of wear such as frayed edges, cuts in the webbing, stiff or brittle texture caused by UV degradation, and fading color. Check the cam buckle mechanism to ensure the spring-loaded trigger snaps back quickly and the metal teeth are sharp and free of corrosion. If the strap slips even slightly when pulled or shows any structural wear, replace it immediately to prevent failure on the road.
Community discussion
Share your experience or ask a question. Comments are reviewed before publication.