
Finding a compatible side mirror for a small car requires looking beyond basic vehicle make and model names. Because compact and subcompact cars feature highly optimized, space-saving door frames and A-pillars, their side mirror assemblies are engineered with precise mounting footprints that cannot be easily swapped with those from larger vehicles. To ensure a replacement mirror fits perfectly and functions safely, you must systematically verify its physical mounting geometry, electrical connector pin configuration, and glass curvature. This guide provides a comprehensive approach to checking fitment, helping you select the correct replacement parts and determine when a DIY installation is safe or when professional calibration is required.
Understanding Fitment Basics for Small Car Side Mirrors
The physical mounting footprint of a small car side mirror is designed to fit the exact contour of the vehicle’s door sail panel or A-pillar. Because small cars have steeper windshield angles and narrower door frames than larger sedans or SUVs, even a minor variation in the base plate shape will prevent the mirror from seating flush against the door. This gap not only allows rainwater to seep into the door cavity—potentially damaging window motors and speaker wiring—but also creates structural instability that causes the mirror to vibrate while driving. Before purchasing any replacement, you must confirm that the base plate geometry matches your vehicle’s specific model year and body style, as manufacturers frequently update these designs during mid-cycle refreshes.
The internal mechanism of the mirror dictates the space required inside the door panel and the wiring harness configuration. Manual mirrors rely on mechanical cables connected to an interior joystick, requiring physical clearance through the door trim. Power-adjustable mirrors use compact electric motors housed within the mirror casing. If your vehicle features power-folding capabilities, heated glass, or integrated turn signals, the internal wiring complexity increases significantly. Attempting to install a power mirror on a vehicle wired for manual adjustments, or vice versa, will result in non-functional features and potential electrical shorts. You must match the mechanical or electrical control type of your original mirror to ensure compatibility with the vehicle’s existing control systems.
Products mentioned in this guide
![[SG SELLER] [FREE SHIPPING] Car Blind Spot Mirror (Type B) Side View Mirror Wide Angle Drive Easy Small Round 360 View](https://img.lazcdn.com/g/ff/kf/Sd99de54ea15a4ae795d468f33154d0dcJ.jpg_400x400q80.jpg_.webp)
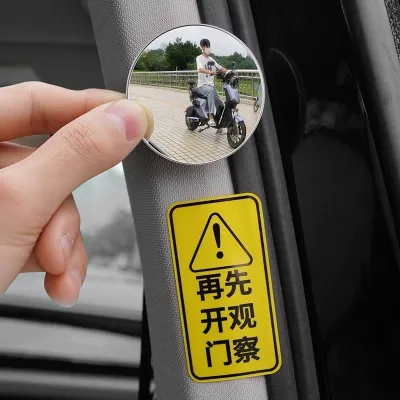

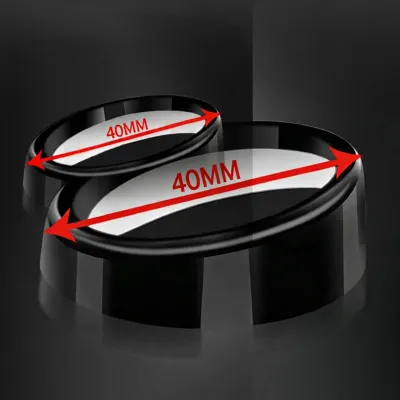
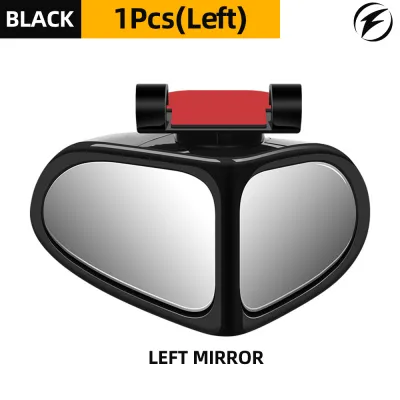
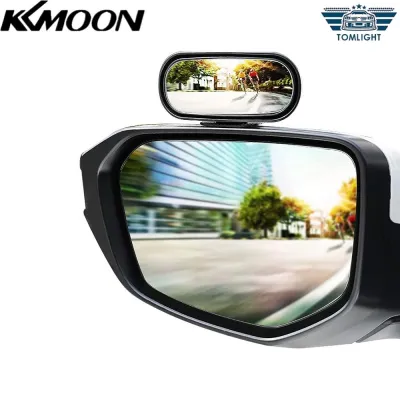
Prices are valid at publication and may change. Please refer to the product page for the latest price.
Aerodynamic profiling is critical for small cars, which are highly sensitive to wind resistance due to their lightweight construction and smaller engines. Original equipment manufacturers design small car mirrors to minimize drag and wind noise. Installing an oversized or incorrectly shaped aftermarket mirror can disrupt this airflow, leading to a noticeable whistling sound at highway speeds, such as when driving on expressways. Furthermore, increased aerodynamic drag can subtly impact fuel efficiency over time, making precise shape matching essential. Choosing a mirror with the correct aerodynamic profile ensures a quiet cabin and maintains the vehicle’s original fuel economy standards.
How to Verify Exact Fitment Before Purchasing
The most reliable way to guarantee compatibility is to locate the Original Equipment Manufacturer (OEM) part number. This alphanumeric code is typically stamped on the plastic inner trim cover, the underside of the mirror housing, or the plastic backing plate of the mirror glass itself. To access it, you may need to carefully pop off the interior plastic cover plate on the inside of the door opposite the mirror. Cross-referencing this part number with replacement parts ensures that the mounting points, electrical connections, and housing dimensions match your vehicle’s exact production run. When searching online marketplaces or consulting parts dealers, always use this OEM number as your primary search term to avoid fitment errors.

For power mirrors, counting the pins inside the electrical connector is a non-negotiable step before purchasing. Even within the same model year, manufacturers may use different wiring harnesses depending on the trim level. For example, a basic trim might use a 3-pin connector solely for glass adjustment, while a premium trim might use a 5-pin, 7-pin, or 9-pin connector to support heating elements, integrated turn signal LEDs, and automatic folding motors. Unplug the existing mirror harness inside the door panel and count the metal pins (not just the empty slots) to ensure the replacement connector matches perfectly. A mismatch in pin count will prevent key features from functioning and may damage the vehicle’s electrical system.
Driving in a Right-Hand Drive (RHD) environment requires mirrors designed specifically for RHD vehicles. The curvature of the mirror glass is engineered differently for the driver’s side and the passenger’s side to optimize the field of view and minimize blind spots. On an RHD vehicle, the right-side mirror (driver’s side) typically features a flat or slightly convex surface, while the left-side mirror (passenger’s side) is highly convex to provide a wider angle. Installing a mirror assembly or replacement glass designed for Left-Hand Drive (LHD) markets will result in severely distorted rear visibility, making lane changes hazardous and causing the vehicle to fail periodic safety inspections. Always verify that the replacement glass is rated for RHD vehicles before finalizing your purchase.
If the OEM part number is missing or illegible due to age or previous repairs, you must take manual measurements. Use a digital caliper or a precise tape measure to record the distance between the mounting bolts (the bolt pattern) on the base plate. Additionally, measure the depth of the mirror housing and the angle of the mounting surface. These measurements must be compared against the technical specifications provided by the aftermarket manufacturer to ensure the unit will bolt securely to the door frame without leaving gaps. Accurate physical measurements prevent the frustration of purchasing a mirror that physically cannot be secured to your vehicle’s door.
Choosing the Right Replacement Mirror Type
When a side mirror suffers severe structural damage, such as a cracked housing or a broken internal mounting bracket, replacing the entire assembly is often necessary. Complete OEM assemblies offer the highest level of assurance regarding fitment, material quality, and paint matching. They are designed to plug directly into the factory wiring harness without modification. While they represent the most expensive replacement route, they preserve the vehicle’s original appearance and ensure that advanced features like puddle lights or blind-spot indicators function seamlessly. For owners of newer small cars, OEM assemblies are often the safest choice to maintain vehicle value and functionality.
Aftermarket complete assemblies serve as a cost-effective alternative to OEM parts. However, quality can vary significantly between manufacturers. When selecting an aftermarket mirror, it is crucial to verify the build quality of the plastic housing, the quietness of the adjustment motors, and the vibration resistance of the glass. Poorly manufactured aftermarket mirrors often suffer from loose internal tolerances, causing the mirror glass to shake or vibrate when driving over uneven road surfaces, which severely compromises rearward visibility. Reading customer reviews and choosing reputable aftermarket brands can help mitigate these quality risks.
If the outer plastic housing and the internal electric motors are completely undamaged, you do not need to purchase a full assembly. Replacing only the mirror glass is the most economical and straightforward solution. When buying replacement glass, ensure it comes with the correct plastic backing plate that clips directly onto your specific motor actuator. Avoid universal stick-on glass sheets that glue over cracked mirrors, as they often disable heating functions and can fall off due to humidity and temperature fluctuations. Opting for a model-specific glass replacement preserves the functionality of your existing mirror housing at a fraction of the cost.
For minor cosmetic damage, such as paint scuffs or small scratches on the outer shell, snap-on mirror covers or caps offer an easy fix. These covers are designed to fit snugly over the existing housing, restoring the vehicle’s appearance without requiring you to disassemble the mechanical or electrical components of the mirror. They are also popular for customizing the vehicle’s look, allowing drivers to add contrasting colors or carbon-fiber patterns easily. Ensure the cover is designed specifically for your mirror shape, as even minor differences in the housing contour will prevent the cover from snapping securely into place.
Installation Safety Boundaries and When to Seek Professional Help
While replacing a side mirror is a common DIY task, it carries specific risks that require careful handling. Accessing the mounting bolts and electrical connectors requires removing the interior door panel. During this process, it is easy to break the fragile plastic retaining clips that hold the panel in place, leading to permanent rattles. Additionally, you must avoid tearing the internal moisture vapor barrier—a plastic sheet glued to the door frame. A torn barrier allows rainwater draining through the window seals to seep into the cabin, ruining the carpets and electrical components. If you do not have the proper plastic trim removal tools or feel uncomfortable removing the door panel, seek professional assistance.
Modern small cars are increasingly equipped with Advanced Driver Assistance Systems (ADAS), including Blind Spot Monitoring (BSM) and 360-degree camera systems. The sensors and cameras for these systems are frequently housed within or directly adjacent to the side mirrors. If your vehicle features these technologies, replacing the mirror assembly requires professional calibration. Even a fraction of a degree of misalignment can cause the BSM system to miss vehicles in your blind spot or trigger false warnings, compromising your safety on the road. Always consult a professional technician to recalibrate these systems after any mirror replacement.
During disassembly, you may encounter corroded mounting bolts or stripped threads on the vehicle’s door frame. If the bolts do not turn smoothly, forcing them can shear the bolt head or strip the internal threads of the door structure. If you encounter heavy corrosion or damaged threads, stop the installation immediately. Securing a mirror to damaged threads can cause it to loosen over time, posing a hazard at high speeds. A professional automotive technician can safely extract damaged fasteners and re-thread the mounting holes, ensuring a secure and durable installation.
Frequently Asked Questions (FAQ)
Can I install a larger side mirror on my small car for better visibility?
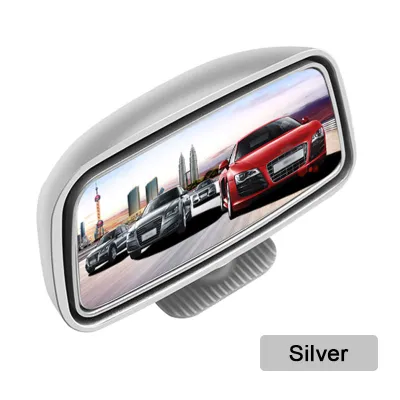
Installing an oversized side mirror on a small car is generally not recommended due to physical and regulatory constraints. Physically, a larger mirror housing can interfere with the front fender or A-pillar when the door is opened fully, or prevent the mirror from folding properly in tight parking spaces, such as those found in multi-storey car parks. Regulatively, vehicle modifications must comply with local transport authority standards. Mirrors that protrude significantly beyond the original width of the vehicle can fail safety inspections. For better visibility, a safer and legal alternative is to attach a small, high-quality convex blind-spot mirror to your existing OEM glass.
Do I need to recalibrate the blind-spot monitoring system after replacing a mirror?
Yes, if your small car is equipped with a blind-spot monitoring system or an integrated camera, professional recalibration is essential after replacing the mirror assembly. Disconnecting the wiring harness or installing a new housing can disrupt the sensor’s alignment and communication with the vehicle’s central computer. After reassembly, monitor your dashboard for any ADAS warning lights or system error messages. Because precise calibration requires specialized diagnostic software, alignment targets, and a controlled workshop environment, this task must be performed by an authorized service center or a qualified automotive electrician to ensure the safety systems function correctly.
Community discussion
Share your experience or ask a question. Comments are reviewed before publication.