
The Direct Answer: Which Method Actually Removes Water Spots?
When you notice unsightly, chalky rings covering your car’s paintwork, your first instinct might be to reach for a high-quality car wax or a ceramic spray. However, applying these protective products to eliminate the blemishes will only leave you disappointed.
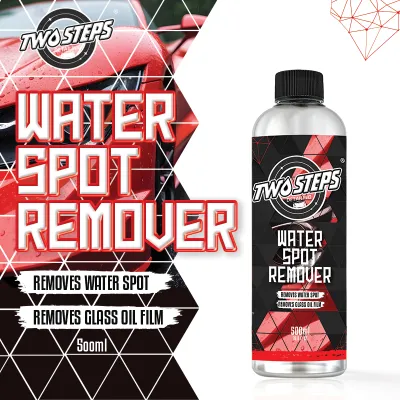
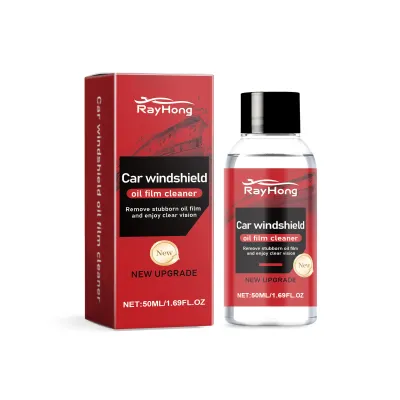
Only a dedicated polish or a specialized chemical waterspot remover can actually eliminate existing water spots from your vehicle’s clear coat. Polishes contain microscopic abrasives that physically level the damaged paint, while chemical removers use targeted acids to dissolve mineral deposits.
Waxes and ceramic coatings are strictly protective barriers designed to shield clean paint from future environmental damage. Applying them over existing water spots does not clean the surface; instead, it seals the mineral deposits underneath, making them far more difficult to remove later.
Products mentioned in this guide
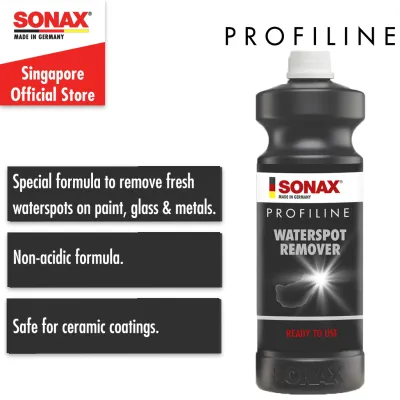
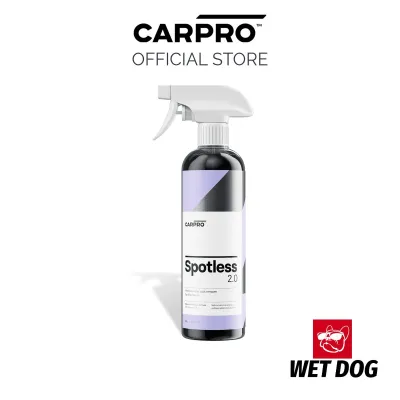
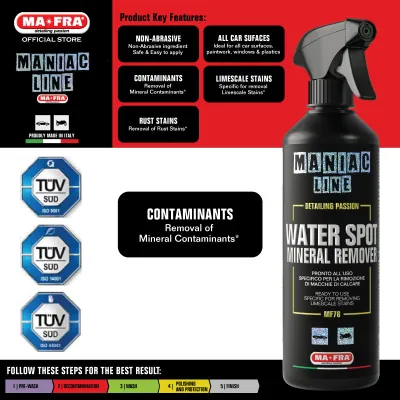
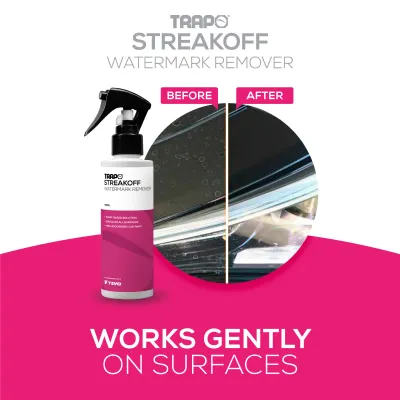
![[SG] Car Water Stain Remover/ Car Water Mark Water Spot Remover/ Glass Oil Film Cleaning Agent](https://img.lazcdn.com/g/p/6df04f56fd333c4a1d8c269e25fadd2a.jpg_400x400q80.jpg_.webp)
Prices are valid at publication and may change. Please refer to the product page for the latest price.
Diagnosing the Damage: Surface Minerals vs Clear Coat Etching
Before attempting any paint correction, you must determine the severity of the water spots on your vehicle. Not all water spots are created equal, and treating them with the wrong method can either waste your time or unnecessarily thin your car’s clear coat.

Type I water spots are purely surface-level deposits. These occur when mineral-rich water—such as tap water from a garden hose, lawn sprinklers, or rain mixed with atmospheric dust—evaporates on the hot surface of your car, leaving behind calcium and magnesium crystals. You can usually feel these spots as slight, raised ridges when you gently run a clean finger across the dry paint.
Type II water spots represent actual physical damage known as clear coat etching. When mineral deposits are left on the paint under intense sunlight, the heat causes the minerals to react chemically with the clear coat. This chemical reaction eats into the paint, leaving microscopic craters or divots that cannot simply be washed or dissolved away.
To diagnose your vehicle’s condition, start by washing the panel thoroughly and drying it. Inspect the spots under a strong, focused detailing light or direct sunlight. If the spots look like dull, sunken craters rather than raised white rings, or if you cannot feel any texture but still see the outline, you are dealing with Type II etching.
Why Wax and Ceramic Coatings Fail at Water Spot Removal
To understand why protective products fail to remove water spots, it helps to look at how these formulas interact with your car’s clear coat. Both wax and ceramic coatings are engineered to bond to or sit on top of the paint, filling microscopic valleys to create a smooth, hydrophobic surface.
Car wax, whether natural carnauba or synthetic polymer sealant, lacks any abrasive properties. It is designed to glide over the paint surface, filling in minor swirls to temporarily enhance gloss. When applied over a water spot, the wax simply coats the mineral deposit, trapping the chalky ring beneath a layer of oil or polymer.
Ceramic coatings present an even greater risk when applied over uncorrected paint. These liquid glass coatings form a semi-permanent chemical bond with the clear coat. If you apply a ceramic coating over water spots, you effectively laminate those mineral deposits and etched craters onto your paint, requiring aggressive compounding or wet sanding to strip the coating and fix the spots later.
Skipping the correction step before applying protection leads to a costly cycle of wasted products and effort. You will end up with a highly glossy finish that highlights, rather than hides, the trapped water spots underneath.
How Polish Removes Water Spots (and When It Is Not Enough)
Polishing is a mechanical correction process that physically restores the flat, reflective surface of your clear coat. By using controlled abrasives, polish safely wears down the microscopic high points of the paint to match the depth of the water spot damage.
When dealing with Type I surface minerals, a very mild finishing polish is often enough to sweep away the bonded crystals without removing measurable clear coat. For Type II etched spots, the polish must level the surrounding clear coat down to the bottom of the etched craters, restoring a perfectly flat, mirror-like surface.
Achieving consistent, professional-grade results generally requires choosing between hand polishing and using a dual-action machine polisher. Hand polishing is highly localized and safe for beginners, but it lacks the consistent speed and pressure needed to level hard clear coats evenly. A dual-action polisher distributes heat and friction safely across the panel, making it the preferred tool for uniform defect removal.
When operating a corded dual-action polisher, always prioritize electrical safety. Ensure you plug the machine into a Ground Fault Circuit Interrupter (GFCI) protected outlet, especially when working in damp garage environments, and keep the power cord draped over your shoulder to prevent it from dragging across the paint or tangling with the spinning pad.
However, mechanical polishing has physical limits. Your vehicle’s clear coat is incredibly thin. If the mineral etching has penetrated through the clear coat and reached the color coat or primer, standard polishing will not work; attempting to polish out such deep damage will burn through the paint, requiring professional repainting.
The Correct Workflow: Remove First, Protect Second
Restoring your paintwork requires a systematic approach that prioritizes safety and surface preparation. Following a structured workflow ensures you do not introduce new scratches while removing old water spots.
Step 1: Deep Clean and Decontaminate Begin by washing the vehicle thoroughly using the two-bucket method to remove loose dirt and road grime. After drying the car, use a detailing clay bar with plenty of clay lubricant to pull out embedded industrial fallout, overspray, and bonded contaminants. This step ensures your polishing pad will not drag abrasive dirt particles across the paint.
Step 2: Perform a Test Spot Never jump straight to aggressive compounding. Select a small, inconspicuous area on an affected panel to test your chosen polish and pad combination. Start with the least aggressive polish and a soft foam polishing pad, checking your progress under a detailing light to see if it successfully removes the spots before moving to a heavier cut.
Step 3: Polish the Affected Panels Work in small sections, roughly 50 by 50 centimeters at a time. If using a dual-action polisher, apply four pea-sized drops of polish to your pad, set the machine to a medium speed, and guide it across the paint in overlapping horizontal and vertical passes. Apply light, even pressure, letting the machine and the abrasive compound do the work.
Step 4: Wipe Down with a Prep Solvent Once the water spots are gone, the paint may look perfect, but it is likely covered in polishing oils and lubricants. Spray the panels with an isopropyl alcohol-based prep solvent and wipe them down with a clean microfiber towel. This step strips away any residue, leaving a bare, clean surface that allows your chosen protective layer to bond properly.
Choosing Your Protection: Wax vs Ceramic Coating After Polishing
Once your paint is clean, smooth, and free of defects, you must apply a protective layer immediately to prevent new water spots from forming. Your choice between wax and ceramic coating depends on your budget, maintenance habits, and local environmental conditions.
When to Choose Wax Opt for a high-quality paste wax or synthetic sealant if you enjoy spending time detailing your car on weekends and prefer a user-friendly application. Wax is highly forgiving, relatively inexpensive, and easy to apply by hand. However, wax offers limited heat resistance and typically degrades within a few weeks to a couple of months, especially under intense sun and heavy rain.
When to Choose Ceramic Coating Select a ceramic coating if you want long-term protection and superior chemical resistance. Ceramic coatings create a highly hydrophobic barrier that causes water to bead up and roll off easily, reducing the chances of water pooling and drying into spots. This option is ideal for vehicles parked outdoors in high-humidity environments or near industrial areas, though it requires meticulous surface preparation and a higher initial investment.
Before making your decision, evaluate your parking situation. If your vehicle is frequently exposed to hard water from commercial sprinkler systems or parked in open-air lots where rain dries quickly under the afternoon sun, investing in the superior chemical resistance of a ceramic coating is highly recommended to protect your newly polished paint.
Frequently Asked Questions (FAQ)
Can vinegar or household acids safely remove car water spots?
While mild household acids like white vinegar can dissolve basic calcium carbonate deposits on contact, they are unbuffered and carry significant risks. If left on the paint too long, vinegar can etch the clear coat or dry out delicate rubber seals and plastic trim. It is safer to use a dedicated, pH-balanced automotive waterspot remover, which is formulated with lubricants and surfactants specifically designed to protect automotive surfaces while dissolving minerals.
Will a clay bar remove water spots without polishing?
A clay bar is designed to shear off bonded surface contaminants like tree sap, overspray, and industrial fallout, but it cannot level paint. While a clay bar might knock down the rough, raised mineral crust of a fresh Type I water spot, it cannot fix the physical craters left by Type II etching. Claying is an essential preparation step before polishing, but it is not a substitute for the mechanical leveling action of a polish.
Community discussion
Share your experience or ask a question. Comments are reviewed before publication.