
Determining whether the Jimove LC battery is compatible with your motorcycle requires a systematic comparison of its physical dimensions, electrical ratings, and terminal configurations against your vehicle’s original specifications. Because motorcycles rely on highly specific electrical systems, installing an incompatible battery can lead to starting failures, blown fuses, or permanent damage to your engine control unit (ECU). To ensure a safe and reliable fit, you must cross-reference the labels on your current battery with the specifications of the replacement unit.
Decoding the Core Specs on Your Jimove LC Battery
Every motorcycle battery features a series of technical codes and ratings printed on its casing. Understanding these values is the first step in verifying compatibility with your ride.
Voltage (V) The voltage rating indicates the electrical potential of the battery. Most modern motorcycles operate on a 12-volt system, and your replacement battery must match this exactly. Connecting a battery with incorrect voltage can instantly destroy sensitive electronic components, instrument clusters, and lighting systems. Always verify that the nominal voltage matches your motorcycle’s system requirements before attempting installation.
Products mentioned in this guide
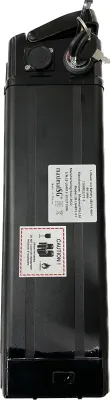
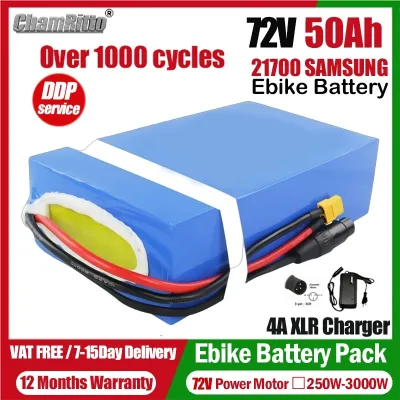
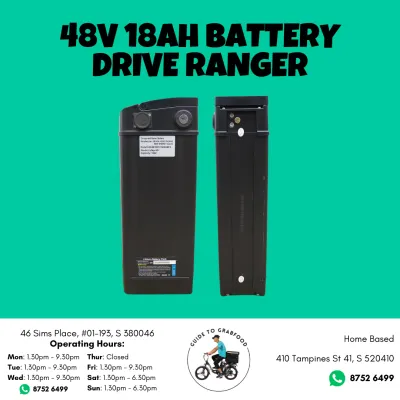
Prices are valid at publication and may change. Please refer to the product page for the latest price.
Capacity (Ah) Ampere-hours (Ah) measure the battery’s energy storage capacity, representing how much current it can deliver over a specific period. While a higher capacity rating provides more standby power for accessories like GPS units, alarms, or auxiliary lights, it does not necessarily mean more starting power. You must ensure your motorcycle’s charging system is capable of maintaining the battery’s capacity during regular rides.
Dimensions (L x W x H) Physical size is a non-negotiable factor when selecting a battery. Motorcycle battery compartments are designed with tight tolerances to prevent the battery from shifting during transit. You must measure the length, width, and height of your existing battery and compare them to the replacement unit. A battery that is too large will not fit in the tray, while one that is too small can vibrate excessively, leading to internal plate damage.
Terminal Type and Polarity The arrangement of the positive (+) and negative (-) terminals is critical for a safe connection. If the polarity is reversed, your motorcycle’s cables may not reach the terminals, or worse, you could accidentally connect the cables backward, causing catastrophic electrical failure. Additionally, ensure the terminal shape and mounting hardware are compatible with your motorcycle’s cable eyelets.
Step-by-Step Compatibility Check for Your Motorcycle
Before purchasing a replacement battery, follow this structured checklist to confirm a seamless match for your specific motorcycle model.

1. Cross-Reference the OEM Part Number Begin by locating the original equipment manufacturer (OEM) part number on your current battery or in your motorcycle’s owner’s manual. This alphanumeric code represents a specific set of dimensions, capacity, and terminal layouts. Compare this code directly with the specifications of the replacement battery to ensure they align.
2. Measure the Battery Tray and Clearance Do not rely solely on online compatibility charts, as aftermarket modifications, custom fairings, or relocated wiring harnesses can alter the available space. Use a calliper or tape measure to record the exact dimensions of your battery tray. Ensure there is adequate vertical clearance so the seat or frame does not press down on the battery terminals.
3. Verify Cold Cranking Amps (CCA) Requirements Cold Cranking Amps measure the battery’s ability to start an engine in demanding conditions. High-compression engines or motorcycles operated in cooler climates require a higher CCA rating to turn the starter motor efficiently. Check your owner’s manual to ensure the replacement battery meets or exceeds the minimum CCA required for your engine displacement.
4. Know When to Consult a Professional If you encounter any discrepancies in voltage, terminal layout, or physical dimensions, do not attempt to force the battery to fit or modify the wiring harness yourself. If your motorcycle features complex electronic systems, immobilisers, or custom electrical accessories, consult a qualified workshop to verify compatibility and prevent costly electrical damage.
Safe Removal and Installation Boundaries
Replacing a motorcycle battery involves working with live electrical components. Adhering to strict safety protocols is essential to protect both yourself and your vehicle’s electrical system.
Safety First Before starting, ensure the ignition is turned off and the keys are removed. Work in a well-ventilated area away from open flames, as batteries can release flammable gases. Always wear protective eyewear and gloves to shield yourself from potential acid spills or sparks.
The Disconnection Sequence When removing the old battery, always disconnect the negative (-) terminal first, followed by the positive (+) terminal. This sequence prevents accidental short circuits; if your wrench touches the motorcycle frame while loosening the negative terminal, nothing happens. If you were to loosen the positive terminal first and touch the frame, it would create a direct short circuit, potentially damaging the ECU or causing a spark.
The Reconnection Sequence When installing the new battery, reverse the process: connect the positive (+) terminal first, then the negative (-) terminal. Ensure the terminal bolts are tightened securely to the manufacturer’s torque specifications. Loose connections can cause intermittent power loss, starting difficulties, and charging system malfunctions.
Inspect and Clean Cables Take this opportunity to inspect the battery cables for signs of corrosion, fraying, or damage. Clean the cable terminals with a wire brush to ensure a clean metal-to-metal contact. Applying a thin layer of dielectric grease or terminal protector can help prevent future corrosion, especially in humid tropical climates like Singapore.
Secure the Battery Ensure the battery is firmly secured using the original mounting bracket, strap, or hold-down clamp. Excessive vibration is one of the leading causes of premature battery failure, as it can damage the internal plates and loosen terminal connections over time.
Frequently Asked Questions (FAQ)
Will a higher Ah battery damage my motorcycle's charging system?
A battery with a slightly higher Ampere-hour (Ah) rating will not damage your motorcycle’s charging system, provided the voltage is identical. The charging system (stator and regulator-rectifier) delivers current based on system demand, not battery capacity. However, an excessively large battery may take longer to charge fully, which could put additional strain on the charging system if the battery is frequently deeply discharged.
How can I tell if my current battery is failing versus a starter motor issue?
A failing battery typically manifests as dimming instrument lights, a rapid clicking sound when pressing the starter button, or slow engine cranking. You can verify this by testing the battery voltage with a multimeter; a healthy battery should read above 12.6V resting and not drop below 9.6V during cranking. If the battery voltage remains strong but the engine refuses to crank, or if you hear a single loud click with no dimming of the lights, the issue is more likely related to a faulty starter motor, relay, or safety switch.
Community discussion
Share your experience or ask a question. Comments are reviewed before publication.