
Restoring the pristine look of your vehicle’s exterior often requires addressing the inevitable scuffs that accumulate on plastic bumpers and trim. While high-quality plastic scratch removers can effectively minimize these surface blemishes, applying them incorrectly can lead to permanent damage, such as irreversible chemical whitening, hazing, or the loss of factory-molded textures. The key to a successful restoration lies in understanding that automotive plastics are not uniform; different surfaces require entirely different chemical formulations and application techniques. By identifying your specific plastic type, gathering compatible tools, and following a methodical application process, you can safely restore your vehicle’s trim to its original condition without risking costly cosmetic damage.
Identify Smooth vs. Textured Plastic Surfaces
Before purchasing or applying any scratch removal product, you must determine whether the target surface is smooth or textured. Smooth plastics are commonly found on painted bumper covers, high-gloss exterior pillar trims, side-mirror caps, and various interior dashboard components. Because these surfaces lack a molded physical pattern, they are generally compatible with mild abrasive polishes or chemical scratch removers designed to gently level the surrounding material and restore a glossy finish. However, you must still verify compatibility with any clear coats or specialized finishes applied over the smooth plastic.
Textured or matte plastics, on the other hand, are widely used for rugged exterior components such as lower bumper valances, wheel arch flares, side skirts, and door moldings. These parts feature a microscopic, pebbled, or grained texture designed to resist minor impacts and hide road grime. Textured plastics cannot tolerate traditional abrasive polishes or rubbing compounds. Attempting to buff these surfaces with an abrasive product will permanently flatten the molded texture, leaving behind smooth, shiny patches and a white residue that is incredibly difficult to remove. Always perform a visual and tactile inspection of the trim, and consult your vehicle’s owner’s manual or part labels to confirm the exact material composition before proceeding.
Products mentioned in this guide
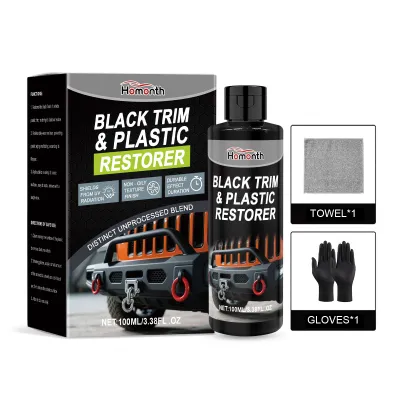
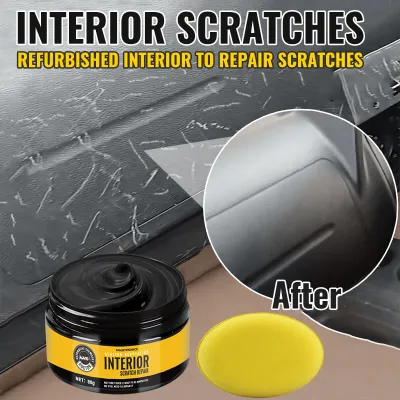
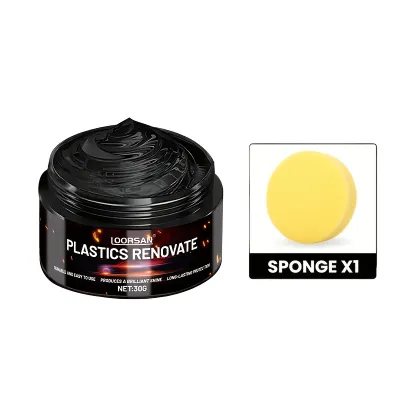
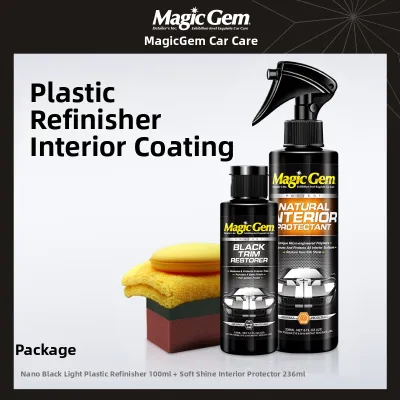
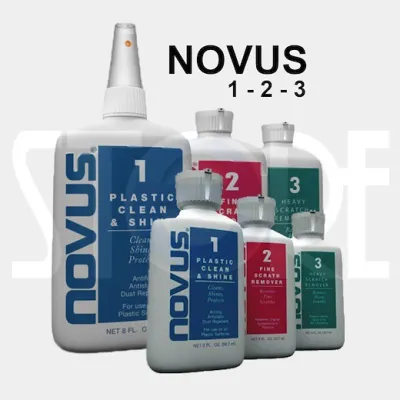
Prices are valid at publication and may change. Please refer to the product page for the latest price.
Prepare Safe Tools and Compatible Materials
Achieving a professional-grade finish requires preparing the correct tools and materials before you begin the application process. Using the wrong cleaning agents or application cloths can introduce secondary scratches, strip away protective factory coatings, or cause chemical staining. Begin by selecting a high-quality, pH-neutral car wash soap or a dedicated automotive plastic cleaner. Avoid using household dish soaps, glass cleaners, or strong industrial degreasers, as these harsh chemicals can dry out the plastic, accelerate UV degradation, and cause premature fading.

For the application and buffing stages, gather several clean, lint-free, and grit-free microfiber towels alongside soft foam applicator pads. Microfiber is essential because its split fibers trap microscopic dust particles, preventing them from dragging across the plastic and creating new micro-scratches. Additionally, keep a pair of nitrile gloves on hand to protect your skin from chemical compounds and solvents present in many restorers. Most importantly, select a scratch remover or trim restorer that is explicitly labeled for use on the specific type of plastic you identified during your inspection. Always verify that the product is safe for adjacent surfaces, such as painted metal panels, rubber weatherstripping, and integrated parking sensors, by carefully reading the manufacturer’s instructions.
Step-by-Step Application for Smooth Plastics
Once you have confirmed that your vehicle’s trim is smooth and you have gathered the appropriate materials, you can proceed with the application process. Follow these steps carefully to ensure a safe and effective repair:
Step 1: Clean the area thoroughly. Wash the target plastic surface and the surrounding panels with your pH-neutral car wash soap and warm water. Rinse the area completely to remove all loose dirt, road grit, and environmental contaminants. Dry the surface thoroughly with a clean microfiber towel, ensuring no moisture remains trapped in the crevices or seams, as water can dilute the scratch remover and reduce its effectiveness.
Step 2: Perform an inconspicuous spot test. Before applying the product to a highly visible area, select a hidden section of the plastic, such as the underside of a bumper or the inner edge of a door trim. Apply a tiny amount of the scratch remover, let it dry completely according to the product instructions, and inspect the area under direct light. Check for any signs of adverse chemical reactions, such as clouding, discoloration, or changes in the surface texture. If you observe any of these negative effects, stop immediately, wash the area with soap and water, and do not proceed with the product.
Step 3: Apply the scratch remover. If the spot test is successful, dispense a dime-sized amount of the product onto a soft foam applicator pad. Work in small, manageable sections, typically no larger than a few square inches at a time. Gently work the product into the scratch using the specific motion recommended on the product label—some formulations require light circular motions, while others specify straight, linear strokes. Apply light to moderate pressure, letting the chemical compounds do the work rather than forcing the pad against the plastic.
Step 4: Buff and inspect the surface. Allow the product to haze or cure for the exact duration specified by the manufacturer. Once cured, use a clean, dry microfiber towel to gently buff away the residue. Fold the towel frequently to expose a clean side, ensuring you do not rub the removed residue back into the plastic. Inspect the area under good lighting; if the scratch is still visible but visibly reduced, you may repeat the process once more, provided the plastic shows no signs of thinning or hazing.
Safe Approaches for Textured Bumpers and Trim
Restoring textured bumpers and trim requires an entirely different philosophy than smooth surfaces. Because you cannot use physical abrasives without destroying the molded texture, your goal is to chemically clean, hydrate, and protect the plastic while masking shallow blemishes. Standard abrasive scratch removers will grind away the microscopic peaks of the texture, leaving behind highly visible, smooth, and permanently whitened patches that ruin the uniform look of your vehicle’s exterior.
For light scuffs and fading on textured plastic, use a dedicated plastic restorer or trim coating. These products are formulated with penetrating oils, polymers, or ceramic resins that soak into the porous plastic, filling in microscopic scratches and restoring the deep, dark matte finish without altering the physical texture. To apply these products, ensure the surface is meticulously clean and dry. Apply a few drops of the restorer to a foam applicator pad and spread it evenly across the trim, working it into the textured grain. Allow the product to penetrate for the recommended dwell time, then use a clean microfiber towel to wipe away any excess liquid to prevent uneven streaking or a greasy residue.
For deep gouges, physical scratches that have actually torn or removed chunks of the plastic, chemical restorers will not suffice. These deep physical gaps cannot be filled by liquid restorers. Repairing deep gouges on textured plastic typically requires specialized plastic welding, physical filling compounds, and professional texture-matching sprays, followed by a complete repaint. If you encounter deep structural damage on your bumpers or trim, consulting a professional automotive detailer or collision repair specialist is highly recommended to avoid worsening the appearance of the panel.
Protect and Maintain the Restored Plastic
After successfully minimizing scratches and restoring the appearance of your car’s plastic, implementing a proper maintenance routine is essential to prolong the results and prevent future damage. Unprotected automotive plastics are highly susceptible to ultraviolet (UV) radiation from the sun, which breaks down the polymer chains, leading to fading, brittleness, and a chalky white appearance. To shield the treated areas, apply a compatible plastic sealant or a UV-blocking ceramic trim coating. These protective layers act as a barrier against solar radiation, road salt, and environmental fallout, keeping the plastic hydrated and resilient.
When washing your vehicle, always use soft microfiber wash mitts and pH-neutral car soaps. Avoid using stiff-bristle brushes, abrasive scrubbing pads, or harsh household cleaners on your plastic trim, as these will quickly strip away the protective coatings and introduce new micro-scratches. Additionally, exercise caution when using high-pressure washers; avoid directing the high-pressure spray closely or directly at the edges of plastic trim pieces, as the intense pressure can lift the edges, peel away applied coatings, or force water behind the panels, potentially damaging underlying clips or electronic sensors.
Finally, establish a periodic inspection routine. Check the condition of your restored plastic trim every few months. Depending on your local climate, parking conditions, and the specific protective products used, you may need to reapply a maintenance layer of UV protectant or trim dressing to ensure continuous protection and keep the plastic looking deep, rich, and scratch-free.
Frequently Asked Questions (FAQ)
Can I use regular car polish or rubbing compound on plastic bumpers?
No, you should avoid using standard car polishes or rubbing compounds on unpainted, textured plastic bumpers. Standard car polishes are formulated with abrasive particles designed to level the hard clear coat of your vehicle’s paint. When applied to unpainted plastic, these abrasives will aggressively strip away the delicate molded texture, leaving behind flat, shiny spots. Furthermore, the polish will lodge itself into the microscopic pores of the textured plastic, drying into a stubborn, unsightly white residue that is extremely difficult to clean. Always use products specifically formulated and labeled for automotive plastics.
What should I do if the plastic turns white after applying the remover?
If your plastic trim turns white after applying a scratch remover, it typically indicates that the product has dried in the pores of textured plastic, or that an abrasive has sanded down the texture. Immediately wash the area with warm water, a pH-neutral soap, and a soft-bristle toothbrush to gently agitate and lift the dried residue out of the textured grain. If the whitening is due to physical abrasion or chemical damage, you can attempt to mask the lightened area using a high-quality, dedicated plastic dye or a heavy-duty trim restorer. If the damage is extensive or the plastic has physically melted, consult a professional automotive detailer for advanced restoration options.
Is a heat gun a safe alternative for fixing scratched plastic trim?
While using a heat gun is a popular DIY method for restoring faded or lightly scratched plastic trim, it carries significant risks and is generally not recommended for inexperienced users. The heat gun works by drawing the natural oils within the plastic back to the surface, temporarily restoring the dark color and smoothing out minor scuffs. However, improper temperature control or holding the heat gun in one spot for too long can easily melt the plastic, warp the trim panel, or damage adjacent painted surfaces and rubber seals. Additionally, drawing the oils to the surface can make the plastic more brittle over time. For safe and predictable results, prioritize chemical restorers or seek professional assistance.
Community discussion
Share your experience or ask a question. Comments are reviewed before publication.