
Maintaining correct tire pressure is one of the simplest yet most critical aspects of vehicle maintenance. Properly inflated tires ensure optimal traction, responsive handling, shorter braking distances, and maximum fuel efficiency. Conversely, driving on under-inflated or over-inflated tires accelerates tread wear, increases fuel consumption, and raises the risk of a sudden tire blowout.
Using an air compressor to maintain your tires is a straightforward process that any driver can master. By learning how to prepare your vehicle, operate the compressor safely, and read pressure gauges accurately, you can keep your vehicle running safely and efficiently. This guide provides a comprehensive, step-by-step approach to checking and adjusting your tire pressure using a standard air compressor.
Preparing Your Vehicle and Equipment for Safe Inflation
Before you connect any equipment to your tires, you must ensure that both the vehicle and the air compressor are properly prepared. The first step is to verify that your tires are cold. Tire pressure readings are highly sensitive to temperature, and driving even a short distance generates friction that heats the air inside the tire, causing it to expand. To establish an accurate baseline reading, ensure the vehicle has been parked for at least three hours or has been driven less than two kilometers.
Products mentioned in this guide
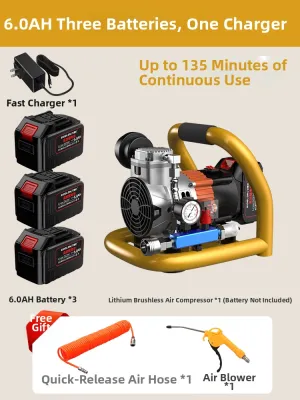

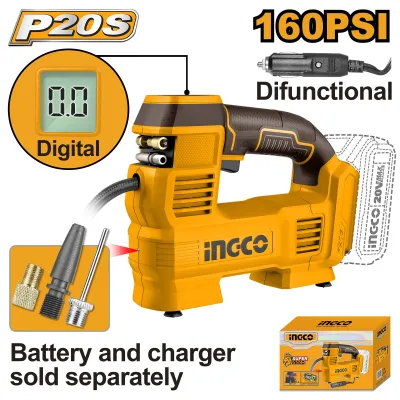

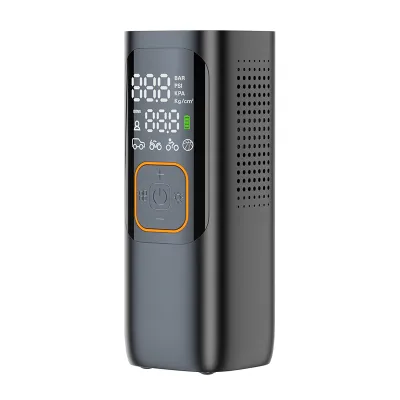
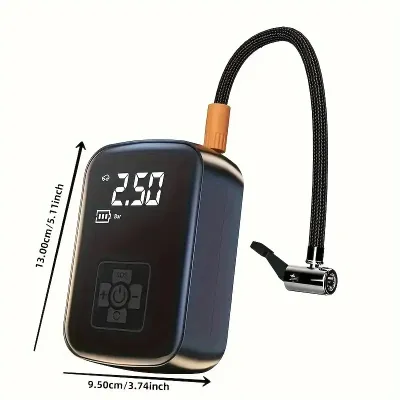
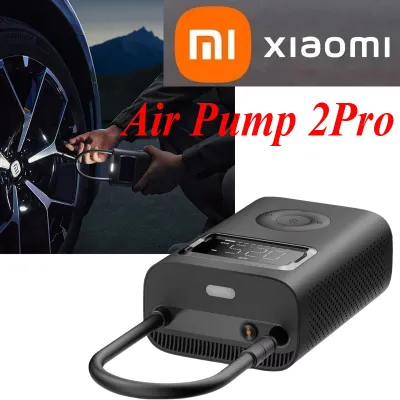
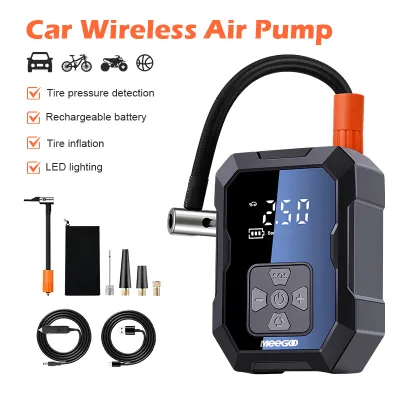
Prices are valid at publication and may change. Please refer to the product page for the latest price.
Next, locate the manufacturer-recommended tire pressure for your specific vehicle. This information is typically printed on a placard or sticker located on the driver-side door jamb, or inside the owner’s manual. It is critical to use this recommended specification rather than the maximum pressure limit printed on the tire sidewall. The sidewall number represents the absolute maximum pressure the tire can safely hold under maximum load, not the optimal pressure engineered for your vehicle’s daily handling, braking, and suspension performance.
When performing any tire maintenance, always prioritize safety by working on a flat, stable surface away from traffic. Refer to your vehicle’s original owner’s manual for specific instructions regarding tire specifications, jack points, and safety precautions. If you detect any deep cuts, bulges, or exposed cords on the tire, or if you suspect a puncture near the sidewall, do not attempt to inflate or drive on the tire; instead, consult a qualified tire professional for inspection or replacement.
Finally, perform a quick inspection of your inflation equipment and the vehicle’s hardware. Examine the air compressor hose for any visible cracks, kinks, or deep abrasions that could lead to a sudden rupture under pressure. Check the hose fittings and the tire chuck to ensure they are clean and free of debris. Inspect each tire’s valve stem for signs of cracking, dry rot, or physical damage, as a compromised valve stem can leak air rapidly during or after the inflation process.
Step-by-Step Process for Checking and Adjusting Tire Pressure
To begin the inflation process, park your vehicle on a flat, level surface, engage the parking brake, and turn off the engine. Unscrew the plastic valve cap from the tire’s valve stem and place it in a secure location, such as your pocket or the vehicle’s console, so it does not get lost. Align the air compressor chuck directly with the valve stem and press it firmly onto the stem. You may hear a brief hiss of escaping air as the chuck connects; press firmly until the hiss stops and the chuck locks or seals securely in place.

Once the chuck is attached, read the initial pressure displayed on the compressor’s integrated pressure gauge. Because some integrated gauges can be less precise, it is highly recommended to verify this reading using a separate, high-quality manual or digital tire pressure gauge. Compare this initial reading to the manufacturer’s recommended pressure to determine whether you need to add or release air.
If the tire requires more air, turn on the compressor and add air in short, controlled bursts of five to ten seconds. Avoid running the compressor continuously for long periods without checking the pressure, as this can easily lead to over-inflation. Turn off the compressor or release the trigger between bursts, and use your gauge to check the pressure. This incremental approach allows you to approach the target pressure gradually and prevents the stress of over-inflating the tire.
If you accidentally exceed the recommended pressure, you must release the excess air to prevent uneven tread wear and a harsh ride. Most air compressor chucks or separate tire gauges feature a small bleed valve or a protrusion on the back of the gauge head. Press this bleed valve or gently press the blunt tool against the center pin of the tire valve stem to release small amounts of air. Recheck the pressure frequently until the reading matches the manufacturer’s exact specification.
Adapting Pressure for Heavy Loads and the Spare Tire
While the standard recommended pressure on the door jamb is ideal for everyday driving, certain conditions require you to adjust these values. For instance, when carrying heavy cargo, towing a trailer, or preparing for sustained high-speed highway driving, the vehicle manufacturer may recommend a higher tire pressure for the rear tires. Always consult your owner’s manual to find these specific load-adjusted pressure recommendations, and never exceed the maximum pressure limit stamped on the tire sidewall.
Do not forget to check and inflate your spare tire during your routine maintenance. If your vehicle is equipped with a compact temporary spare tire, often referred to as a “space saver,” it typically requires a significantly higher inflation pressure than your standard road tires—often around 60 PSI (pounds per square inch). Standard full-size spare tires should be inflated to the same pressure as your regular road tires, but keeping them slightly higher can account for natural pressure loss over months of storage in the trunk.
Once all tires are inflated to their correct pressures, reinstall the valve caps securely on each valve stem. While valve caps may seem insignificant, they play a crucial role in protecting the delicate inner valve core from road dirt, moisture, salt, and debris. A missing valve cap allows contaminants to enter the valve stem, which can damage the seal and lead to slow, persistent air leaks over time.
Troubleshooting Leaks, Gauge Errors, and Rapid Air Loss
During the inflation process, you may encounter minor equipment issues or unexpected air leaks. If you hear a continuous hissing sound when the compressor chuck is attached to the valve stem, the chuck may not be seated correctly. Remove the chuck, inspect the valve stem for dirt or debris, and reattach it, ensuring it is aligned perfectly straight. If the leak persists, the rubber seal inside the compressor chuck may be worn, or the valve core inside the stem may be loose and require tightening with a valve core tool.
Inaccurate or fluctuating pressure readings can also complicate the inflation process. If your compressor’s built-in gauge provides inconsistent readings, cross-reference the pressure with a secondary manual dial or digital gauge. Handheld digital gauges are generally highly reliable and can help you verify if the compressor’s gauge is miscalibrated. If the readings differ significantly, rely on the independent handheld gauge to set your final tire pressure.
It is also important to recognize when a tire issue cannot be resolved with a home air compressor. If a tire is completely flat or loses pressure rapidly within minutes of inflation, do not attempt to drive on it. Rapid air loss indicates a severe puncture, a compromised tire bead, or a faulty valve stem that requires professional inspection and repair. Driving on an severely under-inflated tire can cause permanent internal damage to the tire casing and lead to a catastrophic failure on the road.
Frequently Asked Questions (FAQ)
How often should I check my tire pressure?
You should check your tire pressure at least once a month and before embarking on any long road trips. Additionally, it is important to check your tires when there is a significant drop in seasonal temperatures, as cold weather causes the air inside your tires to contract, lowering the pressure. Regular checks help you identify slow leaks early and maintain optimal fuel economy and safety.
Can I use a portable 12V air compressor for all vehicle types?
Portable 12V air compressors are highly convenient for standard passenger cars, but they have limitations when it comes to larger vehicles. These small units often have strict duty cycles, meaning they can only run for a limited time before they overheat and require a cooling-down period. While they can inflate large SUV or light truck tires, the process will take significantly longer, and you must monitor the compressor closely to avoid exceeding its duty cycle.
What is the difference between the pressure on the tire sidewall and the door jamb?
The pressure listed on the tire sidewall is the maximum inflation pressure the tire can safely hold under its maximum load capacity, as determined by the tire manufacturer. The pressure listed on the vehicle’s door jamb is the optimal pressure recommended by the vehicle manufacturer for daily driving. Always inflate your tires to the door jamb specification, as inflating them to the maximum sidewall pressure will result in a harsh ride, reduced traction, and accelerated center tread wear.
Community discussion
Share your experience or ask a question. Comments are reviewed before publication.