
A flat tire can happen at the most inconvenient times, whether you are commuting along the Pan Island Expressway during a sudden afternoon downpour or navigating a tight multi-storey carpark. Knowing how to use a car tire repair kit allows you to address a minor puncture quickly, restoring enough tire pressure to drive safely to the nearest workshop. To use a tire repair kit properly, you must identify the puncture, extract the foreign object, clean the opening with a reamer, insert a lubricated rubber plug string with an insertion needle, trim the excess material flush with the tread, and reinflate the tire to its recommended specification.
While a car tire repair kit is an invaluable emergency tool, it is not a universal solution for every flat tire. Understanding the physical limits of a temporary plug and executing each step with precision is critical to ensuring your safety on the road. This guide provides a detailed, step-by-step walkthrough of the entire process, from initial damage assessment to post-repair safety checks.
Assess the Damage: When to Repair and When to Replace
Before opening your repair kit, you must determine if the tire can be safely repaired. Tire repairs directly impact your vehicle’s safety, handling, and road legality. You must always check your tire manufacturer’s instructions and your vehicle’s owner manual before attempting any repair. If the instructions conflict, the tire brand is unidentified, or the specific damage is not covered by the manufacturer’s guidelines, stop immediately and consult a qualified tire professional.
Products mentioned in this guide
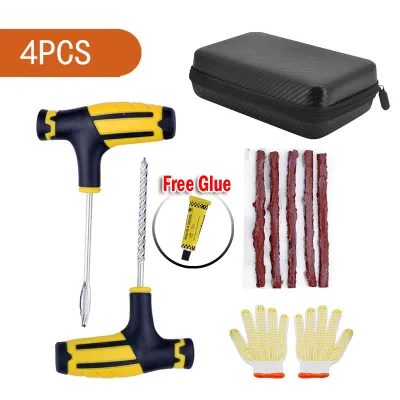
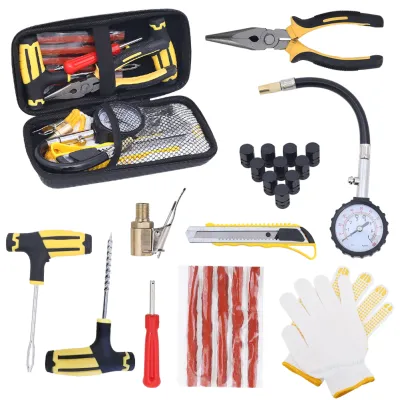
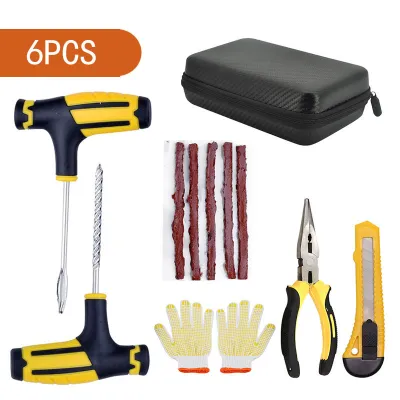
Prices are valid at publication and may change. Please refer to the product page for the latest price.
An external plug is only suitable for small punctures that measure less than 6mm (typically 1/4 inch) in diameter. Furthermore, this damage must be located strictly within the central tread area of the tire. The central tread is the thickest part of the tire structure and experiences the least amount of structural flexing as the wheel rotates under the vehicle’s weight.
Do not attempt to repair punctures located on the tire shoulder or the sidewall. The sidewall of a radial tire is subject to constant, intense flexing and heat buildup during operation. An external plug inserted into the sidewall or shoulder cannot maintain a reliable seal and is highly likely to fail catastrophically, potentially causing a sudden blowout at high speeds. If you discover damage in these zones, or if the tire has a large tear rather than a round puncture, the tire must be replaced.
Additionally, you must never attempt to plug a tire that has been driven on while completely flat. Driving without adequate air pressure crushes the tire’s internal structure, causing the sidewall liners to shred and the steel belts to separate. Even if the exterior tread looks salvageable, the internal carcass is likely compromised and unsafe. If you suspect the tire has been run flat, or if you are dealing with specialized run-flat tires, seek professional help rather than attempting a DIY plug.
Tools and Materials Required
Having the correct tools prepared beforehand ensures a smooth, uninterrupted repair process. Most commercial car tire repair kits contain the primary components needed to seal the physical hole. However, you will need a few additional household and automotive tools to complete the job safely and verify the seal.

Your core tire repair kit should include:
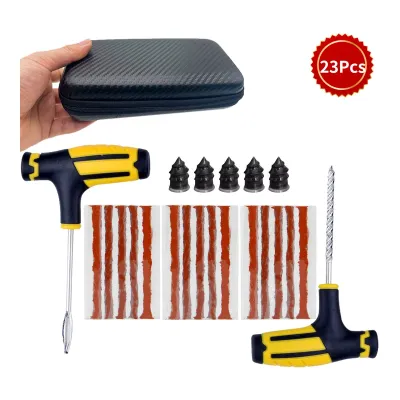
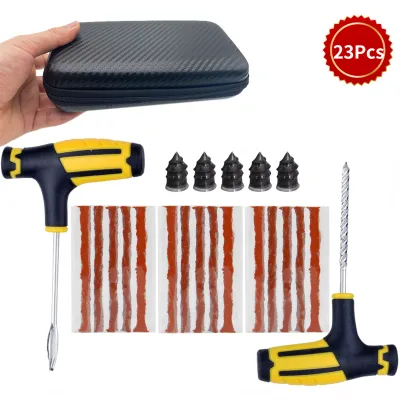
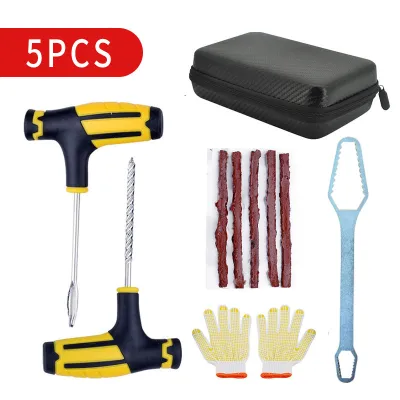
- T-handle reamer (rasp tool): Used to clean, shape, and roughen the entry path of the puncture.
- T-handle insertion needle: Used to force the rubber plug string into the puncture hole.
- Rubber plug strings (worms): Sticky, self-vulcanizing rubber strips that fill and seal the puncture.
- Rubber cement: A chemical adhesive that lubricates the insertion tool and helps bond the plug to the tire rubber (if provided in your specific kit).
To complete the repair safely, gather these additional essentials:
- Heavy-duty pliers or needle-nose pliers: To grip and extract the embedded nail, screw, or debris.
- Utility knife or heavy-duty scissors: To trim the excess plug material flush with the tread.
- Portable air compressor: To reinflate the tire back to its operational pressure.
- Reliable tire pressure gauge: To verify the exact inflation pressure.
- Soapy water solution in a spray bottle: To locate the leak and verify the final seal.
- Heavy-duty safety gloves: To protect your hands from sharp steel belts and chemical adhesives.
Step-by-Step Guide to Plugging a Punctured Tire
To achieve a reliable temporary seal, follow these sequential steps carefully. Ensure your vehicle is parked on a flat, stable, and level surface. Engage the electronic parking brake fully and place wheel chocks behind the opposite tires to prevent any unexpected vehicle movement.
Step 1: Locate the Puncture and Remove the Object
Begin by visually inspecting the tire tread for any embedded objects such as screws, nails, or sharp metal fragments. If the object is difficult to spot, inflate the tire slightly and listen closely for a distinct hissing sound. Spraying a soapy water solution over the tread is a highly effective diagnostic method; the escaping air will create obvious, growing bubbles over the exact site of the leak.
Once you identify the object, use your pliers to grip it firmly. Pull the object straight out along the same angle it entered the tire to avoid widening or tearing the surrounding rubber. Keep the extracted object nearby to inspect its thickness. If the diameter of the object is wider than 6mm, stop the repair, as the hole is too large for a standard plug string to seal safely.
Step 2: Ream and Clean the Hole
Take the T-handle reamer tool and insert it directly into the puncture path. This step requires significant physical effort, especially when pushing through the tire’s internal steel belts. Push the reamer in and pull it out vigorously several times, rotating it slightly as you work. This action cleans out dirt, rust, and loose rubber while roughening the inner walls of the puncture to maximize the adhesion of the plug.
After cleaning the hole, leave the reamer inserted fully inside the puncture. Leaving the tool in place temporarily blocks the path of escaping air, preserving the remaining tire pressure while you prepare the rubber plug string on your insertion tool.
Step 3: Thread and Insert the Plug
Remove a single rubber plug string from its protective plastic backing. Thread the sticky string through the eye of the T-handle insertion needle until the plug is perfectly centered, leaving equal lengths of the string hanging on both sides. If your specific kit includes a tube of rubber cement, apply a thin, even layer of the adhesive directly onto the center of the plug string and the tip of the needle to act as a lubricant.
Pull the reamer tool out of the tire in one swift motion. Immediately align the loaded insertion needle with the puncture hole and push it straight into the tire with steady, firm downward pressure. Drive the tool in until approximately two-thirds of the plug string is pushed inside the tire carcass, leaving a small loop of the string visible on the outside. Without twisting the handle, pull the insertion tool straight out sharply; the needle’s tip is designed to release the plug, leaving the rubber string securely seated inside the puncture.
Step 4: Trim the Excess and Check for Leaks
At this stage, you will have two sticky ends of the rubber plug protruding from the tire tread. Take your utility knife or heavy-duty scissors and carefully cut the excess plug material so that it sits completely flush with the surrounding tire tread blocks. Avoid pulling upward on the plug strings while cutting, as this can dislodge the internal seal you just created.
To verify the integrity of your repair, spray the soapy water solution generously directly over the trimmed plug. Observe the area closely for several minutes. If you see new bubbles inflating or foam forming, the seal has failed, indicating that the puncture path is either too large or irregular. Do not attempt to push the plug deeper or insert a second plug; instead, the tire must be taken to a professional workshop.
Step 5: Reinflate to the Correct Pressure
Connect your portable air compressor to the tire valve stem and inflate the tire back to its recommended operating pressure. You can find the exact recommended inflation pressure (measured in PSI or kPa) on the tire information placard located on the driver’s side door jamb or inside the fuel filler flap, not on the tire sidewall itself. The pressure listed on the tire sidewall represents the maximum cold inflation limit, which is not the correct daily operating pressure for your specific vehicle.
Once the compressor indicates that the target pressure has been reached, disconnect it and verify the reading using a standalone, calibrated tire pressure gauge. Accurate inflation is vital for maintaining vehicle stability, braking performance, and preventing uneven tread wear.
Post-Repair Verification and Driving Safety
After completing the physical repair, you must monitor the tire’s performance closely. Check the tire pressure using your manual gauge after the vehicle has been parked for a few hours, and check it again 24 to 48 hours later. Any drop in pressure indicates a slow leak, which requires immediate professional attention.
It is crucial to understand that an external rubber string plug is strictly a temporary, emergency repair. Automotive safety standards and tire manufacturers do not recognize an external plug as a permanent fix. Because a string plug is inserted from the outside, it does not seal the tire’s inner liner. Over time, pressurized air can seep into the tire’s internal structure, and moisture from the road can travel down the plug, causing the internal steel belts to rust and degrade.
To ensure your long-term safety, drive cautiously and avoid high speeds or heavy loads after installing a temporary plug. Plan to visit a professional tire service center as soon as possible. A professional technician will dismount the tire from the wheel rim to inspect the inner liner for hidden damage. If the tire is deemed salvageable, they will apply a permanent internal patch-plug combination, which seals both the inner liner and the physical puncture path, restoring the tire’s structural integrity.
Frequently Asked Questions (FAQ)
Is a tire plug a permanent fix?
No, an external tire plug is not a permanent fix. While a high-quality plug can hold air pressure for a considerable period, it is designed solely as a temporary emergency measure to help you reach a service center safely. A permanent repair requires a professional internal patch-plug combination. This process involves removing the tire from the rim, inspecting the interior carcass for hidden structural damage, and applying a vulcanized patch-plug from the inside to seal the inner liner against moisture and air loss.
Can I use a tire repair kit on a run-flat tire?
Generally, you should not use a standard tire repair kit on a run-flat tire. Run-flat tires are engineered with heavily reinforced sidewalls that support the vehicle’s weight even after a complete loss of air pressure. Due to this unique design, driving on a deflated run-flat tire subjects the internal structure to intense stress and heat. Most tire manufacturers explicitly advise against plugging run-flat tires and require a complete replacement or a highly specialized professional inspection to ensure the internal reinforcement has not been compromised.
What should I do if the plug doesn't stop the leak?
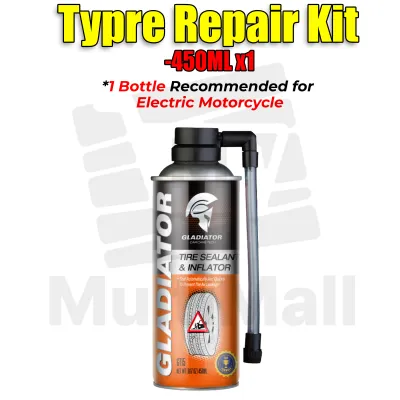
If your temporary plug fails to stop the leak, do not attempt to force a second plug into the same hole or use liquid tire sealants in combination with the plug. A persistent leak indicates that the puncture is too large, runs at an extreme angle, or has caused internal structural tearing that a basic string cannot fill. Continuing to drive on a leaking tire is highly dangerous. You should mount your vehicle’s spare tire if available, or arrange for a professional towing service to transport your vehicle to the nearest tire workshop.
Community discussion
Share your experience or ask a question. Comments are reviewed before publication.