
Yes, you can safely jump-start a dead scooter battery without damaging the sensitive electronics, provided you use a stable 12-volt power source and keep any donor vehicle’s engine turned off. The delicate electronic components of modern scooters are highly vulnerable to sudden voltage spikes, which can occur if the jump-starting process is done incorrectly. By following a precise connection sequence and using the right tools, you can safely revive your scooter and get back on the road.
Before attempting any electrical work on your vehicle, always consult your scooter’s owner’s manual for specific battery access, terminal locations, and safety warnings. Because incorrect handling of electrical systems can cause short circuits, electrical fires, or damage to delicate components, consider seeking assistance from a qualified motorcycle mechanic if you are unsure of the procedure or if your scooter has specialized manufacturer instructions.
In a tropical climate like Singapore’s, high humidity and heat can accelerate battery degradation, making a dead battery a common issue for daily commuters. Knowing how to handle this situation safely will save you time and prevent costly repair bills.
Products mentioned in this guide
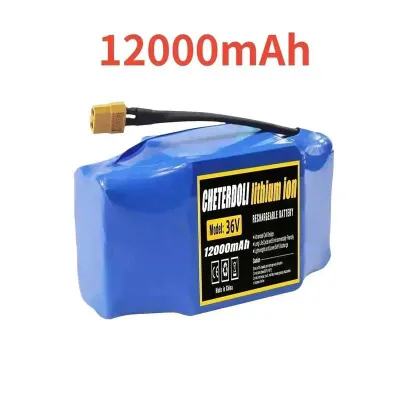
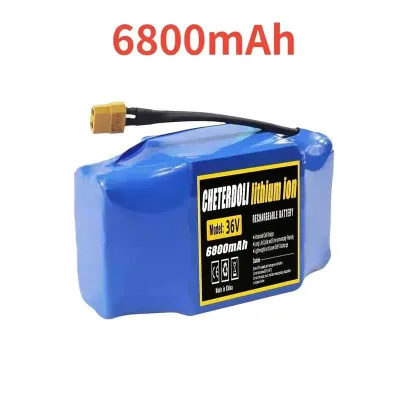
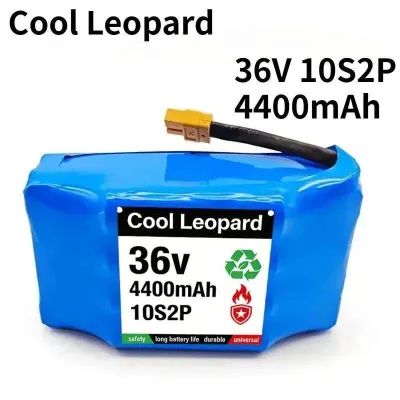



Prices are valid at publication and may change. Please refer to the product page for the latest price.
Understanding the Risk: Why Scooter Electronics Fry During Jump-Starts
Modern scooters are no longer just simple mechanical machines. They are equipped with sophisticated electronic fuel injection (EFI) systems, Engine Control Units (ECUs), delicate voltage rectifiers, and various digital sensors. These components operate on precise, low-voltage thresholds and are highly sensitive to electrical fluctuations.
The primary hazard during a jump-start is a sudden voltage spike. When you connect a dead scooter battery to a larger vehicle, such as a car, the electrical potential difference is significant. If the donor vehicle’s engine is running, its high-output alternator will actively charge its own system and send high-voltage, high-amperage surges through the jumper cables. This sudden surge can easily overwhelm the scooter’s voltage regulator and permanently fry the ECU, leading to extremely expensive repair bills.
To protect these systems, you must treat the jump-start purely as a temporary source of initial cranking power. The goal is to provide just enough amperage to turn the starter motor over once, not to run a continuous high-amperage charging cycle through the dead battery. Before you touch any wires, always consult your specific scooter’s owner manual to verify any manufacturer-specific warnings, battery access instructions, or designated grounding points.
Essential Tools for a Safe Scooter Battery Jump-Start
To perform this task safely and protect your scooter’s electrical system, you need the proper equipment. Using incorrect tools or low-quality cables can lead to short circuits, melted insulation, or damaged terminals.

- Portable 12V Jump Starter (Highly Recommended): A dedicated lithium-ion portable jump pack is the safest tool for the job. Look for a unit designed for powersports or small engines that explicitly features built-in reverse polarity protection, over-voltage protection, and spark-proof technology. These safety features automatically cut off power if the clamps are connected incorrectly.
- High-Quality Jumper Cables: If you must use traditional jumper cables, select a pair with an appropriate gauge. Cables rated between 10 AWG and 12 AWG are ideal for scooters because they are flexible enough to handle small terminals. Avoid using thick, heavy-duty commercial car jumper cables, as their large clamps can easily slip, bridge the gap between terminals, and cause a short circuit.
- Safety Gear: Always wear safety glasses to shield your eyes from potential sparks or battery acid spray. Insulated gloves are also essential to protect your hands from electrical arcs and chemical residue on the battery casing.
- Digital Multimeter (Optional but Useful): A multimeter allows you to verify the voltage of both the dead scooter battery and the donor power source before making any physical connections. This step ensures you are not connecting a 12V scooter system to an incompatible voltage source.
Method 1: Using a Portable Jump Starter (Recommended)
Using a portable jump starter is the most controlled and safest way to revive a dead scooter battery. Because the jump pack is a self-contained battery without an active alternator, it eliminates the risk of high-voltage spikes.
Preparation and Inspection First, ensure the scooter’s ignition switch is completely in the OFF position. Locate your scooter’s battery, which is typically found under the seat, beneath the floorboard, or behind a plastic fairing panel depending on your model. Inspect the battery terminals; if you notice any white, powdery corrosion, clean it off with a wire brush or a baking soda solution before proceeding to ensure a solid electrical connection.
Connection Sequence
- Connect the Positive Clamp: Attach the red (positive) clamp of the portable jump starter directly to the positive (+) terminal of the dead scooter battery. Ensure the metal teeth of the clamp have a firm grip on the terminal.
- Connect the Negative Clamp (Ground): Attach the black (negative) clamp to a clean, unpainted, solid metal part of the scooter's frame or engine block. This ground point should be located away from the battery itself and any fuel lines to prevent any potential spark from igniting fuel vapors. Do not connect it directly to the negative terminal of the dead battery unless specifically instructed by your owner's manual.
Powering Up and Starting Once the connections are secure, turn on the power switch of the portable jump starter. Many modern jump packs have an LED indicator that turns green when a proper, safe connection is detected. Wait a few seconds for the voltage between the jump pack and the scooter battery to stabilize.
Turn the scooter’s ignition key to the ON position. Press the start button to crank the engine. If the engine does not start within three to five seconds, turn the ignition OFF and wait 30 to 60 seconds before trying again. This waiting period prevents the scooter’s starter motor from overheating and protects the jump starter’s internal circuitry.
Disconnection Sequence Once the scooter’s engine is idling smoothly, turn off the portable jump starter. You must disconnect the clamps in the exact reverse order of how you connected them to prevent sparks. Remove the black (negative) ground clamp first, and then carefully remove the red (positive) clamp. Secure the battery cover and any fairings you removed.
Method 2: Using Jumper Cables and a Donor Vehicle
If a portable jump pack is unavailable, you can use a donor vehicle, such as a car or another motorcycle, to jump-start your scooter. However, this method requires extreme caution to protect your scooter’s delicate electronics.
The Golden Rule: Keep the Donor Engine OFF If you are using a car as the donor vehicle, the car’s engine must remain completely turned OFF during the entire process. A car’s 12-volt battery stores a massive amount of electrical energy, providing more than enough cold cranking amps (CCA) to start a small scooter engine on its own. If you start the car’s engine, the car’s alternator will immediately engage, producing a high-amperage output that can easily bypass your scooter’s voltage regulator and destroy the ECU.
Positioning the Vehicles Park the donor vehicle close enough to the scooter so that the jumper cables can reach comfortably without being stretched or under tension. Ensure that the two vehicles do not physically touch each other at any point, as this can create an unintended ground loop and cause electrical damage.
Connection Sequence To safely transfer power without causing a short circuit, follow this precise connection sequence:
- First Positive Connection: Connect one red (positive) clamp of the jumper cables to the positive (+) terminal of the dead scooter battery.
- Second Positive Connection: Connect the other red (positive) clamp to the positive (+) terminal of the donor vehicle's battery.
- First Negative Connection: Connect one black (negative) clamp to the negative (-) terminal of the donor vehicle's battery.
- Final Negative Connection (Ground): Connect the remaining black (negative) clamp to an unpainted, solid metal part of the scooter's frame or engine block, well away from the battery and fuel system.
Cranking the Scooter Double-check that all clamps are secure and not touching any adjacent metal parts. With the donor vehicle’s engine firmly OFF, turn the scooter’s ignition key to the ON position. Press the start button on the scooter. The scooter should crank and start almost immediately using the donor battery’s stored energy.
Disconnection Sequence Once the scooter is running, you must remove the jumper cables immediately and carefully in the exact reverse order of connection to avoid creating sparks near the batteries:
- Remove the black (negative) clamp from the scooter's metal ground.
- Remove the black (negative) clamp from the donor vehicle's negative terminal.
- Remove the red (positive) clamp from the donor vehicle's positive terminal.
- Remove the red (positive) clamp from the scooter's positive terminal.
After the Jump: Recharging and Scooter Battery Health Checks
Successfully starting your scooter is only the first step. A jump-start is designed to get you moving, but it does not fix the underlying cause of a dead battery, nor does it fully restore its charge.
Immediate Riding Action Do not turn off your scooter’s engine immediately after a successful jump-start. Let the engine idle for a few minutes, and then take the scooter for a continuous ride of at least 20 to 30 minutes. In Singapore’s urban traffic, try to maintain a steady speed rather than constant stop-and-go riding. This ride allows the scooter’s stator (charging system) to put a basic surface charge back into the battery, ensuring you do not get stranded the next time you turn the key.
Using a Dedicated Smart Charger It is crucial to understand that a scooter’s stator is designed to maintain a healthy battery’s charge while riding, not to recharge a completely depleted one. Relying solely on the stator to recharge a dead battery places an immense thermal strain on your scooter’s alternator and voltage regulator, which can lead to premature charging system failure.
Once you reach a safe location, connect the battery to a dedicated motorcycle smart charger (often called a trickle charger or battery maintainer). These devices use multi-stage charging algorithms to slowly and safely bring the battery back to 100% capacity without overheating the plates.
When to Replace Your Scooter Battery If your scooter battery is more than three to four years old, or if it fails to hold a charge even after a full cycle on a smart charger, it has likely reached the end of its operational life. Repeatedly jump-starting a worn-out battery will put continuous stress on your scooter’s starter motor and stator, potentially leading to much more expensive repairs. In Singapore’s hot, tropical climate, batteries degrade faster due to accelerated chemical reactions, so proactive replacement every two to three years is a wise preventative measure.
Frequently Asked Questions (FAQ)
Can I push-start a fuel-injected scooter with a dead battery?
No, you generally cannot push-start (or bump-start) a modern fuel-injected (EFI) scooter. Unlike older carbureted models with manual transmissions, modern scooters typically use a continuously variable transmission (CVT) with a centrifugal clutch, which prevents the rear wheel from turning the engine over when pushed. Furthermore, EFI systems require a baseline electrical voltage to power the fuel pump, fuel injectors, and the ECU. If the battery is completely dead, pushing the scooter will not generate enough initial electrical current to run these electronic fuel systems, meaning the engine cannot start.
Is it safe to use a larger car battery to jump-start my scooter?
Yes, it is entirely safe to use a larger 12V car battery to jump-start your scooter, provided you keep the car’s engine turned OFF during the entire process. The electrical current (amperage) drawn during a jump-start is determined by the scooter’s starter motor, not by the capacity of the donor battery. The scooter will only draw the current it needs to turn the engine over. The danger lies solely in the car’s active charging system; if the car’s engine is running, its alternator can produce high-voltage surges that will damage the scooter’s delicate electronic components.
Community discussion
Share your experience or ask a question. Comments are reviewed before publication.