
Over time, polycarbonate headlight lenses degrade, turning a cloudy, yellowed color that compromises night visibility and road safety. This deterioration is caused by ultraviolet (UV) radiation, road debris, and environmental factors. When the original protective factory clear coat wears away, the underlying plastic oxidizes, scattering the light emitted by your bulbs rather than focusing it on the road.
Restoring these cloudy headlights at home using a dedicated DIY restoration kit is a practical way to recover optical clarity and improve driving safety. The process involves physically abrading the damaged outer layer of plastic, polishing the surface to a smooth finish, and applying a new protective sealant to shield the lens from future environmental damage. By taking a systematic approach, you can achieve professional-grade results in your own driveway.
Before beginning, establish a clear safety and compatibility boundary. Headlights are critical safety components, and any restoration must preserve their structural integrity and optical alignment. If your headlight lenses have deep structural cracks, severe internal moisture accumulation, or damaged electrical components, a cosmetic surface restoration will not resolve the underlying issues. In such cases, consult your vehicle manufacturer’s documentation or a qualified automotive professional to discuss complete headlight assembly replacement.
Products mentioned in this guide
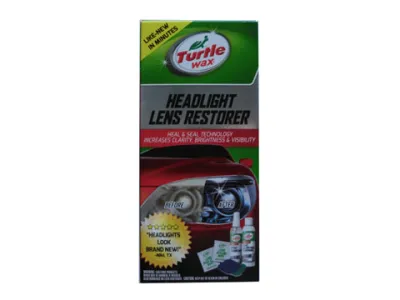
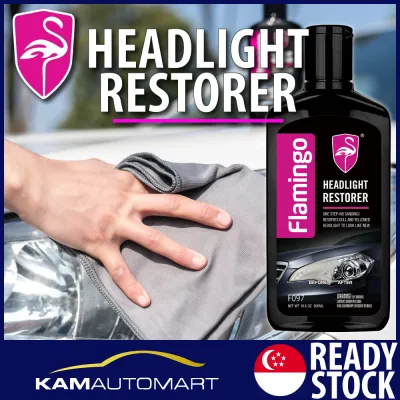
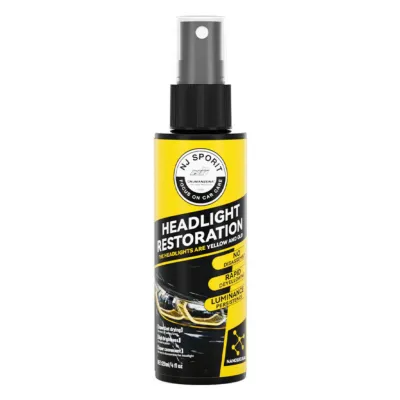
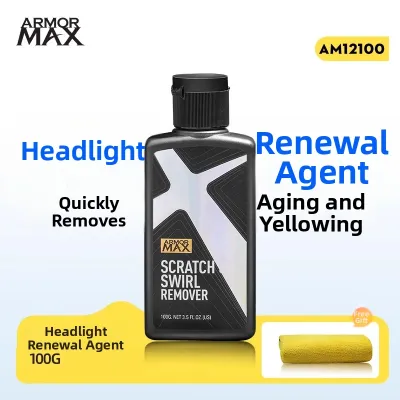
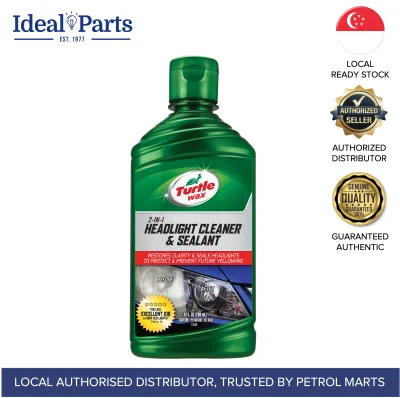
![[24 hours delivery] car headlamp polish 1 second yellow removal head lamp coating polish car care product car headlamp cleaner car headlight repair fluid headlamp restoration kit](https://img.lazcdn.com/g/p/2f54b0ac231abab722d9578c4894992a.jpg_400x400q80.jpg_.webp)
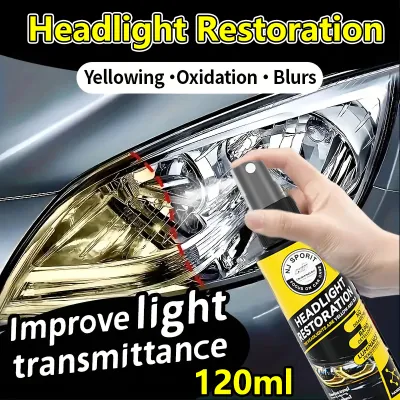
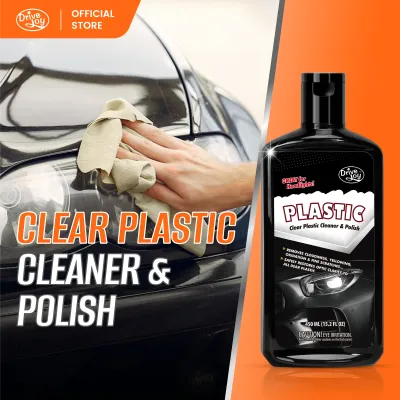
Prices are valid at publication and may change. Please refer to the product page for the latest price.
Assessing Headlight Condition and Selecting a Kit
Before purchasing any materials, inspect the condition of your headlights to ensure they are suitable candidates for a DIY restoration. Run your hand over the surface of the lens; surface oxidation typically feels rough, chalky, or pitted, and is accompanied by a distinct yellow discoloration. If the cloudiness or moisture is on the inside of the lens, or if you observe water pooling at the bottom of the housing, the headlight’s weather seal has failed. Internal issues or physical delamination of the plastic layers cannot be resolved with an external restoration kit and require professional replacement.
Once you confirm the damage is limited to the exterior surface, select a high-quality restoration kit that matches the severity of the oxidation. For mild hazing, a basic kit containing a fine polishing compound and a protective sealant may suffice. However, for moderate to severe yellowing, you will need a comprehensive kit that includes progressive sandpaper grits, a dedicated polishing compound, and a robust UV sealant or clear coat. Progressive sanding is crucial because it allows you to systematically level the deeply damaged plastic before polishing it to a clear finish.
Always verify that the cleaning agents, polishing compounds, and sealants in the kit are explicitly labeled as safe for automotive polycarbonate lenses. Polycarbonate is a specialized thermoplastic that can react negatively to incompatible solvents, household cleaners, or aggressive industrial chemicals, which may cause the plastic to stress-crack, melt, or haze permanently. Additionally, decide whether you prefer a manual kit or one that utilizes a household drill attachment. Drill-based kits can save significant physical effort, but they require careful speed control to prevent heat buildup from melting the plastic surface.
Preparing the Workspace and Masking the Vehicle
Proper preparation is the foundation of a successful headlight restoration, as it protects your vehicle’s paint and ensures the restoration chemicals perform as intended. Begin by selecting an appropriate workspace that is shaded, dry, and well-ventilated. Direct sunlight is a major obstacle during this process, as it can cause cleaning solutions, polishing compounds, and UV sealants to dry prematurely, leading to unsightly streaks, uneven curing, or a compromised protective layer. A garage, carport, or shaded driveway is ideal.

Before applying any abrasives or chemicals, wash the headlights and the surrounding body panels thoroughly using standard automotive soap and clean water. This step removes road grime, grease, salt, and loose dirt that could otherwise become trapped under your sandpaper or polishing pads. If these abrasive particles are dragged across the lens during the restoration process, they can create deep, permanent scratches that are incredibly difficult to buff out. Once washed, dry the entire area completely with a clean microfiber towel.
Next, establish a secure boundary around the headlights using high-quality painter’s tape. Apply two to three layers of tape to the surrounding paint, bumper covers, grille, and fender edges. This masking process is critical because the sanding and polishing steps involve rapid hand movements or spinning drill attachments that can easily slip. Without a protective barrier of painter’s tape, the coarse sandpaper or abrasive polishing compounds can instantly scratch your vehicle’s clear coat or damage delicate plastic trim, leading to costly paint repairs.
Executing the Sanding, Polishing, and Sealing Steps
With the vehicle prepared, you can begin the multi-step restoration process, which must be executed in a strict, logical sequence to achieve optimal optical clarity. The first phase is the wet sanding sequence, which physically removes the oxidized, dead plastic layer. Start with the coarsest sandpaper grit provided in your kit, which is typically around 800 or 1000 grit. Wet both the sandpaper and the headlight lens thoroughly with water or the lubricant spray provided in the kit; adequate lubrication is vital to prevent the sandpaper from clogging and to minimize heat buildup.
Sand the lens using light, even pressure and consistent, overlapping straight-line strokes. It is highly recommended to sand in a single direction—such as horizontally—for the first grit. Avoid circular sanding motions, as they can create deep swirl marks that are difficult to level out in subsequent steps. Keep the surface wet throughout the process, frequently rinsing away the white, slurry-like residue of abraded plastic. Once the entire surface has a uniform, dull haze, wipe the lens clean and transition to the next finest grit, such as 1500 or 2000 grit.
When using the second, finer grit, alter your sanding direction to vertical strokes. This cross-hatching technique allows you to easily observe when the coarser scratches from the previous step have been completely replaced by the finer scratch pattern of the current grit. Continue this systematic progression up to the finest grit provided, which is often 2500 or 3000 grit. By the end of the sanding phase, the headlight should look completely smooth and uniformly frosted, with no remaining yellow patches or rough spots.
The next phase is the polishing step, which restores transparency to the finely sanded polycarbonate. Thoroughly clean and dry the lens to ensure no sanding grit remains. Apply a small amount of the kit’s polishing compound to a clean microfiber cloth or the designated foam drill pad. Buff the lens using moderate, even pressure, working in small sections. The ultra-fine abrasives in the polishing compound will smooth out the microscopic sanding scratches, gradually revealing a crystal-clear surface. Wipe away any excess polish with a clean microfiber towel and inspect your work; if any faint haze remains, repeat the polishing process.
The final and most critical step is applying the UV protection sealant. Because the sanding and polishing process removes the factory UV-resistant coating, the bare polycarbonate is highly vulnerable to rapid degradation if left unprotected. Ensure the lens is completely dry and free of any residual polishing oils by wiping it down with the cleaning solution or alcohol prep pad provided in the kit. Apply the UV sealant or clear coat evenly across the lens, following the manufacturer’s instructions precisely. Use smooth, non-overlapping passes to avoid creating runs, bubbles, or thick ridges in the coating.
Once applied, the UV sealant must cure undisturbed under the exact environmental conditions specified by the manufacturer. Avoid driving the vehicle, exposing it to moisture, or parking it in dusty areas during the curing window, which typically ranges from a few hours to a full day. Proper curing allows the polymer chains in the sealant to cross-link effectively, creating a durable, long-lasting barrier against ultraviolet radiation, road salts, and environmental pollutants.
Maintaining Clarity and Preventing Future Oxidation
Completing the restoration process is only half the battle; establishing a consistent maintenance routine is essential to prolong the clarity of your headlights and delay the return of cloudiness. When washing your vehicle, always use a pH-neutral car shampoo and a soft microfiber wash mitt. Avoid using harsh household detergents, dish soaps, or degreasers, as these aggressive chemicals can prematurely strip or degrade the newly applied UV protective sealant. Similarly, never use stiff-bristled brushes or abrasive scrubbing pads on the headlights, as they can scratch the protective clear coat.
To further protect the restored lenses, integrate headlight maintenance into your regular exterior detailing routine. Every few months, apply a dedicated automotive wax, synthetic paint sealant, or a spray-on UV protectant directly over the headlight lenses. This extra layer acts as a sacrificial barrier, absorbing the brunt of the environmental wear and UV radiation before it can reach the underlying sealant. Ensure that any product you apply is explicitly rated as safe for clear plastics and polycarbonate.
Finally, consider your daily parking habits to minimize the headlights’ exposure to damaging solar radiation. Whenever possible, park your vehicle in a garage, under a carport, or in shaded areas to shield the lenses from direct, intense sunlight. If you must park outdoors for extended periods, using a high-quality, breathable car cover can provide excellent protection for both your headlights and your vehicle’s paint. By combining careful restoration with proactive maintenance, you can keep your headlights clear, bright, and safe for years to come.
Frequently Asked Questions (FAQ)
Is toothpaste a viable alternative to a dedicated restoration kit?
While toothpaste contains mild abrasives that can temporarily scrub away light surface grime and very minor hazing, it is not a viable or long-term alternative to a dedicated headlight restoration kit. Toothpaste lacks the progressive sanding grits necessary to level moderate to severe polycarbonate oxidation, meaning it cannot restore deeply damaged lenses. More importantly, household hacks do not include a UV-resistant protective sealant. Without this critical protective layer, the bare, polished plastic is left completely exposed to the elements, resulting in rapid re-oxidation and a return of the cloudiness within a matter of weeks.
How long will the restored clarity last?
The longevity of a headlight restoration job depends heavily on the quality of the UV sealant applied, local weather conditions, and your vehicle’s storage environment. A high-quality, properly cured UV sealant can keep headlights clear for many months, or even years if the vehicle is frequently parked in a garage or shade. Conversely, vehicles parked outdoors in high-UV climates without regular maintenance may see cloudiness return much sooner. To maximize the lifespan of your restoration, monitor the lenses regularly for any signs of fading and proactively reapply a compatible UV-resistant protectant.
Community discussion
Share your experience or ask a question. Comments are reviewed before publication.