
Cloudy, yellowed headlights are more than just an aesthetic blemish on your vehicle; they present a significant safety hazard by severely reducing night-time visibility and scattering light output. Over time, the factory-applied protective UV coating on your polycarbonate headlight lenses degrades due to constant exposure to sunlight, atmospheric heat, and road debris. When this protective layer fails, the underlying plastic oxidizes, resulting in a hazy, dull appearance that can compromise your vehicle’s roadworthiness during routine inspections. Fortunately, restoring these lenses to their original clarity is a highly manageable weekend project that you can complete at home using a specialized do-it-yourself (DIY) restoration kit.
Because headlights are critical safety components that dictate your night-time visibility and road legality, maintaining their optical clarity is paramount. Before beginning any physical work, always verify your vehicle’s specific headlight housing material and mounting instructions in your owner’s manual. While a professional detailing service might cost upwards of S$80, a DIY kit offers a budget-friendly alternative that delivers excellent results when executed with patience and care.
Assessing Your Headlights Before Starting
Before purchasing a restoration kit, it is essential to evaluate the condition of your headlights to ensure a DIY approach will be effective. Most modern headlight lenses are made of polycarbonate plastic, which is highly durable but susceptible to surface oxidation. This oxidation typically manifests as a rough, yellowed, or chalky layer on the exterior surface of the lens.
Products mentioned in this guide
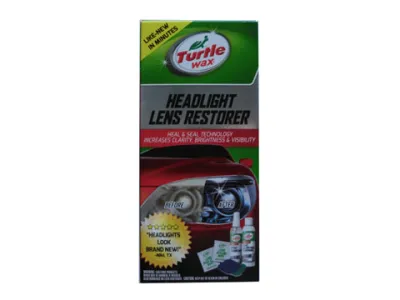
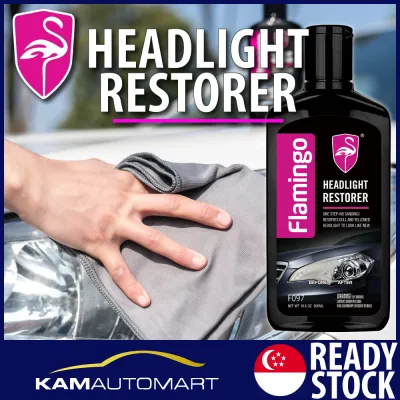
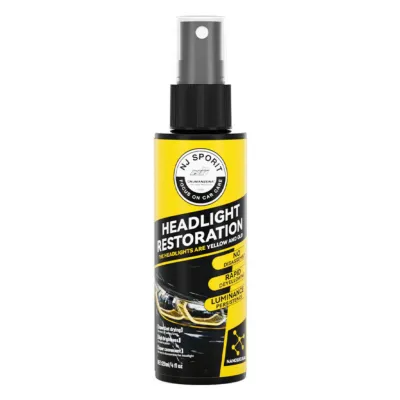
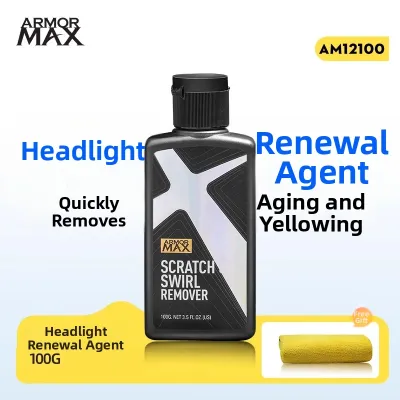
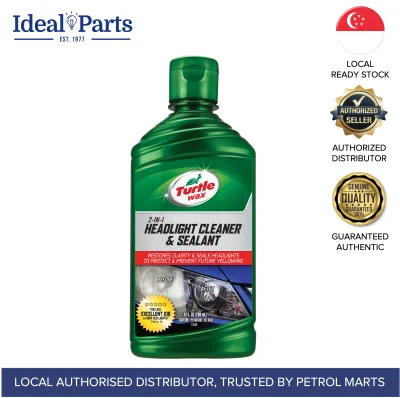
![[24 hours delivery] car headlamp polish 1 second yellow removal head lamp coating polish car care product car headlamp cleaner car headlight repair fluid headlamp restoration kit](https://img.lazcdn.com/g/p/2f54b0ac231abab722d9578c4894992a.jpg_400x400q80.jpg_.webp)
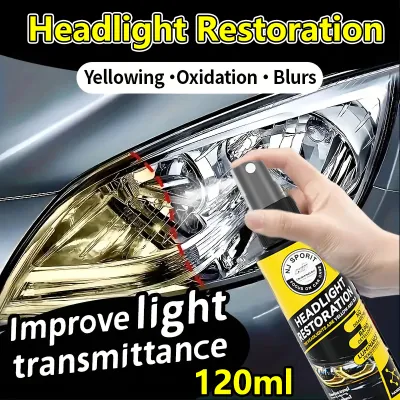
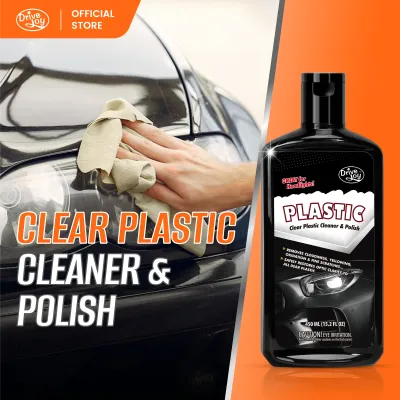
Prices are valid at publication and may change. Please refer to the product page for the latest price.
To confirm that the damage is limited to the surface, you can perform a simple water test. Thoroughly spray the dry headlight lens with clean water from a spray bottle. If the cloudiness temporarily disappears and the lens looks clear while wet, the oxidation is superficial, and a DIY restoration kit will likely yield excellent results. However, if the lens remains hazy or yellow even when wet, the degradation may have penetrated deep into the plastic, or the cloudiness may be caused by internal issues.
Internal moisture, condensation, or a fine layer of dirt inside the headlight housing indicate a broken seal or a cracked housing rather than surface oxidation. Similarly, deep physical cracks, severe pitting from road gravel, or internal heat damage from high-wattage bulbs cannot be resolved with surface sanding. In these scenarios, DIY restoration kits will fail to restore clarity, and you will need to seek professional repair services or replace the entire headlight assembly to ensure your vehicle remains safe and road-legal.
Essential Tools and Materials for Headlight Restoration
Preparing your workspace and gathering the correct materials beforehand is key to achieving a smooth, professional-grade finish. A standard, high-quality DIY headlight restoration kit typically contains several essential components designed to work systematically. These include multiple sheets or discs of specialized waterproof sandpaper of varying grits, a dedicated polishing compound, and a critical UV-resistant sealant or clear coat.

In addition to the contents of the kit, you will need several supplementary household and car care items to complete the job safely. Gather a roll of high-quality painter’s tape, several clean microfiber towels, a bucket of water mixed with pH-neutral automotive soap, and a spray bottle filled with clean water for continuous lubrication. Having these items within arm’s reach prevents interruptions once you begin the time-sensitive steps of the restoration process.
Before starting, always check the expiration date on your restoration kit, as the chemical compounds—particularly the UV sealant—can degrade over time if stored incorrectly. It is absolutely vital to ensure that your chosen kit includes a dedicated UV protectant or sealant layer. Polishing the plastic to a high gloss without applying a fresh protective barrier will leave the bare polycarbonate completely exposed to the elements, leading to rapid re-oxidation and cloudiness within just a few weeks.
Step-by-Step Headlight Restoration Process
Restoring your headlights requires a methodical approach that balances physical effort with chemical precision. While the general steps remain consistent across most products, you must always prioritize the specific grit sequence, application instructions, and curing times provided in your purchased kit’s manual. Keeping the headlight surface heavily lubricated during the sanding phases is the single most important factor in preventing deep, permanent scratches that could ruin the lens.
Preparation and Surface Cleaning
The first step in any successful detailing project is thorough preparation to protect your vehicle’s exterior. Begin by washing the headlight lenses and the surrounding body panels with automotive soap and water to remove loose dirt, road grime, and abrasive grit. Any leftover debris on the lens can get caught under the sandpaper during the restoration process, causing deep scratches that are incredibly difficult to polish out. Once the area is completely clean, dry the lenses thoroughly with a clean microfiber towel.
Next, apply painter’s tape around the entire perimeter of the headlight housing to shield your car’s paintwork and clear coat. Apply at least two to three overlapping layers of tape to create a thick physical barrier against accidental slips of the sandpaper or polishing pad. Take your time during this step, ensuring the tape is tucked neatly into the gaps between the headlight lens and the surrounding metal panels or plastic bumpers. Only use automotive-grade soaps and painter’s tape that are explicitly labeled as safe for automotive clear coats and plastics.
Wet Sanding to Remove Oxidation
Wet sanding is the core phase of the restoration process, designed to physically strip away the degraded factory UV coating and the oxidized layer of polycarbonate. Fill your spray bottle with clean water and generously wet both the headlight lens and the coarsest sandpaper grit provided in your kit. Begin sanding the lens using consistent, light-to-medium pressure, keeping the surface continuously wet to wash away the slurry of removed plastic and prevent heat buildup.
To achieve an even finish, sand in a single direction—such as horizontally—across the entire surface of the lens, ensuring you cover the edges and corners. Avoid sanding in circular motions, as this can create uneven swirl marks that are difficult to remove with finer grits. Once you have completed the first pass, rinse the lens, wipe it clean, and transition to the next finest grit in your kit’s sequence, this time sanding in the opposite direction (such as vertically) to cross-hatch and smooth out the scratches from the previous step.
As you progress through the increasingly fine grits of sandpaper, you will notice the runoff water changing from a yellow, cloudy slurry to a clean, white liquid. The visual cue for completing the wet sanding phase is a headlight lens that looks completely uniform, frosted, and dull, with absolutely no remaining glossy patches, yellow spots, or rough textures. Wipe the lens completely dry with a clean microfiber towel to inspect your work before moving on to the polishing stage.
Polishing and Applying UV Protectant
Once the surface is uniformly frosted, it is time to restore optical clarity using the kit’s polishing compound. Apply a small, coin-sized amount of the polishing paste to a clean microfiber cloth or the applicator pad provided in your kit. Work the compound into the lens using firm, circular motions, focusing on small sections at a time until the frosted appearance begins to clear and the plastic becomes highly transparent. Wipe away any excess polish residue with a clean, dry microfiber towel and inspect the lens for any missed spots.
With the lens now clear, you must apply the UV sealant or clear coat to protect the bare polycarbonate from future solar damage. Because this chemical layer is highly sensitive to environmental conditions, ensure you apply it in a shaded, dust-free area out of direct sunlight, ideally when the ambient temperature and humidity are moderate. Apply the sealant evenly across the lens in overlapping horizontal strokes, following the product label’s exact instructions to avoid runs, streaks, or bubbles.
Allow the sealant to cure completely according to the manufacturer’s specified timeline, keeping the vehicle parked in a dry, sheltered area like a garage or multi-storey car park. Avoid exposing the freshly sealed headlights to water, rain, or road dust during this critical curing phase, as moisture can ruin the chemical bond and compromise the durability of the protective barrier.
Verifying the Results and Knowing When to Stop
After the curing process is complete, step back and evaluate the outcome of your restoration work. Compare the restored headlight with the other side if you worked on them sequentially, or turn on your vehicle’s lights in a dark area to check for a clean, focused, and uniform light output. A successful restoration should yield a highly transparent lens that allows light to pass through without scattering or dimming.
However, it is crucial to recognize the physical limits of DIY restoration and know when further sanding is counterproductive. If you notice deep, structural cracks or severe physical pitting that remain visible even after using the finest sandpaper grit, do not attempt to sand them out aggressively. Continuing to sand deeply into the polycarbonate can thin the lens excessively, compromising its structural integrity and making it vulnerable to cracking from minor road debris.
Additionally, if you discover internal condensation, water droplets, or a layer of dust on the inside of the lens after completing the exterior cleaning, stop your DIY efforts. Internal issues require the headlight housing to be professionally disassembled, resealed, or replaced entirely. Attempting to resolve internal moisture through external sanding will not yield results and could lead to electrical short circuits in your vehicle’s lighting system.
Maintaining Restored Headlights to Prevent Future Clouding
To maximize the lifespan of your newly restored headlights and prevent them from clouding over again, establish a consistent maintenance routine. When washing your vehicle, always use a mild, pH-neutral automotive soap rather than harsh household detergents or degreasers. Strong chemical cleaners can strip away the delicate UV sealant layer you just applied, leaving the polycarbonate vulnerable to rapid solar degradation.
Periodically inspect the headlight lenses during your regular car washes to check the condition of the protective sealant layer. Depending on the quality of the kit used and your driving habits, the UV protectant may need to be reapplied periodically based on the manufacturer’s recommended lifespan. Catching minor degradation early and applying a fresh coat of UV protectant can save you from having to repeat the entire sanding process in the future.
Finally, adjust your parking habits to minimize exposure to harsh environmental factors, especially if you live in a tropical climate with intense, year-round sunlight. Whenever possible, park your vehicle in shaded areas, such as multi-storey car parks, carports, or under building overhangs, to shield the lenses from direct UV radiation. If shaded parking is unavailable, using a high-quality, UV-resistant car cover during extended periods of parking is an excellent way to prolong the clarity of your headlights and protect your vehicle’s overall paintwork.
Frequently Asked Questions (FAQ)
Can I use household items like toothpaste instead of a DIY kit?
While common household hacks like using toothpaste or baking soda can temporarily improve minor headlight clouding, they are not viable long-term solutions. Toothpaste contains mild abrasives that can scrub away a very thin layer of surface oxidation, but it lacks the progressive, ultra-fine sanding grits required to level deeper damage and restore true optical clarity. More importantly, household items do not provide a UV-resistant sealant; without this protective barrier, your bare polycarbonate lenses will re-oxidize and turn cloudy again within a matter of weeks, often worse than before.
How long does a DIY headlight restoration typically last?
The longevity of a DIY headlight restoration depends heavily on the quality of the UV sealant applied, your local climate, and where the vehicle is parked. In regions with intense tropical sunlight and high UV indexes, an unprotected lens can degrade rapidly, whereas a high-quality, properly cured UV sealant can maintain clarity for one to two years. To get a realistic expectation of durability, always check the specific kit’s packaging and follow the manufacturer’s maintenance guidelines, which may recommend periodic reapplication of a protective spray.
Is it safe to drive immediately after applying the UV sealant?
No, you should not drive your vehicle immediately after applying the UV sealant. The protective clear coat or sealant requires a specific curing window—often several hours—to dry completely and form a durable chemical bond with the polycarbonate lens. Driving too soon, especially at night, in wet weather, or on dusty roads, can cause road debris to stick to the wet sealant, ruin the finish, or scatter your headlight beams, creating a safety hazard for you and other road users.
Community discussion
Share your experience or ask a question. Comments are reviewed before publication.