
Repairing a damaged leather car seat with a DIY leather repair kit is a practical way to restore your vehicle’s interior and prevent minor tears from expanding into costly upholstery failures. By systematically cleaning the surface, reinforcing the backing, applying a specialized filler, and blending custom-mixed color compounds, you can achieve a seamless finish that preserves your car’s value. Success relies on patience, precise color matching, and understanding the physical limits of consumer-grade repair compounds.
Before beginning, recognize that a DIY repair is best suited for cosmetic surface damage, small punctures, and minor cuts. While these kits provide the necessary chemical agents to bond and seal leather fibers, they cannot restore the structural integrity of a severely compromised seat. Taking the time to evaluate the damage and prepare your workspace properly will determine whether the final result blends invisibly or stands out as an obvious patch.
Assess the Damage and Check Kit Compatibility
Before purchasing a leather repair kit, identify your seat material by checking the vehicle’s owner’s manual or seat tags. Modern cars use genuine leather, synthetic polyurethane, or vinyl, and each requires compatible bonding agents. Next, measure the damage; consumer kits are generally limited to tears under two inches, small punctures, or minor burns. If the damage is on a high-tension area like a side bolster, a DIY patch may fail under repeated flexing.
Products mentioned in this guide
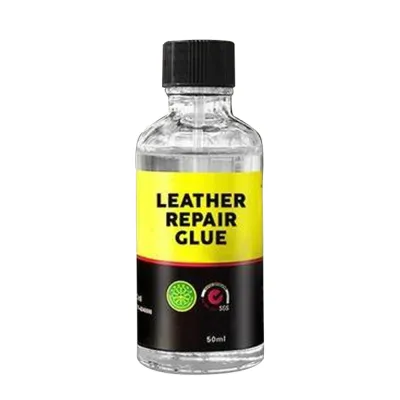
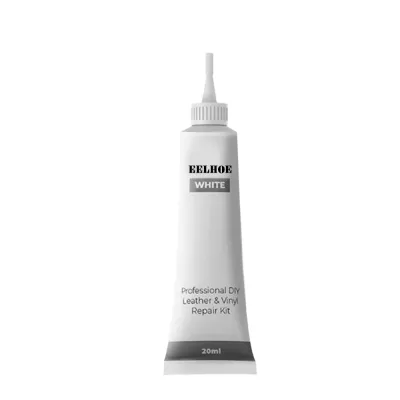
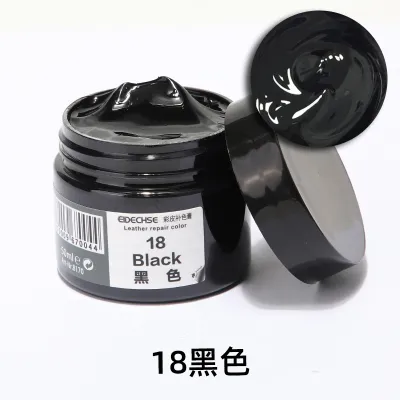
![[SG FREE ] Colored Leather Complementary Color Paste Leather Repair Kit For Sofa Car Seats Scratch](https://img.lazcdn.com/g/p/195bd90f49599bd2e9ed3bb8f878f46e.jpg_400x400q80.jpg_.webp)
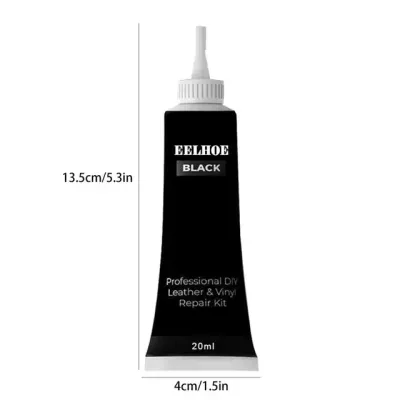
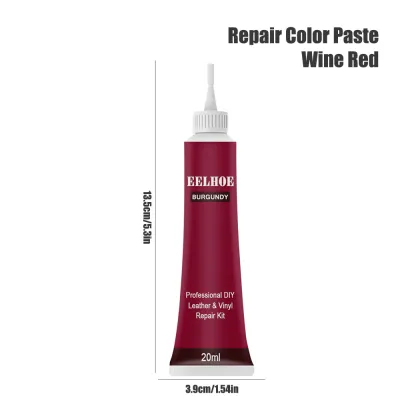
Prices are valid at publication and may change. Please refer to the product page for the latest price.
Finally, check for safety hazards. If the tear is near a side-airbag deployment seam (marked by an “SRS Airbag” tag), avoid DIY repairs entirely, as aftermarket adhesives can prevent the airbag from deploying correctly in an accident. Always cross-reference the kit’s compatibility list to ensure the adhesive is safe for your specific upholstery type.
Gather Your Tools and Prepare the Workspace
A standard kit contains cleaner, backing fabric, filler compound, color mixing pots, a spatula, texture paper, and a topcoat. You will also need mild pH-neutral soap, microfiber cloths, tweezers, sharp scissors, fine-grit sandpaper, and masking tape.

Set up your workspace in a shaded, well-ventilated area, such as a sheltered multi-storey car park in Singapore. High tropical humidity and direct sunlight can cause compounds to dry unevenly or cure too quickly. Before starting, ensure your vehicle is parked safely with the handbrake engaged, then use masking tape and drop cloths to protect the surrounding dashboard, center console, and unaffected seat areas from accidental spills.
Step-by-Step Leather Repair Process
Restoring leather requires a logical progression from deep cleaning to structural reinforcement, followed by cosmetic blending and sealing. Rushing through any single phase will compromise the adhesion of the subsequent layers, leading to a repair that may peel or crack within a few weeks of use.
Always read the instruction leaflet included with your specific leather repair kit for exact drying times and layering methods.
Clean and Prep the Surface
Adhesion is the foundation of any lasting leather repair. Begin by applying the kit’s designated cleaner or a mild, leather-safe soap to a clean microfiber cloth to thoroughly degrease the damaged area. Avoid spraying liquids directly onto open tears to prevent moisture from seeping into the underlying seat foam.
Once dry, use sharp embroidery scissors or a utility knife to trim away any frayed, curled, or burnt edges along the perimeter of the damage. If explicitly recommended by the kit’s manual, lightly sand the immediate surrounding area with fine-grit sandpaper to create a microscopic bonding profile, then wipe away any dust. Allow the prepped surface to dry completely for at least fifteen minutes before applying any repair compounds.
Apply the Sub-Patch and Filler
For tears that penetrate completely through the leather, you must install a sub-patch to rebuild structural integrity. Cut the kit’s backing fabric so it is half an inch larger than the damage, round the corners, and insert it through the opening using tweezers. Smooth it flat between the leather and the seat foam, then apply a thin layer of fabric adhesive to bond the underside of the leather to the patch.
Next, apply the heavy filler compound into the void using the provided spatula. Apply the filler in multiple thin layers, allowing each to dry fully, and ensure the compound sits slightly below or perfectly flush with the surrounding leather surface. Use the spatula to smooth out the edges of the filler so it transitions seamlessly into the surrounding leather.
Mix and Apply the Colour Compound
Achieving an invisible repair depends on precise color matching. Mix small amounts of the color compounds in a clean pot, adding tinting colors in tiny, single-drop increments. Always test the color mix on a hidden area of the seat or the provided test card first, keeping in mind that acrylic-based colorants dry slightly darker than they appear when wet.
Once verified, apply the compound to the repaired area using a fine sponge or applicator. Use a light dabbing motion and feather the edges outward into the undamaged leather to eliminate harsh boundary lines, building the color in multiple thin coats. Let each coat dry completely before applying the next to ensure a durable, even finish.
Texture and Finish the Repair
To prevent the repaired spot from looking unnaturally smooth, you must replicate the natural leather grain. While the final color coat is still slightly tacky, press the kit’s texture paper or grain pad firmly onto the area to emboss the pattern.
After the color coat dries completely, apply the provided protective topcoat or finisher to seal the repair against friction, body oils, and moisture. Allow the completed repair to cure undisturbed for the full duration recommended by the manufacturer, typically 24 to 48 hours, before sitting on the seat or applying any leather conditioners. This curing period is essential for the polymers to cross-link and form a resilient bond.
Post-Repair Care and Maintenance
Once the repair has fully cured, establish a gentle maintenance routine to prolong its lifespan. Avoid harsh chemical cleaners, alcohol-based wipes, or abrasive brushes, which can dissolve the repair compounds; instead, use a soft microfiber cloth dampened with a dedicated, pH-neutral automotive leather cleaner.
Apply high-quality, non-greasy leather conditioners sparingly around the repaired area to maintain flexibility without softening the compounds. In hot, sunny climates like Singapore, protect the interior by parking in shaded areas, using reflective front sunshades, or installing UV-blocking window films to prevent the leather and repair from drying out and cracking.
When to Stop and Seek Professional Help
DIY leather repair kits have clear limitations. If the damage involves a tear longer than two inches, exposes deep seat foam, or spans multiple panels, a DIY kit will likely result in a stiff, unsightly patch that cracks quickly. Additionally, if your initial attempts at color matching fail repeatedly, or if the leather is severely dry-rotted and flaking, consult a professional automotive upholsterer.
Finally, never attempt a DIY repair if the damage is located along a seam that houses a side-impact airbag, as professional intervention is required to ensure the airbag can deploy safely in an emergency.
Frequently Asked Questions (FAQ)
Can I use a leather repair kit on synthetic or vegan leather car seats?
Many standard leather repair kits are formulated specifically for genuine animal hide and may not bond effectively to synthetic materials like polyurethane (PU) leather, vinyl, or modern vegan alternatives. Synthetic materials have different chemical structures and surface tensions, which can cause standard leather adhesives and fillers to peel off over time.
Before purchasing a kit, check the product label to ensure it is explicitly rated for synthetic leather or vinyl. Additionally, consult your vehicle’s owner’s manual to confirm the exact composition of your seats, as some manufacturers use genuine leather on the seating surfaces but synthetic vinyl on the side bolsters and seatbacks.
How long does a DIY leather repair typically last on high-wear areas?
The longevity of a DIY leather repair on high-wear areas, such as the driver’s side bolster or the seat cushion, depends heavily on the thoroughness of your surface preparation and the quality of the kit used. Under normal daily driving conditions, a well-executed repair can last anywhere from several months to a couple of years before showing signs of wear.
Because these areas experience constant friction, flexing, and weight distribution, the repair will naturally degrade faster than one on a low-wear surface like a headrest. To maximize durability, ensure the sub-patch is securely bonded and apply the filler in thin, fully cured layers to maintain maximum flexibility.
Will the repaired area feel as soft and flexible as the original leather?
A repaired area will generally feel slightly stiffer than the surrounding natural leather, as the fillers and color compounds are synthetic polymers designed to cure into a solid, durable barrier. While these compounds are formulated to remain flexible, they cannot fully replicate the natural elasticity and soft hand-feel of untreated animal hide.
You can minimize this tactile difference by applying the filler and color compounds in the thinnest layers possible and feathering the edges outward. Properly texturing the surface with grain paper while the color coat is tacky also helps break up the surface tension, making the repaired spot feel more natural to the touch.
Community discussion
Share your experience or ask a question. Comments are reviewed before publication.