
Restoring yellowed car plastic trim and headlights requires identifying the specific type of plastic and applying a targeted restoration process. Polycarbonate headlight lenses oxidize into a cloudy, yellowed layer under intense tropical sunlight, while textured exterior trim fades and chalks due to plasticizer loss. Addressing these issues involves systematic cleaning, targeted abrasion or deep chemical restoration, and applying a durable UV-resistant barrier to prevent rapid recurrence.
Assess the Damage and Choose the Right Method
Before purchasing any restoration products, inspect the affected plastic components to determine the severity of the degradation. Run a clean fingernail gently across the surface of the headlight lens. If the roughness and discoloration are entirely on the exterior, the issue is surface UV oxidation, which can be resolved through DIY restoration.
Look closely for signs of internal damage that DIY surface treatments cannot fix. If you observe fine, spiderweb-like cracks deep within the plastic matrix—a condition known as crazing—the structural integrity of the polycarbonate has compromised. Similarly, if you notice water droplets, heavy condensation, or a film of dirt on the inside of the lens, the factory seals have failed. In these scenarios, or if the plastic has become extremely brittle and cracks under light pressure, seek professional replacement rather than attempting to polish the surface.
Products mentioned in this guide
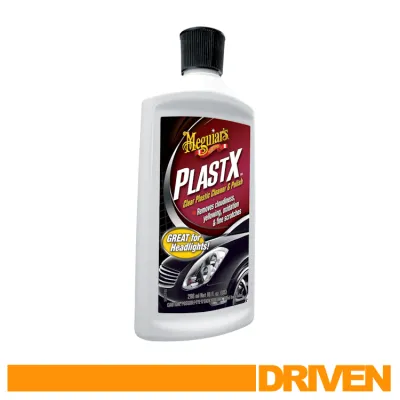
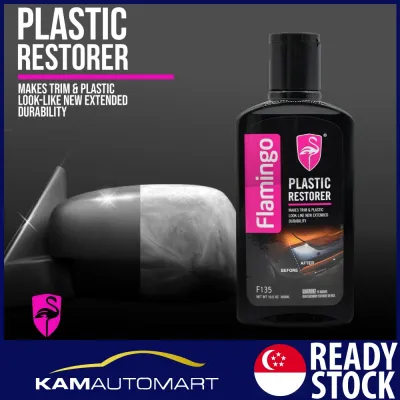
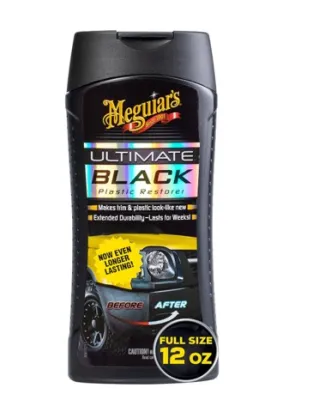
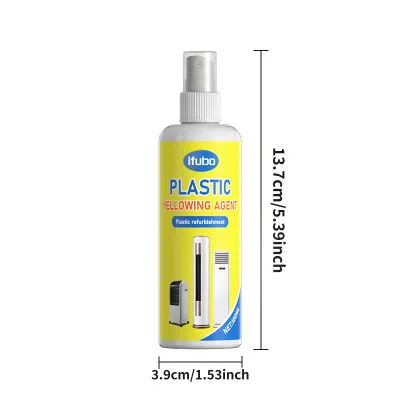
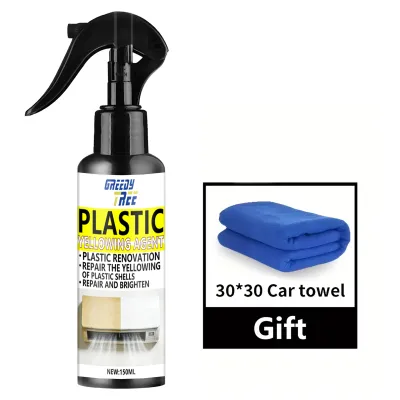
Prices are valid at publication and may change. Please refer to the product page for the latest price.
Understand that polycarbonate headlights and textured exterior trim are made of entirely different materials and require completely different restoration techniques. Headlights are made of hard, clear polycarbonate designed to withstand wet sanding and mechanical polishing. Exterior trim pieces, such as bumper guards and mirror surrounds, are typically made of textured polypropylene or thermoplastic olefins. Sanding textured trim will permanently flatten the molded grain, leaving unsightly smooth patches that cannot be repaired.
Gather Tools and Safety Equipment
Proper preparation requires gathering the correct supplies to protect your vehicle’s paintwork and ensure a safe working environment. You will need a dedicated pH-neutral automotive wash soap, high-quality painter’s tape, and several clean, high-density microfiber towels. Having these items ready prevents cross-contamination and accidental damage to surrounding panels.

Select your abrasives, polishing compounds, and protective coatings based strictly on the product labels and your specific vehicle components. For headlights, choose a dedicated headlight restoration kit that includes progressive grits of wet-or-dry sandpaper (typically ranging from 1000 to 3000 grit) and a plastic-safe polishing compound. For textured trim, select a non-abrasive trim restorer or a porous-plastic ceramic coating. Always verify that the product is authorized for use on your specific plastic type by reading the manufacturer’s instructions.
Prioritize safety by wearing nitrile gloves to protect your skin from chemical solvents and eye protection to shield against flying debris during polishing. If you use a mechanical polisher or apply aerosol-based clear coats, wear a respiratory mask to avoid inhaling fine plastic dust or chemical fumes. Always perform these tasks in a well-ventilated area, such as a shaded driveway or an open multi-storey car park bay, to ensure adequate air circulation and prevent dust from settling on wet coatings.
Step-by-Step Restoration for Yellowed Headlights
Begin the headlight restoration process by washing the lenses thoroughly with automotive soap and water to remove road grime, salt, and surface grit. Dry the area completely with a clean microfiber towel. Apply two to three layers of painter’s tape around the entire perimeter of each headlight lens to protect the adjacent painted body panels and rubber seals from accidental sanding marks.
Prepare your wet sanding materials according to the specific product instructions. Wet both the headlight lens and the coarsest sandpaper grit (usually 1000 or 1500 grit) with clean water or the lubricant provided in your kit. Sand the lens using light, even pressure in straight, horizontal lines, keeping the surface wet at all times to flush away removed plastic slurry. Wipe the lens clean, then switch to the next finest grit (such as 2000 grit) and sand in straight, vertical lines. This cross-hatch pattern ensures that you completely remove the scratches from the previous step. Finish with the finest grit (such as 3000 grit) using horizontal strokes until the lens has a uniform, frosted appearance.
Once sanding is complete, wipe the lens dry and prepare to polish. Apply a small amount of plastic polishing compound to a microfiber applicator pad or a dual-action polisher equipped with a soft foam polishing pad. Work the compound into the lens using medium pressure and overlapping circular motions. If you are using a machine polisher, keep the tool moving constantly and avoid applying excessive pressure, as heat build-up can melt or warp the polycarbonate plastic. Wipe away the polish residue with a clean microfiber towel to reveal a crystal-clear surface.
The restored polycarbonate is highly vulnerable to UV rays and will quickly yellow again without a protective barrier. Apply a dedicated headlight sealant or ceramic coating strictly according to the manufacturer’s instructions. Use the provided applicator to apply the coating in thin, even, overlapping passes, ensuring complete coverage. Allow the coating to cure in a dry, shaded environment for the exact duration specified on the product label, keeping the vehicle away from moisture, rain, and road dust during this critical curing window. If you choose to remove the headlight assemblies for restoration, consult your vehicle’s original manual for correct disassembly instructions, and ensure any electrical connectors are safely disconnected and reinstalled by a qualified professional. Verify that the restored headlights comply with local road safety regulations regarding light output and beam pattern before driving at night.
Step-by-Step Restoration for Textured Plastic Trim
Restoring textured exterior trim requires a gentle, chemical-focused approach to preserve the molded surface grain. Start by spraying a dedicated exterior plastic cleaner or a wax-free automotive all-purpose cleaner directly onto the trim. Use a soft-bristle detailing brush to agitate the cleaner, working it into the textured pores to lift embedded road film, dried wax residue, and old silicone dressings. Wipe the dissolved grime away with a damp microfiber towel, and allow the trim to dry completely.
Do not use sandpaper, steel wool, or heavy compounding polishes on textured plastic trim. These aggressive abrasives will shave down the delicate textured pattern, leaving permanent smooth spots that ruin the uniform appearance of the trim. If the trim has stubborn wax stains, use a dedicated wax remover or a soft pencil eraser to gently lift the wax from the texture without damaging the underlying plastic.
Apply a small amount of specialized trim restorer or a porous-plastic ceramic coating to a foam or microfiber applicator pad. Work the product into the textured surface using firm, circular motions to ensure the restoration liquid penetrates all the microscopic valleys of the plastic grain. Apply the product sparingly to prevent pooling, and follow the manufacturer’s instructions regarding the recommended dwell time.
After the product has dwelled for the specified time, use a clean, dry microfiber towel to buff the surface gently. This step removes any excess product and prevents high spots, streaking, or a greasy finish. If any trim restorer accidentally contacts the vehicle’s paintwork or glass, wipe it off immediately with a clean microfiber towel to prevent staining. Allow the treated trim to cure in a shaded, dry environment according to the product label instructions before exposing the vehicle to rain or washing.
Long-Term Maintenance and Prevention
Maintaining restored plastic components in a tropical climate like Singapore requires consistent care to shield them from intense UV radiation and high humidity. Wash your vehicle regularly using only pH-neutral car shampoos. Avoid harsh alkaline degreasers, aggressive traffic film removers, or touchless car washes that rely on highly acidic or alkaline pre-soaks, as these chemicals will rapidly degrade your protective coatings and trim sealants.
Monitor the condition of your plastic components during regular washes to determine when to reapply protective coatings. Observe how water behaves on the headlight lenses and trim; if water stops beading and instead sheets flat across the surface, the protective barrier is wearing thin. Reapply a maintenance layer of UV sealant or trim dressing before the underlying plastic begins to show signs of fading or yellowing.
Minimize direct, prolonged exposure to sunlight by parking in shaded areas whenever possible. Utilizing multi-storey car parks, basement garages, or shaded carports significantly reduces the UV load on your vehicle’s plastic trim and headlights. If you must park outdoors for extended periods, consider using a high-quality, breathable car cover with UV-blocking properties to protect the exterior plastics from solar degradation and environmental contaminants.
Frequently Asked Questions (FAQ)
Can I use household items like toothpaste or baking soda to remove yellowing?
Toothpaste and baking soda contain mild abrasives that can temporarily scrub away light surface oxidation on headlights, but they are not recommended for proper restoration. These household items lack the precise grit consistency of automotive abrasives and can leave fine scratches that scatter light, reducing headlight efficiency. Furthermore, household items do not provide any UV protection. Without a dedicated UV-blocking sealant, the freshly exposed polycarbonate will oxidize and turn yellow again much faster than before, often within a few weeks of exposure.
How long does a headlight or trim restoration typically last?
The lifespan of a plastic restoration depends heavily on environmental exposure, parking conditions, and the quality of the protective coating applied. In tropical climates with high UV indices, a basic wipe-on sealant may protect headlights for a few months, while a high-quality ceramic coating or a dedicated UV-resistant clear coat can maintain clarity for a year or more. Regularly parking in shaded garages and washing the vehicle with pH-neutral soaps will significantly extend the life of both headlight and trim restorations.
Community discussion
Share your experience or ask a question. Comments are reviewed before publication.