
A motorcycle’s chain is the critical link transferring power from your engine to the rear wheel. Over time, road grit, dust, and moisture mix with chain lubricant to form an abrasive grinding paste. In Singapore, where heavy tropical downpours and humid conditions are common, this buildup happens rapidly. Left uncleaned, this grime accelerates wear on both your chain and sprockets, reducing fuel efficiency and potentially leading to a snapped chain.
Using a dedicated product like IPONE chain cleaner is an effective way to dissolve this stubborn debris without damaging the delicate rubber seals that keep your chain running smoothly. Properly cleaning your chain requires a systematic approach to ensure safety, protect your bike’s components, and prepare the metal for fresh lubrication. Following a structured process ensures you get the maximum life out of your drivetrain.
Preparation and Workspace Setup for Safe Cleaning
Before you begin spraying any chemicals, you must assemble the correct tools and prepare a safe, stable workspace. Having everything within arm’s reach ensures a smooth process and prevents messy interruptions during the cleaning cycle.
Products mentioned in this guide
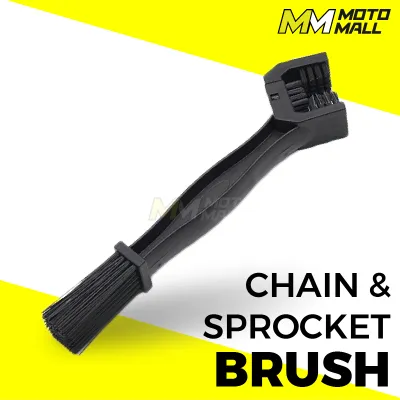
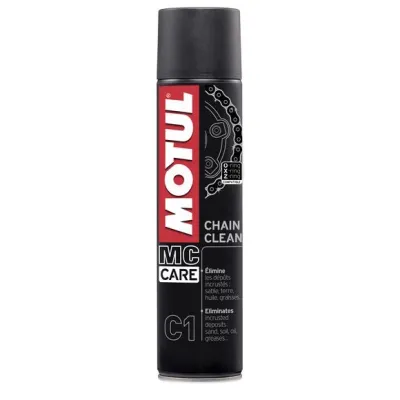
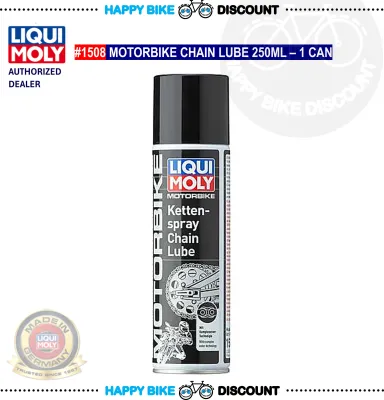
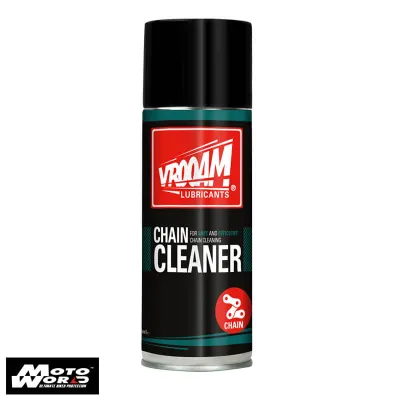
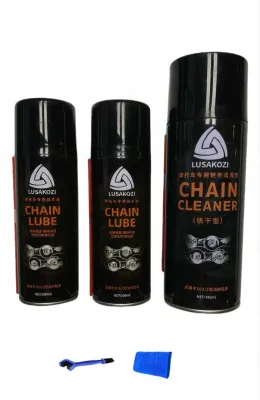
Prices are valid at publication and may change. Please refer to the product page for the latest price.
Essential Tools and Materials To complete this job effectively, gather the following items:
- IPONE Chain Cleaner: A high-pressure aerosol solvent formulated specifically for motorcycle chains.
- Dedicated Chain Brush: A three-sided cleaning brush designed to scrub multiple faces of the chain simultaneously.
- Microfiber Cloths or Shop Towels: Several clean, lint-free rags to wipe away dissolved grime and excess solvent.
- Rear Paddock Stand or Center Stand: A stable stand to elevate the rear wheel, allowing it to spin freely by hand.
- Compatible Chain Lubricant: A high-quality motorcycle chain lube suited for your riding conditions to apply after cleaning.
- Protective Gear: Nitrile gloves to protect your skin from solvents and safety glasses to shield your eyes from accidental overspray.
- Floor Protection: A large piece of cardboard, a plastic drip tray, or old newspaper to catch chemical runoff.
Ensuring Safety and Stability Park your motorcycle on a flat, level surface and secure it onto your rear paddock stand or center stand. Double-check that the bike is completely stable and cannot wobble or tip over while you work. The engine must be completely switched off, the ignition key removed, and the transmission shifted into neutral. Never attempt to clean a chain with the engine running. Additionally, allow the engine, exhaust pipes, and silencer to cool down completely before starting. Aerosol chain cleaners contain pressurized, highly flammable solvents that can ignite on hot metal surfaces or evaporate too quickly to dissolve the grime.
Personal and Environmental Protection Slip your protective cardboard or drip tray directly underneath the lower run of the chain and the rear sprocket. This setup catches the black, greasy runoff that will drip off the chain, keeping your garage floor or driveway clean and preventing chemical spills from entering storm drains. Put on your nitrile gloves and safety glasses. Nitrile is highly resistant to petroleum-based solvents, ensuring your skin remains protected from irritation, while safety glasses prevent painful chemical splashes if the brush bristles flick solvent toward your face.
Step-by-Step Guide to Applying IPONE Chain Cleaner
Applying the Cleaner and Agitating Grime
Application Technique Shake the IPONE chain cleaner aerosol can vigorously for at least ten seconds to ensure the active solvents and propellants are thoroughly mixed. Hold the can approximately 10 to 15 centimeters away from the lower run of the chain, aiming the nozzle toward the inside of the loop. Slowly rotate the rear wheel backward by hand with one hand while spraying a steady stream of cleaner onto the moving chain with the other. Focus your spray on the inner rollers, side plates, and the tiny gaps where the rubber O-rings or X-rings are located, as these are the primary areas where dirt and old grease accumulate.

Avoiding Contamination Direct the spray carefully to prevent contaminating other sensitive parts of your motorcycle. Be extremely cautious not to let the solvent spray onto the rear tire tread, brake discs, brake pads, or the rear caliper. If chain cleaner gets onto your tire, it can leave a slippery residue that compromises grip and safety on your next ride. Solvent on brake components can contaminate the pads, leading to a severe loss of stopping power. If you accidentally spray these areas, clean them immediately with a dedicated brake cleaner or soapy water as specified in your motorcycle’s service manual.
Scrubbing Process Once the chain is thoroughly coated in cleaner, take your dedicated three-sided chain brush and begin scrubbing. Place the three-sided bristle head over the chain links and slide it back and forth to agitate the grime on the top, bottom, and sides of the links. Rotate the rear wheel slowly by hand to bring a new section of the chain into position, then repeat the scrubbing process. Always keep your fingers well away from the sprocket teeth where the chain meshes, and never start the engine to let the motor spin the wheel, as this is an incredibly dangerous practice that can lead to severe hand injuries.
Wiping and Removing Dissolved Grime
Dwell Time After scrubbing the entire length of the chain, allow the IPONE chain cleaner to sit on the metal for the dwell time specified on the product label. This brief waiting period, usually around two to three minutes, is crucial. It gives the chemical solvents time to break down the molecular bonds of hardened road tar, stubborn grease, and bound grit, making it much easier to wipe away without harsh scrubbing.
Wiping Technique Wrap a clean, dry microfiber cloth or a heavy-duty shop towel completely around the lower run of the chain. Grip the cloth firmly with one hand, keeping your hand positioned safely away from the rear sprocket. Use your other hand to slowly rotate the rear wheel backward, pulling the chain through the cloth. You will immediately see a large amount of black, liquefied grime transfer onto the fabric. Fold the cloth to a clean section and repeat this process several times until the chain links look bright and the cloth no longer picks up significant dark residue.
Handling Heavy Buildup If your motorcycle chain has been neglected for thousands of kilometers, a single application may not remove all the caked-on debris. If you still see crusty, black deposits in the corners of the links, repeat the spraying, brushing, and wiping sequence. Do not attempt to scrape off stubborn dirt using metal wire brushes, screwdrivers, or sharp metal scrapers. These hard tools can easily puncture, tear, or dislodge the delicate rubber O-rings or X-rings, which will ruin the chain’s internal lubrication and cause premature chain failure.
Post-Cleaning Inspection, Drying, and Lubrication
Thorough Drying
After wiping off the dissolved grime, you must allow the chain to dry completely before applying any fresh lubricant. In Singapore’s highly humid tropical climate, evaporation can take longer than in drier regions. Leaving the bike to sit for 15 to 20 minutes is highly recommended. If you apply new chain lube while the metal is still damp with solvent or moisture, the remaining solvent will break down the new lubricant immediately, preventing it from adhering to the metal and causing it to fling off during your next ride.
Visual Inspection
A clean, bare chain provides the perfect opportunity to inspect the condition of your drivetrain. Slowly rotate the rear wheel and look closely at each link. Check for any stiff or binding links that do not straighten out as they leave the sprockets, which indicates that the internal factory grease has dried out. Look for cracked, split, or missing rubber O-rings or X-rings, and inspect the sprocket teeth for sharp, hooked shapes that signal excessive wear. If you notice any of these issues, consult your motorcycle manual or a qualified technician to determine if a replacement is necessary.
Proper Lubrication
Once the chain is bone dry and has passed inspection, you must apply a compatible motorcycle chain lubricant to protect it from friction, heat, and rust. Shake your chain lubricant can well. Aim the nozzle at the inside of the lower chain run, directing the spray at the edges of the inner and outer plates where the rubber seals sit, as well as onto the center rollers. Rotate the wheel slowly by hand to distribute the lubricant evenly along the entire chain. Allow the lubricant to penetrate for a few minutes, then use a clean cloth to gently wipe away any excess lube from the outer side plates to prevent it from flinging onto your rear tire, wheel rim, or swingarm when you ride.
Critical Mistakes to Avoid When Cleaning Your Chain
Amputation Hazard
The absolute most important rule of motorcycle chain maintenance is to never clean or lubricate the chain while the engine is running and the bike is in gear. Some riders attempt to save time by putting the motorcycle on a paddock stand, starting the engine, shifting into first gear, and letting the idling engine spin the rear wheel while they hold a rag or brush against the chain. This is extremely dangerous. The rag or brush can easily catch on the spinning sprocket, instantly dragging your fingers into the pinch point between the chain and sprocket, resulting in severe lacerations or finger amputation. Always rotate the wheel manually by hand.
Seal Damage
Never use harsh, unapproved household solvents such as raw gasoline, kerosene, diesel, acetone, or brake cleaner to clean a sealed motorcycle chain unless explicitly authorized by the chain manufacturer. These aggressive chemicals can cause the rubber O-rings or X-rings to swell, degrade, or dissolve completely. Once these seals are compromised, the factory-installed grease inside the chain pins escapes, leading to rapid friction wear and chain failure. Additionally, avoid using stiff steel wire brushes or abrasive scouring pads, which can physically tear the rubber seals.
Riding Bare
Never ride your motorcycle immediately after cleaning the chain without applying a fresh layer of compatible lubricant. A bare, unprotected steel chain lacks the vital barrier needed to reduce friction and heat under load. Riding on a dry chain will cause rapid wear on both the chain and sprockets, and in Singapore’s highly humid environment, a bare chain can begin to develop unsightly and damaging surface rust within hours of exposure to air and moisture.
Frequently Asked Questions (FAQ)
Is IPONE chain cleaner safe for O-ring and X-ring chains?
Always check the specific IPONE product label and your motorcycle chain’s manufacturer instructions to verify compatibility before application. Most high-quality, dedicated motorcycle chain cleaners are chemically formulated to be safe for common rubber seals, including O-rings, X-rings, and Z-rings. Verifying the instructions on your specific can ensures that the solvents will not degrade or dry out the delicate rubber components holding the internal lubrication inside your chain links.
How often should I clean and lubricate my motorcycle chain?
As a general guideline, you should clean and lubricate your motorcycle chain every 500 to 1,000 kilometers to ensure optimal performance and longevity. However, you should adjust this interval based on your specific riding conditions. If you frequently ride through heavy rain, wet roads, or dusty environments—common scenarios in Singapore’s tropical climate—or if you notice visible dirt buildup and dry rollers, perform this maintenance sooner to prevent premature wear.
Community discussion
Share your experience or ask a question. Comments are reviewed before publication.