
Securing cargo to a roof rack requires a reliable mechanical tie-down system to ensure your load remains completely stationary at highway speeds. A heavy-duty ratchet strap is the gold standard for this task, offering high tension capacity and structural dependability when used correctly. Properly securing your gear prevents dangerous road hazards, protects your vehicle’s roof from structural damage, and ensures compliance with local transport safety regulations. By understanding how to route, anchor, and tension these straps, you can confidently transport bulky items like luggage, bicycles, or outdoor equipment.
Preparing Your Cargo and Roof Rack for Transport
Before you loop a single strap, you must establish the structural limits of your vehicle and roof rack system. Every vehicle has a specific dynamic roof load limit, which is detailed in the manufacturer’s owner’s manual. This limit is fundamentally different from a static load limit; dynamic weight accounts for the intense downward, lateral, and upward forces exerted on the vehicle while cornering, braking, and accelerating at high speeds. You must consult both your vehicle’s manual and your roof rack’s installation documentation to identify the lowest common denominator weight limit, and never exceed it. If you are unsure of the rack’s installation integrity or compatibility with your vehicle model and year, consult a qualified automotive technician before loading any cargo.
Next, inspect your ratchet straps thoroughly. In tropical climates like Singapore, high humidity and intense UV exposure can rapidly degrade synthetic webbing. Look closely for any signs of fraying, minor cuts along the edges, stitching separation, or discolouration from sun damage. Inspect the metal buckle, mandrel, and hooks for rust, deformation, or cracked springs. If a strap shows even minor structural wear, discard it immediately; a compromised strap can easily snap under the dynamic tension of highway driving.
Products mentioned in this guide
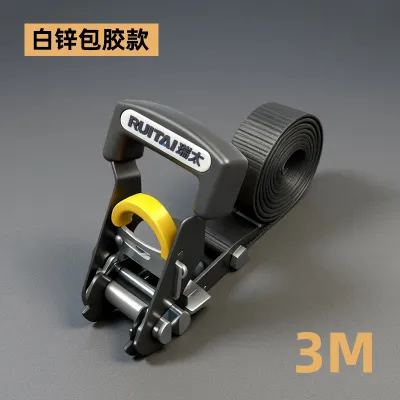
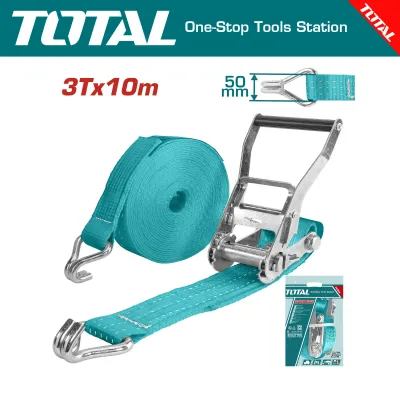
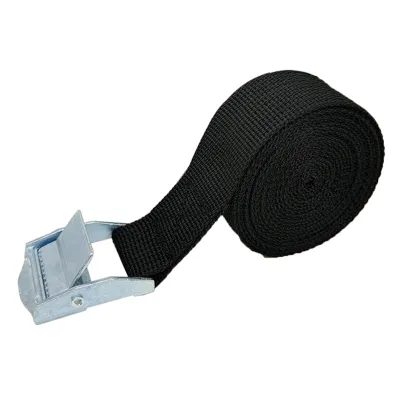
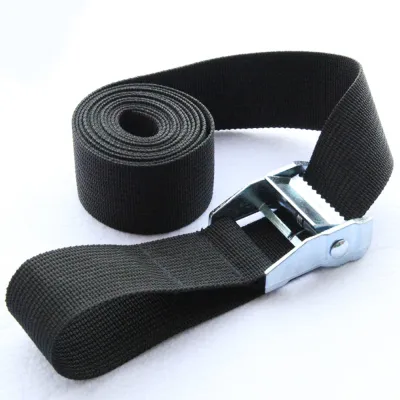
![[SG FREE ] 1M 2M 3M Car Buckle Tie-Down Belt Cargo Straps Motorcycle Bike Luggage Bag Tow Rope Ratchet](https://img.lazcdn.com/g/p/2cba7655e96453add71cbc4130d4d27e.jpg_400x400q80.jpg_.webp)
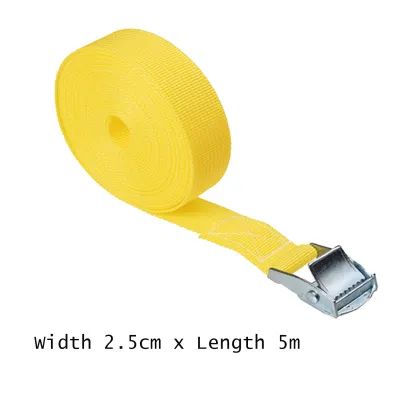
Prices are valid at publication and may change. Please refer to the product page for the latest price.
How you pack your cargo plays a critical role in how well the straps can secure it. Group loose items into rigid, heavy-duty, aerodynamic cargo boxes or tightly bundled containers. Loose items or soft-sided bags are highly susceptible to shifting, which creates pockets of slack under the straps during transit. Aerodynamic shapes also minimize wind resistance, reducing the upward aerodynamic lift that tries to pull the cargo off your roof.
Finally, familiarize yourself with local road safety regulations. In Singapore, the Land Transport Authority (LTA) enforces strict rules regarding vehicle load dimensions to prevent hazards on expressways and inside tunnels. You must verify that your loaded cargo does not exceed the legal height limits, does not project laterally beyond the sides of your vehicle, and does not overhang excessively at the front or rear. If your cargo extends beyond the permissible rear limit, you must install the legally required warning flags or lights to alert other motorists.
Step-by-Step Guide to Routing and Anchoring Straps
Routing your straps correctly ensures that the tension is distributed evenly across the cargo load and directly transferred to the structural frame of the roof rack. Improper routing can cause the straps to slip off the cargo mid-journey, leading to catastrophic load failure.

Positioning the Strap Over the Cargo
Begin by draping the strap evenly over the center of your cargo. If you are using multiple straps, space them out uniformly to secure both the front and rear sections of the load, which prevents the cargo from pivoting or rolling laterally. The strap must lie completely flat against the surface of the container or item. Any twists in the webbing drastically reduce its overall tension strength and create localized pressure points that can crush your cargo or wear through the strap fibers via friction.
When securing items with sharp edges, such as wooden crates, metal frames, or plastic storage bins, place thick rubber edge protectors, heavy-duty foam, or folded towels beneath the strap at the contact corners. Under high tension, sharp edges act like blades against synthetic webbing, easily slicing through the strap when subjected to road vibrations.
Anchoring to the Roof Rack Crossbars
Thread the hook or the loose end of the strap directly under the metal crossbars of your roof rack. Always anchor to the load-bearing metal crossbars that are bolted to the vehicle’s structural roof mounts. Never attach straps to non-structural plastic side rails, decorative trim, plastic end caps, or door frame weatherstripping, as these components cannot withstand the hundreds of kilograms of force applied by a tensioned ratchet.
Position the heavy metal ratchet mechanism on the side of the vehicle that is safest and most accessible, typically the passenger side when parked on the roadside. Ensure the metal body of the ratchet is positioned high enough on the cargo or protected by padding so that it cannot swing, vibrate, or press directly against your vehicle’s painted bodywork or glass windows.
When engaging the hooks, ensure they are fully seated into the designated tie-down loops of the crossbars or wrapped securely around the bar itself. The hook must face downward or inward so that tension pulls it tighter against the anchor point, preventing it from slipping off if the strap momentarily loses tension over a bump.
How to Tension the Ratchet Mechanism Safely
Tensioning a ratchet strap requires a careful balance between securing the load and preventing mechanical damage to your equipment.
To begin, feed the loose tail end of the strap through the slot in the center rotating spool (the mandrel) of the ratchet buckle. Pull the loose webbing all the way through by hand until the strap is completely snug and flat against the cargo before you begin operating the handle. If you leave excess slack in the strap, the mandrel will quickly fill up with bundled webbing, jamming the mechanism before the strap reaches the necessary tension.
Once the slack is removed, unlock the handle and pump it back and forth in smooth, controlled strokes. As you pump, watch the webbing wind neatly onto the spool. You should aim for at least two to three complete wraps of webbing around the mandrel to prevent slippage.
Stop tensioning as soon as the cargo is firmly immobilized and the strap feels taut, resembling a stiff guitar string when plucked. Do not over-tighten the mechanism. Applying excessive force can easily crush fragile cargo containers, bend or crack your roof rack crossbars, strip the internal gears of the ratchet buckle, or damage your vehicle’s roof mounts. If you have to strain your muscles to close the ratchet handle, the strap is too tight. Always close the ratchet handle completely into its locked, flat position once tensioning is complete.
Finally, deal with the remaining loose tail of the strap. A loose strap end flapping in the wind at highway speeds creates a loud, distracting buzzing noise and can quickly fray the webbing. More dangerously, a long loose tail can whip against your vehicle’s paintwork, causing deep scratches, or get caught in your wheels or doors. Secure the excess tail by wrapping it tightly around the roof rack crossbar and tying it off with a secure knot, or use dedicated rubber strap keepers or hook-and-loop wraps to hold it flush.
Pre-Trip and En-Route Safety Verification
Your safety check begins before you start the engine and continues throughout your journey. Once all straps are tensioned and locked, perform a physical “shake test.” Grasp the cargo firmly with both hands and attempt to shake it vigorously in all directions. The cargo should not budge independently; instead, the entire vehicle should rock on its suspension. If the cargo shifts even slightly, you must release the straps, reposition the load, and re-tension the system.
Road vibrations, wind resistance, and the settling of cargo items will naturally cause straps to stretch or shift slightly during the initial phase of your trip. Because of this, make it a mandatory rule to pull over in a safe location after the first 10 to 15 minutes of driving to physically inspect the straps. Check if the webbing has loosened or if the cargo has compressed, and apply an extra click or two of tension if necessary.
For longer journeys, such as driving from Singapore across the border into Malaysia, schedule regular inspections at rest stops. Check the straps every two hours or after traversing particularly rough roads, speed bumps, or areas with high crosswinds.
Common Mistakes to Avoid When Using Ratchet Straps
Avoiding common pitfalls can mean the difference between a successful transport and a costly accident. One of the most frequent mistakes is anchoring straps to weak, non-structural components. Plastic trim, side mirrors, and door handles are not designed to bear loads and will snap instantly under tension or wind resistance.
Another critical error is using under-rated straps. Every ratchet strap has a Working Load Limit (WLL) printed on its fabric tag. Never guess this limit. Ensure the cumulative WLL of your straps exceeds the total weight of your cargo, keeping in mind that wind drag at highway speeds exponentially increases the effective weight and pull on the straps.
Leaving the ratchet handle in the open, unlocked position is a hazard that can lead to sudden tension loss. An open handle can also snag on low-hanging tree branches, height-restriction barriers in multi-storey car parks, or overhead structures, ripping the entire rack off your roof.
Lastly, do not ignore the aerodynamic impact of your cargo. Poorly positioned items create immense drag, which significantly increases fuel consumption or battery drain. Arrange your cargo with the lowest, most aerodynamic profile facing forward to minimize wind resistance and lift.
Frequently Asked Questions (FAQ)
Can I use bungee cords instead of ratchet straps for roof cargo?
No, bungee cords are highly elastic and lack the necessary tension, structural rigidity, and Working Load Limit to safely secure heavy cargo at highway speeds. Under aerodynamic lift, bungee cords stretch, allowing the cargo to lift, shift, or fly off the vehicle entirely. Bungee cords should only be used to secure loose tarpaulin flaps or extremely light, non-structural items, never as the primary restraint for roof rack cargo.
How do I safely release a jammed ratchet mechanism?
To release a jammed ratchet, locate the spring-loaded release lever inside the handle grip. Pull and hold this lever to override the locking pawls, then open the main ratchet handle completely flat (180 degrees) to disengage the gears. While holding the release lever, firmly pull the loose webbing outward from the mandrel to relieve the tension. Never use screwdrivers, hammers, or prying tools to force a jammed mechanism, as this can permanently damage the gear teeth or cause the handle to snap back, resulting in hand injuries.
Community discussion
Share your experience or ask a question. Comments are reviewed before publication.