
To secure a vehicle on a slope, wheel chocks must be placed tightly against the tire tread on the downhill side of the wheels. If the vehicle is facing downhill, place the chocks directly in front of the front tires. If the vehicle is facing uphill, place them directly behind the rear tires. Always engage the parking brake and put the transmission in Park (or first or reverse gear for manual transmissions) before placing the chocks.
A vehicle parked on an incline is constantly subjected to gravitational pull. While modern parking brakes and transmission parking mechanisms are highly reliable, they are mechanical systems that can wear down or fail under stress. Wheel chocks act as a vital physical backup, absorbing the kinetic energy of a potential rollaway and redirecting those forces safely into the ground. Whether you are parking a caravan, securing a utility trailer, or lifting a passenger car to change a flat tire, mastering the precise placement of these safety wedges is a fundamental skill for every driver.
Preparing Your Vehicle and Parking Surface
Before you even touch a wheel chock, the vehicle itself must be prepared to minimize any initial movement. The primary braking systems must be fully engaged. For automatic transmissions, bring the vehicle to a complete stop, pull or engage the parking brake fully, and then shift the gear selector into Park. This sequence is important: engaging the parking brake first ensures the weight of the vehicle rests on the brakes rather than putting unnecessary stress on the transmission’s parking pawl.
Products mentioned in this guide
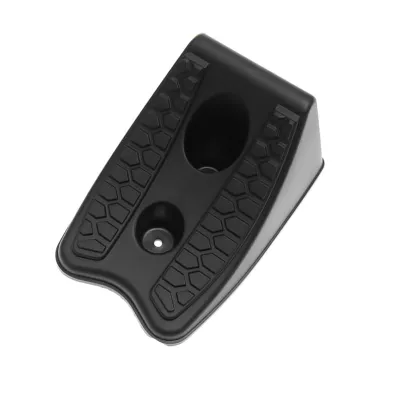
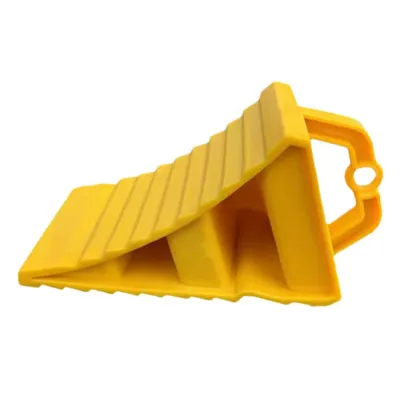
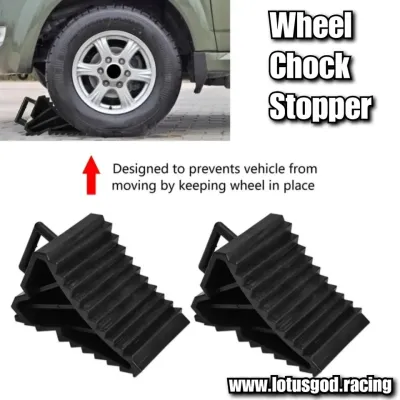
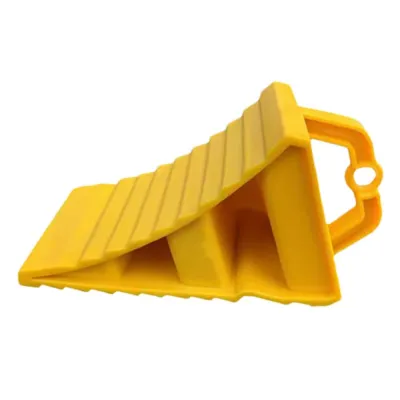
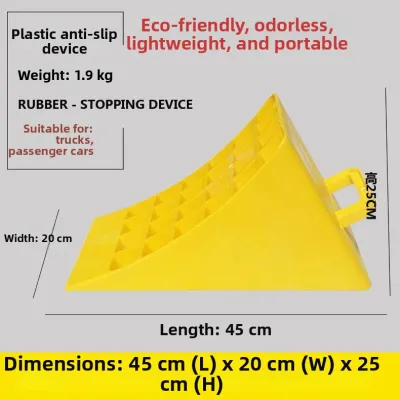
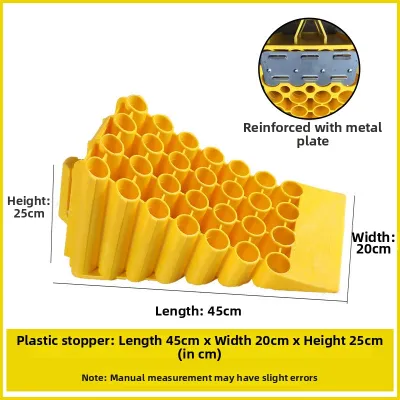
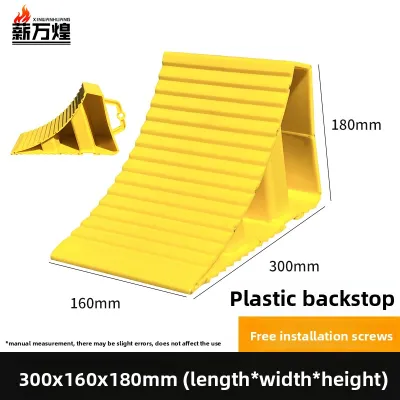
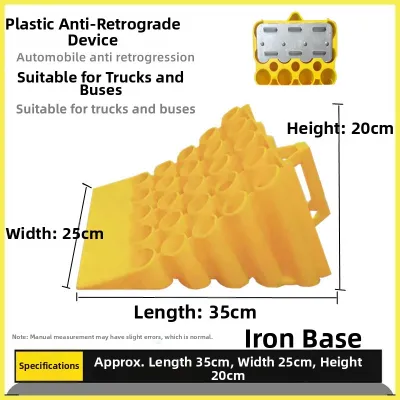
Prices are valid at publication and may change. Please refer to the product page for the latest price.
For manual transmissions, the process requires a slightly different approach. After stopping and pulling the handbrake tightly, shift the gear lever into first gear if the vehicle is facing uphill, or into reverse gear if it is facing downhill. This utilizes the engine’s internal compression to lock the drive wheels in place. Once the gears are set, turn off the engine, remove the key if applicable, and turn the steering wheel slightly until you hear or feel the steering column lock.
The ground surface beneath the tires and where the chocks will sit must also be carefully evaluated. Even a high-quality chock cannot perform its job if the ground beneath it slides away. Inspect the area around the tires for loose gravel, sand, wet leaves, mud, or oil spills. In tropical climates where sudden, heavy downpours are common, concrete and asphalt surfaces can become incredibly slick, and soil can quickly turn into soft mud. If the ground is unstable or excessively slippery, the chock may slide or sink under the weight of a rolling vehicle. If you detect these hazards, attempt to clear the debris away from the tire path or, if safety permits, move the vehicle to a more stable, level, and dry location before proceeding.
Selecting the Correct Wheel Chocks for Your Vehicle
Choosing the right wheel chocks requires matching the accessory’s specifications to your specific vehicle’s dimensions and weight. You should never assume a generic pair of chocks will secure any vehicle. Start by checking your vehicle’s Gross Vehicle Weight Rating (GVWR), which can typically be found on a placard inside the driver’s door jamb or in the owner’s manual. The chocks you select must have a rated capacity that meets or exceeds this weight.

Tire diameter is another critical factor that dictates chock selection. The curved face of a wheel chock is engineered to cradle the tire’s tread. If the chock is too small relative to the tire’s diameter, it will not provide enough physical resistance, and the tire could easily roll over the top of it. Conversely, a chock that is too large or has an incorrect curvature will not make proper contact with the tread, reducing its grip. Check the manufacturer’s packaging or product specifications to ensure the chocks are rated for your specific tire size.
Material composition also plays a major role in performance. Heavy-duty rubber chocks are highly favored for passenger cars, SUVs, and light trucks because they offer excellent grip on hard surfaces like concrete and asphalt, and they resist weather wear. Polyurethane chocks are lightweight yet durable, often used for larger commercial vehicles. Metal chocks, usually made of steel or aluminum, often feature aggressive teeth to bite into dirt or gravel, making them suitable for off-road or industrial environments.
Before every use, perform a quick physical inspection of each chock. Look for deep cracks, chunks of missing material, dry rot in rubber, or bent frames in metal models. If the tread on the bottom of the chock is worn smooth, it will not be able to grip the road surface effectively. Any compromised chock must be replaced immediately to prevent sudden failure under load.
Step-by-Step Wheel Chock Placement on an Incline
Properly placing wheel chocks on an incline requires a clear understanding of gravity and vehicle weight distribution. The first step is to identify the downhill direction of the slope. While this may seem obvious on a steep hill, subtle inclines can sometimes be deceptive. Look at the surrounding terrain or use the vehicle’s natural tendency to roll to determine which way is down.
Once the downhill direction is established, you must place the chocks to block that specific path of travel. If the vehicle is parked facing downhill, the weight shifts toward the front axle. Therefore, you must place the chocks directly in front of the front tires. If the vehicle is parked facing uphill, the weight shifts toward the rear axle, meaning the chocks must be placed directly behind the rear tires.
For securing a vehicle, it is highly recommended to use at least one pair of chocks. Place one chock on the left tire and the second on the right tire of the affected axle. If you are securing a heavy vehicle, a trailer, or parking on an exceptionally steep slope, using four chocks—one in front and one behind each tire on both axles—provides the highest level of redundancy and safety.
The physical placement of the chock against the tire must be done with care. Do not simply place the chock near the tire and walk away. You must push, wedge, or gently kick the chock firmly against the tire tread so that there is absolutely no gap between the rubber of the tire and the face of the chock. If a gap is left, the vehicle can roll slightly if the primary brakes fail. This small movement allows the vehicle to gain momentum, and the resulting kinetic energy can easily crush or slide a chock that would have easily held the vehicle if it had been placed snugly from the start.
Verifying Vehicle Security and Safe Chock Removal
After placing the chocks, you must verify that they are actually holding the vehicle before you step away or begin any maintenance work. To perform this test safely, sit back in the driver’s seat and start the engine if necessary. Keep your foot pressed firmly down on the service brake pedal. Release the parking brake, and then very slowly and gently ease your foot off the brake pedal. Keep your foot hovering just millimeters above the pedal, ready to slam it down instantly if the vehicle begins to roll.
As you ease off the brake, you should feel the vehicle shift slightly as its weight transfers onto the wheel chocks. Once the vehicle settles and remains completely stationary with your foot fully off the brake, the test is successful. Re-engage the parking brake fully, shift back into Park (or gear), and turn off the engine. This verification step ensures that if the chocks are going to slip or fail, it happens while you are actively in control of the vehicle’s primary braking system.
When you are ready to depart, removing the chocks requires a specific, safe sequence. Because the vehicle’s weight is now resting heavily against the wedges, they will likely be wedged tightly under the tires, making them difficult and dangerous to pull out by hand. Attempting to yank a loaded chock can result in hand injuries or cause the vehicle to shift suddenly.
To remove them safely, start the vehicle, apply the foot brake, release the parking brake, and shift into the gear that moves the vehicle slightly uphill, away from the chocks. Gently press the accelerator to move the vehicle just a few centimeters uphill, relieving the pressure on the chocks. While holding the vehicle in place with the foot brake, engage the parking brake fully, turn off the engine, step out, and safely retrieve the now-loose chocks.
Critical Placement Mistakes and Safety Boundaries
Understanding what not to do is just as important as knowing the correct steps. One of the most common and dangerous mistakes is placing chocks on the uphill side of the tires. For example, if a vehicle is parked facing downhill and the chocks are placed behind the rear tires, they do absolutely nothing to stop the vehicle from rolling forward if the brakes fail. Always ensure the chocks are blocking the downhill path of travel.
Another critical error is failing to recognize when environmental conditions exceed the capabilities of standard equipment. If a slope is exceptionally steep, or if the ground is soft sand, deep mud, or covered in thick ice, standard wheel chocks may not be able to provide sufficient grip or structural support. On soft ground, the weight of the vehicle can push the chocks directly into the earth, allowing the tires to roll over them. On ice, the chocks may simply slide along the surface.
If during your verification test you notice the vehicle shifting excessively, the chocks sliding, or the ground giving way, you must stop the procedure immediately. Do not rely on the setup. In such cases, you should seek alternative securing methods, such as using heavy-duty commercial-grade chocks with metal ice cleats, or repositioning the vehicle to a safer, flatter area. If you are performing emergency roadside repairs and cannot secure the vehicle safely, do not attempt to work on it; instead, contact a professional towing or roadside assistance service to handle the vehicle safely.
Frequently Asked Questions (FAQ)
Do I need to chock all four wheels on a slope?
For standard passenger vehicles parked on moderate inclines, placing a pair of chocks on the downhill side of the primary axle (either both front wheels or both rear wheels, depending on which way the vehicle is facing) is generally sufficient. However, when dealing with heavy loads, large commercial vehicles, trailers, or extremely steep slopes, chocking all four wheels provides necessary redundancy. Placing chocks on both the front and back of multiple wheels ensures that even if the vehicle shifts or the slope direction is misjudged, the vehicle remains fully immobilized.
Can I use makeshift objects like rocks or wood blocks instead of wheel chocks?
Using makeshift objects like rocks, bricks, or scraps of wood is highly discouraged and poses a severe safety risk. These improvised items lack verified load ratings, slip-resistant treads, and the engineered curvature required to cradle a tire. Under the immense weight of a rolling vehicle, a rock can easily crumble, a wooden block can split or slide across the pavement, and a brick can shatter. Only use purpose-built wheel chocks that are rated for your vehicle’s weight to ensure reliable performance.
How do I store wheel chocks properly to maintain their condition?
Proper storage and maintenance are essential to ensure your wheel chocks remain safe and effective for future use. After each use, clean off any dirt, mud, oil, or road debris, as these substances can reduce the surface friction between the chock and the tire or the ground. Store the chocks in a dry, cool place inside your vehicle’s trunk or utility box. Avoid leaving them exposed to direct sunlight for extended periods, as ultraviolet (UV) radiation can degrade plastic and rubber materials over time, leading to brittleness and premature structural failure.
Community discussion
Share your experience or ask a question. Comments are reviewed before publication.