
To properly install and secure a cargo net on your roof rack, you must anchor its hooks to structural tie-down points, stretch the elastic mesh evenly over your load, and adjust the tension until the cargo is completely immobilized. A cargo net acts as a secondary containment layer, keeping lightweight, bulky items from shifting or flying off your vehicle at highway speeds. Whether you are packing bags for a weekend road trip or securing gear for outdoor activities, mastering this process ensures road safety and prevents costly damage to your vehicle and other road users.
Securing cargo on a roof rack requires a systematic approach to prevent aerodynamic lift from catching loose items. While a cargo net is highly versatile, its effectiveness depends entirely on correct installation, proper tensioning, and an understanding of its physical limits. Following a structured preparation, installation, and inspection routine will keep your gear safe and secure throughout your journey.
Preparation and Safety Checks Before Installation
Before attempting to stretch a cargo net over your roof load, you must verify the structural integrity of your entire roof rack system. Begin by checking that the crossbars, side rails, and mounting brackets are tightly secured to your vehicle’s roof. Loose mounting points can fail under the aerodynamic forces experienced at highway speeds, risking a catastrophic loss of cargo. Always consult your vehicle’s owner manual and the roof rack manufacturer’s documentation to verify the maximum weight capacity, ensuring your total load remains well within these certified limits.
Products mentioned in this guide
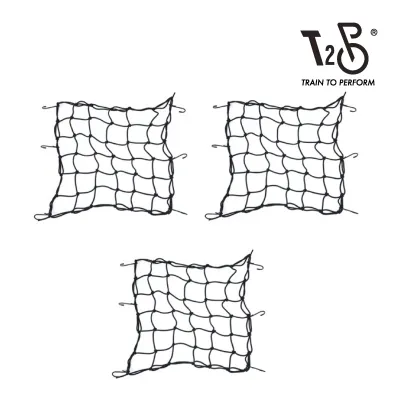
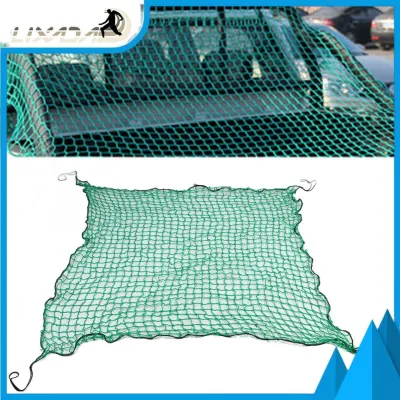
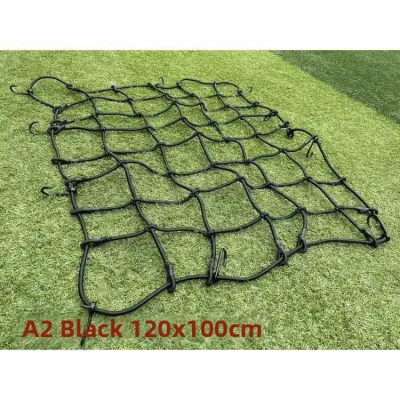
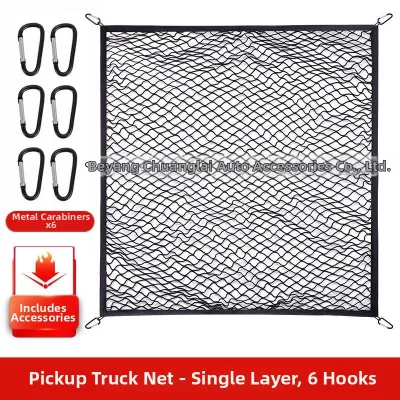
Prices are valid at publication and may change. Please refer to the product page for the latest price.
Next, perform a thorough physical inspection of the cargo net itself. Lay the net out on a flat surface and inspect the elastic cords for signs of fraying, dry rot, or loss of elasticity. Check each hook or attachment clip for cracks, rust, or structural weakness. A compromised hook can snap under tension, causing the net to fail instantly and potentially damaging your vehicle’s paintwork or windshield. If you notice any split elastic fibers or damaged connectors, replace the net before proceeding.
The way you arrange your cargo on the roof rack directly influences how well the net can secure it. Pack your items tightly together, placing heavier, denser objects at the bottom and centering the load over the vehicle’s wheelbase to maintain stability. Keep the overall profile as low and aerodynamic as possible to minimize wind resistance. Ensure there are no loose flaps, straps, or lightweight items exposed directly to the wind, as these should be tucked securely beneath larger, heavier items before you apply the net.
Step-by-Step Guide to Attaching the Cargo Net
To begin the physical installation, drape the cargo net completely over your packed roof load, ensuring it is centered. Identify the corners of the net and let them hang evenly over the sides of the roof rack. This initial positioning allows you to assess whether the net is large enough to cover the entire volume of your cargo without being overstretched.

Start anchoring the net by securing the corner hooks to the designated structural tie-down points on your roof rack. These points typically include built-in metal loops, sturdy crossbar channels, or the thick metal frames of the rack itself. Strictly avoid attaching hooks to non-structural components such as plastic trim, weatherstripping, side mirrors, door handles, or thin decorative roof rails. Attaching hooks to these fragile areas can cause immediate cosmetic or structural damage to your vehicle once the net is tensioned or subjected to wind force.
Once the corners are loosely anchored, begin stretching the net systematically to distribute the tension evenly. Work in a diagonal or cross-pattern, moving from one side of the vehicle to the opposite side. For example, after securing the front-left corner, move to the rear-right corner, then the front-right, and finally the rear-left. This balanced approach prevents the net from pulling the cargo to one side and ensures the elastic mesh exerts uniform downward pressure across the entire load.
After securing the corners, attach the remaining side hooks along the perimeter of the roof rack. Ensure that the net sits flat against the cargo and that the individual elastic cords are not excessively twisted or knotted. Twisting concentrates stress on specific sections of the cord, accelerating wear and increasing the risk of sudden snapping. Adjust the spacing of the hooks along the rack rails until the entire net forms a tight, uniform grid over your gear.
Tensioning and Securing the Load for Transit
Achieving the correct tension is critical to preventing your cargo from shifting during transit. If the cargo net feels loose or sags over certain areas of the load, you must adjust the tension by repositioning the hooks. Many cargo nets allow you to pull the elastic cord tighter and attach the hook to a shorter point on the roof rack, or even clip the hook back onto the net’s own mesh grid. The net should feel firm and taut to the touch, with no visible slack that could catch the wind.
It is vital to recognize that elastic cargo nets are primarily designed to secure lightweight, bulky, or oddly shaped items, such as sleeping bags, camping gear, or empty plastic containers. They are not designed to bear the weight of heavy, dense, or rigid objects like metal toolboxes, heavy coolers, or spare tires. For these heavy items, you must use high-strength, non-stretch tie-down straps, such as ratchet straps or cam buckle straps, as your primary restraint system. Install these rigid straps directly over the heavy items first, and then overlay the cargo net as a secondary safety layer to contain smaller, loose pieces.
Before you consider the job finished, perform a rigorous physical push-and-pull test on the secured cargo. Grab the load firmly with both hands and attempt to shake it vigorously in all directions—forward, backward, and side-to-side. The cargo should not slide, lift, or shift independently of the roof rack. Instead, any movement should cause the entire vehicle to rock slightly on its suspension, indicating that the load is fully integrated with the vehicle’s structure. If you detect any independent movement, adjust the tensioning straps and net hooks immediately.
Post-Installation Verification and Driving Adjustments
Your safety responsibilities do not end once you pull out of your driveway. After driving for the first five to ten kilometers, pull over in a safe location to perform a post-installation check. The vibrations, bumps, and wind resistance encountered during the initial phase of your drive will often cause the cargo to settle, which can create slack in the cargo net and loosen the hooks. Inspect each attachment point and adjust the tension as necessary to compensate for this settling.
While driving, remain highly attentive to any unusual noises coming from the roof of your vehicle. High-pitched whistling, rapid flapping, or rhythmic thumping sounds are clear indicators of insufficient tension, loose strap ends, or a section of the net catching the wind. If you hear these noises, find a safe place to stop immediately and inspect the load. Loose components can quickly degrade under wind force, leading to a complete failure of the securing system if left unaddressed.
Carrying a roof-mounted load significantly alters your vehicle’s aerodynamics and center of gravity, which directly impacts handling and braking performance. To mitigate these effects, adjust your driving habits by reducing your overall speed and increasing your following distance behind other vehicles. Avoid sudden, aggressive steering maneuvers and harsh braking, as these actions generate high inertial forces that can cause the cargo to shift violently. Be particularly cautious when driving in strong crosswinds, on elevated highways, or when passing large vehicles.
Common Mistakes to Avoid When Using a Cargo Net
One of the most common and dangerous mistakes drivers make is attaching cargo net hooks to non-structural vehicle parts. Wipers, plastic bumpers, door seals, and window trim are not designed to withstand the tension of an elastic net, let alone the dynamic forces of wind and vehicle movement. Always double-check that every hook is anchored directly to the metal frame of the roof rack or the vehicle’s designated structural tie-down points.
Another frequent error is overstretching the cargo net beyond its designed capacity. While elastic nets are designed to expand, stretching them to their absolute limit ruins the internal rubber strands, leading to permanent elastic fatigue and eventual failure. If you find that you must stretch the net excessively to cover your load, your cargo pile is either too high or you require a larger net. Operating a net at its maximum stretch limit increases the risk of a hook snapping off under high tension, which can cause severe injury or property damage.
Additionally, never rely solely on a cargo net to secure heavy, dense, or sharp objects. Sharp corners on plastic crates, metal tools, or sporting equipment can easily cut or abrade the elastic cords of the net under tension. Once a single strand is severed, the structural integrity of the entire net is compromised. Always wrap sharp edges in protective padding or blankets, and use heavy-duty, non-stretch straps to immobilize heavy items before applying the cargo net over the top.
Cleaning and Storing the Cargo Net
Proper maintenance and storage are essential to preserving the elasticity and strength of your cargo net over time. After exposure to road grime, salt, or dust, rinse the net thoroughly using mild soap and clean water. Avoid using harsh chemical solvents, bleach, or abrasive cleaners, as these substances can rapidly degrade the synthetic fibers and natural rubber cores of the elastic cords.
In humid tropical climates, such as Singapore, storing a damp cargo net will quickly lead to the growth of mold and mildew, which rots the fabric and weakens the elastic. Always hang the net to air dry completely in a shaded, well-ventilated area before packing it away. Avoid drying the net in direct sunlight, as prolonged exposure to ultraviolet (UV) radiation breaks down the elastic polymers, making the cords brittle and prone to snapping.
Once fully dry, store the cargo net in a cool, dry place away from direct sunlight and sharp tools. Keeping the net in a dedicated storage bag inside your vehicle’s boot or utility compartment prevents it from tangling with other gear and protects it from accidental punctures. Taking these simple preservation steps ensures that your cargo net remains reliable and ready for your next journey.
Frequently Asked Questions (FAQ)
Can I use a cargo net to secure heavy items like a cooler or toolbox?
No, you should not rely solely on a cargo net to secure heavy, dense, or rigid items like a fully loaded cooler or a metal toolbox. Cargo nets are designed to contain lightweight, bulky, and low-density gear by preventing wind lift. Heavy objects possess significant inertia and can easily snap elastic cords or dislodge hooks during sudden braking or sharp turns. For heavy items, always use heavy-duty ratchet straps or cam buckle straps anchored directly to the roof rack’s structural frame, using the cargo net only as an additional containment layer.
How do I know if my cargo net is too old or worn out to use safely?
You can determine if your cargo net is unsafe by performing a visual and tactile inspection. Look closely for frayed outer webbing, exposed inner rubber strands, rusted metal hooks, or cracked plastic connectors. Next, test the elastic recoil by stretching a section of the net; if the cords feel brittle, make a cracking sound, or fail to snap back quickly to their original length, the elastic has degraded. A net that remains permanently stretched out or saggy has lost its structural integrity and must be replaced immediately to ensure road safety.
Community discussion
Share your experience or ask a question. Comments are reviewed before publication.