
When you encounter a flat tire caused by a nail or screw, knowing how to properly apply tire repair glue can mean the difference between a reliable, airtight seal and a dangerous blowout. Tire repair glue, commonly referred to as chemical vulcanizing fluid, is not a standard adhesive. Instead of simply drying to stick two surfaces together, it initiates a chemical reaction that fuses the repair plug or patch directly to the tire rubber at a molecular level.
To achieve a successful repair, you must follow a precise sequence of steps: assessing the damage, preparing the rubber surface, applying the vulcanizing fluid correctly, and allowing it to cure. Skipping any of these steps or rushing the process can lead to slow leaks or sudden repair failure.
Before attempting any DIY tire repair, it is critical to understand the safety boundaries involved. Tires are the only contact point between your vehicle and the road, directly impacting braking, steering, and stability. Always consult your vehicle’s owner manual and the tire manufacturer’s guidelines before performing any work. If you are unsure of your ability to complete the repair safely, or if the damage does not meet strict repair criteria, seek assistance from a qualified tire professional.
Products mentioned in this guide
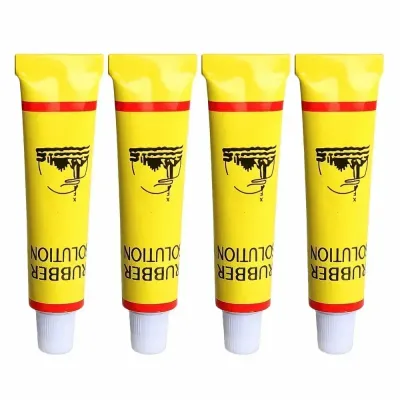
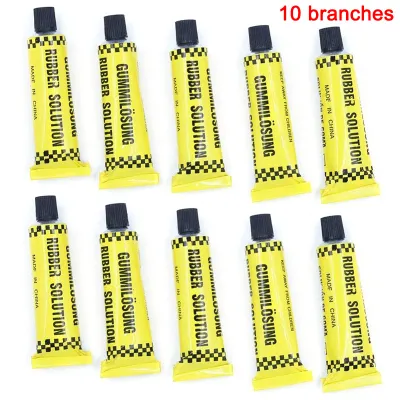
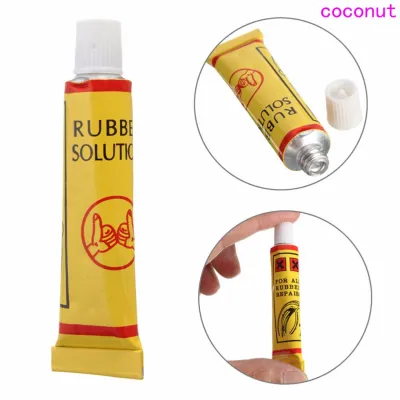

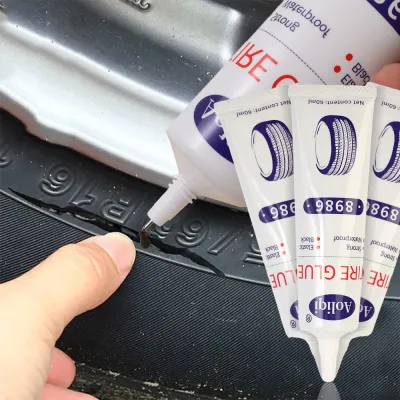
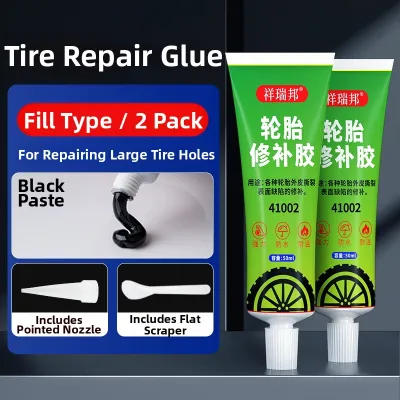
![[Large Bottle 50g Welding Agent] Quick-Drying Strong Glue Glass Welding Handcraft Plastic Multi-Functional Tire Repair Transparent Agent](https://img.lazcdn.com/g/p/e9817f0c4bd4fd6bb0037a24c7aa0b50.jpg_webp_400x400q80.jpg_.webp)
Prices are valid at publication and may change. Please refer to the product page for the latest price.
Assess the Puncture: When to Use Tire Repair Glue and When to Stop
Before reaching for your repair kit, you must determine if the tire can be safely repaired. Industry safety standards dictate that repairs are only permissible within the central tread area, which is generally defined as the middle three-quarters of the tire’s tread width. The outer shoulders and the sidewall are subject to extreme flexing and stress during cornering and driving, meaning any repair attempted in these zones is highly prone to failure.
Next, measure the size of the puncture. Safe repairs are limited to small, straight punctures, such as those caused by a typical nail or screw, that do not exceed 6mm (approximately one-quarter of an inch) in diameter. If the tire has suffered a large cut, a jagged tear, or an irregular gash, tire repair glue and plugs will not be able to restore the structural integrity of the tire, making immediate replacement necessary.
You must also evaluate the overall condition of the tire before proceeding. Inspect the remaining tread depth to ensure it meets legal safety limits, which is typically 1.6mm in Singapore. Look closely for signs of aging, such as dry rot, sidewall cracking, or previous repairs that are too close to the new puncture. If the tire has been driven on while severely underinflated, the internal structure may be ruined, often indicated by a dark crease or rubber dust inside the tire.
Establish a strict stop condition for your repair process. If the puncture is located on the sidewall or shoulder, if the hole is larger than 6mm, or if the tire shows signs of structural compromise, do not attempt a DIY glue repair. In these scenarios, the tire is unsafe for continued use, and you must replace it or consult a professional tire technician immediately.
Prepare Your Tools and Safety Gear for the Repair
Having the correct tools and safety equipment organized beforehand ensures a smooth, uninterrupted repair process, which is essential for the chemical vulcanizing fluid to work effectively. A standard tubeless tire repair kit should include vulcanizing tire repair glue, compatible rubber plugs or patches, a rasp or reamer tool, a plug insertion needle, and a sharp utility blade.

It is vital to check the condition of your tire repair glue before starting. Vulcanizing fluid has a limited shelf life once opened and can dry out or lose its active chemical properties over time. Ensure the glue is fresh and explicitly labeled as compatible with the specific plugs or patches you are using, as mismatched materials may fail to vulcanize properly.
Additionally, gather appropriate cleaning supplies, such as a dedicated rubber prep solvent or cleaner. Avoid using general household degreasers or lubricants, as these can leave behind residues that interfere with the chemical bonding process.
Do not overlook personal safety gear when working with volatile chemicals and sharp tools. Wear chemical-resistant gloves to protect your skin from irritation caused by the vulcanizing fluid and cleaning solvents. Eye protection is also highly recommended to guard against flying debris, rubber dust, or accidental chemical splashes while preparing the puncture site.
Clean and Roughen the Puncture Area for Proper Adhesion
Proper surface preparation is the most critical factor in ensuring the tire repair glue forms a permanent, leak-free bond. Begin by locating the puncturing object and marking its position. Carefully extract the nail or screw using pliers, taking care to pull it out at the same angle it entered to avoid creating additional damage to the internal steel belts.
Once the object is removed, inspect the puncture path. Use a flashlight to check for any hidden debris, dirt, or moisture trapped inside the hole. Any foreign material left inside will prevent the repair plug from sealing properly and could cause internal rust on the steel belts over time.
Next, insert the rasp or reamer tool into the puncture. Work the tool up and down through the hole several times while twisting it. This action serves two purposes: it cleans out any remaining debris and roughs up the smooth rubber walls of the puncture. Creating a textured, clean rubber surface is essential because it increases the surface area and allows the vulcanizing fluid to grip the rubber effectively.
After reaming, clean the area thoroughly. Apply a small amount of rubber prep solvent to a clean, lint-free cloth and wipe the puncture site to remove grease, road grime, and loose rubber particles. Allow the solvent to evaporate completely; the rubber surface must be entirely dry and free of moisture before you apply the tire repair glue.
Apply the Glue and Seat the Patch or Plug Securely
With the puncture site clean and dry, you can now apply the tire repair glue to initiate the chemical vulcanizing process. Open the tube of vulcanizing fluid and apply a thin, even layer directly into the reamed puncture hole using the applicator tip or a clean tool. If you are using an external plug, thread the plug through the eye of the insertion needle and apply a light coating of glue to the plug itself.
Observe the product label instructions regarding the required “tack time.” After applying the glue, you must wait a few minutes for the solvents in the fluid to partially evaporate. The glue should feel slightly tacky to the touch but not wet. Rushing this step and inserting the plug while the glue is still completely wet traps solvents inside the repair, which prevents proper vulcanization and results in a weak, leaky seal.
Once the glue has reached the correct tackiness, align the insertion tool with the angle of the puncture. Push the tool firmly into the hole until the plug is inserted about two-thirds of the way into the tire. Do not twist the tool while pushing it in, as this can misalign or damage the plug.
Carefully pull the insertion tool straight out of the tire in a swift motion. The design of the tool allows it to release the plug, leaving the folded rubber strip securely seated inside the puncture. If you are applying an internal patch instead of an external plug, press the patch firmly onto the prepared inner liner, using a tire patch roller or stitching tool from the center outward to expel any trapped air bubbles and ensure the edges are fully bonded.
Cure the Adhesive and Verify the Airtight Seal
After seating the repair unit, you must allow the vulcanizing glue to cure fully before subjecting the tire to pressure or road stress. Refer to the manufacturer’s instructions for the specific curing time, which can vary based on ambient temperature and humidity. Avoid inflating the tire or driving on it prematurely, as the chemical bond needs time to stabilize and reach its full strength.
Once the recommended curing time has passed, use a sharp utility blade to trim the excess plug material protruding from the tread. Cut the plug flush with the surrounding tread surface. Be extremely careful during this step to avoid slicing into the tire tread itself, which could weaken the tire or create a new path for moisture to enter.
Next, inflate the tire to the vehicle manufacturer’s recommended cold inflation pressure. You can find this specification on the tire placard located on the driver’s side door jamb or in your vehicle’s owner manual. Do not rely on the maximum pressure listed on the tire sidewall, as this is not the correct operating pressure for your vehicle.
To verify that the repair is completely airtight, prepare a mixture of water and dish soap in a spray bottle or cup. Apply the soapy water generously over the repaired area and watch closely for several minutes. If you see expanding bubbles forming at the repair site, it indicates that air is still escaping, and the repair has failed. If no bubbles appear, the seal is secure, and you can reinstall the wheel on the vehicle.
Understand Post-Repair Driving Limits and Safety Monitoring
It is essential to understand that a DIY external plug repair is generally considered a temporary, emergency solution by tire manufacturers and automotive safety organizations. An external plug is designed to get your vehicle safely to a service station where a permanent repair can be performed. A permanent, road-legal repair requires demounting the tire from the wheel to inspect the interior for hidden damage and installing a combination patch-and-plug unit from the inside.
After completing a temporary repair, adjust your driving habits accordingly. Avoid high-speed driving, heavy loads, or long-distance trips until the tire has been inspected by a professional. The structural integrity of a punctured tire is always slightly compromised, and a temporary plug may not withstand the high temperatures and centrifugal forces generated at highway speeds.
Monitor the repaired tire closely over the next few days. Check the tire pressure regularly using a reliable gauge to ensure there is no gradual pressure loss. Inspect the repair site visually for any signs of bulging, cracking, or lifting of the plug material. Additionally, pay attention to how the vehicle handles; if you experience any unusual vibrations, steering pull, or thumping noises, pull over safely and inspect the tire immediately.
Keep in mind that a repaired tire may have its original speed rating voided or reduced. Tire manufacturers often state that once a tire is punctured and repaired, it no longer carries its original speed rating. Consult a qualified mechanic or tire specialist to determine if the tire is safe for long-term use on your specific vehicle, especially if you drive a high-performance or heavy utility vehicle.
Frequently Asked Questions (FAQ)
Can I use tire repair glue on a sidewall puncture?
No, you must never attempt to repair a sidewall puncture using tire repair glue, plugs, or patches. The sidewall of a tire is subject to intense, continuous flexing as the tire rotates and supports the weight of the vehicle. This constant movement prevents the vulcanizing glue from maintaining a secure bond, and a plug inserted into the sidewall is highly likely to pop out under pressure. Because the sidewall contains critical structural cords that maintain the tire’s shape, any puncture in this area compromises the tire’s integrity, making immediate professional replacement the only safe option.
Is a glue-and-plug repair considered a permanent fix?
An external glue-and-plug repair performed from the outside of the tire is not considered a permanent fix by automotive safety standards. This method is an emergency measure intended to temporarily seal the puncture so you can drive to a repair facility. A permanent, safe repair requires a certified technician to demount the tire from the wheel rim, thoroughly inspect the inner liner for hidden structural damage, and install a combined internal patch-and-plug unit (often called a mushroom patch). This internal repair seals both the puncture path and the inner liner, preventing moisture from reaching the steel belts.
What should I do if the tire repair glue does not seal the leak?
If you apply the tire repair glue and find that the puncture is still leaking air, do not attempt to fix it by adding more glue or inserting a second plug into the same hole. Doing so will not create a reliable seal and can severely damage the tire’s internal steel belts and rubber structure. Instead, deflate the tire completely, remove the wheel, and install your vehicle’s spare tire. Take the damaged tire to a professional tire service center to determine if a proper internal patch-and-plug repair is possible, or if the tire must be replaced entirely.
Community discussion
Share your experience or ask a question. Comments are reviewed before publication.