
Finding the right speaker box for your vehicle starts with accurate measurements. Buying an enclosure based on general vehicle models often leads to fitment issues, blocked cargo space, or interference with safety systems. To find the correct speaker box size, you must measure the maximum width, depth, and height of your target installation area while accounting for irregular angles, structural obstructions, and the physical opening of the vehicle. This guide walks you through the exact steps to measure your trunk, cabin, or custom installation areas, ensuring your new audio equipment fits physically and functions safely.
Every vehicle cabin and cargo area features unique contours, trim panels, and structural elements that reduce the actual space available for aftermarket audio upgrades. Relying solely on online compatibility databases can be risky, as minor trim variations or optional factory accessories can significantly alter the interior layout. Taking manual measurements is the most reliable way to guarantee a successful installation that does not compromise the utility of your vehicle.
Essential Tools for Accurate Car Measurements
Gathering the right equipment is crucial for capturing precise three-dimensional dimensions in tight, irregular vehicle spaces. A standard flexible steel measuring tape is excellent for straight lines, but a flexible sewing tape or a piece of heavy string can help you map out curved surfaces, wheel well arches, and tight corners.
Products mentioned in this guide
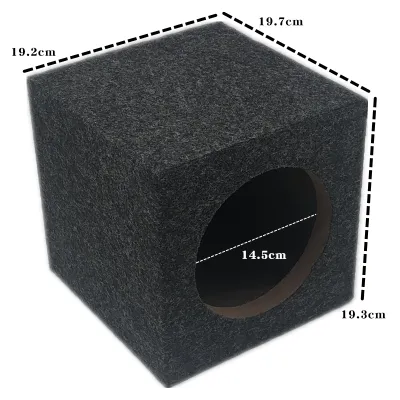
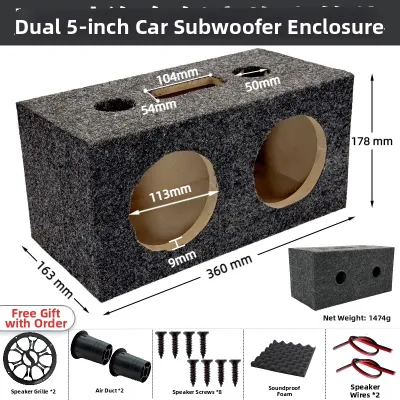
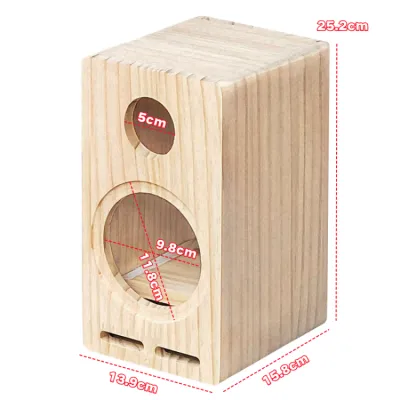
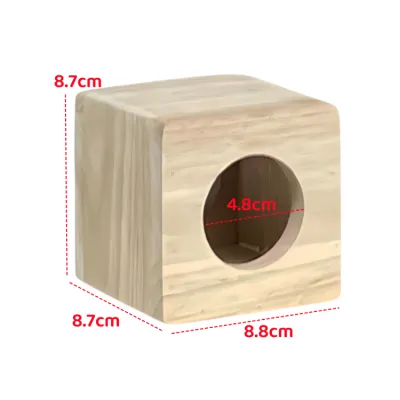
Prices are valid at publication and may change. Please refer to the product page for the latest price.
A rigid framing square or a carpenter’s square is highly useful to check for true right angles in corners, ensuring you do not design a box that collides with sloping panels. Keep a notepad or digital note app handy to record length, width, and height at multiple points, as car interiors are rarely perfect rectangles.
A bright flashlight or headlamp is essential to inspect deep corners, hidden wiring harnesses, and structural bracing that might limit usable space. Additionally, using cardboard sheets to mock up the proposed dimensions can save significant time and prevent costly installation errors before you purchase or build an enclosure.
How to Measure Your Trunk for a Speaker Box
Determining the maximum physical footprint available in the cargo area requires measuring the absolute limits while maintaining daily usability. Start by measuring the maximum width between the wheel wells, as this is typically the narrowest point in a standard trunk.

Next, measure the depth from the back of the rear seats to the trunk latch mechanism. Be sure to measure this depth at both the floor level and the top of the seatbacks, as the rear seats almost always slope backward, reducing the available depth at the top of the trunk.
Measure the height from the trunk floor to the rear deck or the lowest point of the trunk lid hinge mechanism. Pay close attention to intrusions like suspension towers, cargo hooks, factory amplifiers, and sloping trunk lids that reduce the actual usable volume.
Check the trunk opening dimensions—both width and height—to ensure the completed speaker box can actually be loaded into the vehicle. A box that fits perfectly inside the trunk cavity is useless if it cannot pass through the trunk opening.
Finally, decide how much cargo space you need to retain for daily tasks, groceries, or emergency equipment. This decision will dictate whether you choose a full-width box, a compact side-loaded design, or a custom fiberglass enclosure molded into the corner of the trunk.
Evaluating Under-Seat and Cabin Installation Areas
Assessing hidden or compact spaces within the passenger cabin allows for stealthy speaker box installations without sacrificing cargo capacity. Measure the vertical clearance under the front or rear seats, accounting for seat adjustment tracks, manual adjustment bars, and electronic motors.
Check the space with the seat in its lowest and furthest-back positions to ensure the enclosure will not obstruct passenger comfort or damage seat mechanisms. Slide the seat through its entire range of motion while measuring to identify the absolute minimum clearance zone.
Identify the location of heating and cooling ducts, as blocking these vents can restrict airflow and potentially cause the amplifier or vehicle climate systems to overheat. If a duct is present, you may need to design a deflector or choose a smaller enclosure that leaves the vent unobstructed.
Check the depth behind rear seats in pickup trucks or inside side panels in sport utility vehicles, ensuring you do not compress insulation or interior trim. Compressing these materials can lead to unwanted vibrations, rattles, or damage to the vehicle’s cabin panels.
Stop immediately and consult your vehicle manual if you encounter airbag components, seatbelt pretensioners, or critical wiring harnesses in the planned installation zone. Never modify or mount equipment near yellow-sleeved SRS (Supplemental Restraint System) wiring, as accidental deployment or system failure can cause severe injury.
Adjusting Measurements for Box Materials and Clearance
Converting raw physical space measurements into the actual maximum external dimensions for the speaker box requires accounting for material thickness and hardware. Subtract the thickness of the enclosure material—such as medium-density fiberboard (MDF), fiberglass, or ABS plastic—to understand the true internal volume limits.
For example, using standard 19mm (3/4-inch) MDF means you must subtract 38mm (1.5 inches) from each external dimension to calculate the internal space. This calculation is vital because subwoofers require a specific internal volume to perform correctly.
Add extra depth or length to accommodate speaker magnets, binding posts, speaker terminals, and port tubes that may protrude from the box surface. The physical depth of the subwoofer driver itself must be shorter than the internal depth of the box, leaving at least 25mm (1 inch) of clearance behind the magnet vent.
Ensure the subwoofer cone has enough excursion clearance in front of it so the surround does not strike vehicle panels, seats, or cargo when playing at high volumes. Leave adequate clearance around the box for airflow to prevent amplifier overheating, wiring access for maintenance, and secure tie-down straps to prevent the box from shifting during transit.
Checking Vehicle Safety and Structural Limits
Ensuring your installation plan does not compromise vehicle safety features, structural integrity, or emergency access is a critical step before purchasing any equipment. Verify that the speaker box will not block trunk escape latches, spare tire access panels, or critical vehicle ventilation ports.
Avoid placing heavy enclosures over fuel tank access panels, battery compartments, or hybrid system cooling vents, which require unobstructed airflow and easy access. Blocking a hybrid battery cooling vent can lead to system overheating and expensive battery damage.
Consider the weight distribution of the enclosure, as extremely heavy boxes can affect vehicle handling, braking distances, and suspension wear over time. Secure the enclosure firmly to the vehicle chassis using heavy-duty brackets or tie-down straps to prevent it from becoming a dangerous projectile in the event of a sudden stop or collision.
If your plan requires removing structural trim, drilling into chassis metal, or routing wires near airbag sensors, halt the project and seek a qualified automotive audio professional. Always refer to the original vehicle manufacturer’s service manual to identify safe drilling zones and avoid puncturing fuel lines, brake lines, or electrical looms.
Matching Your Measurements to Speaker Box Specs
Using your finalized external dimensions allows you to filter pre-fabricated boxes or prepare specifications for a custom build. Compare your maximum external length, width, and height against the specification sheets of commercially available pre-fabricated enclosures.
Understand the difference between external dimensions and internal net volume, ensuring the box meets the acoustic requirements of your specific subwoofers. Acoustic requirements are typically specified by the subwoofer manufacturer in cubic feet or liters, and failing to match this volume can result in poor sound quality or speaker damage.
Decide whether to purchase a pre-built box that fits within your limits or use your exact measurements to commission a custom-fabricated enclosure. Custom enclosures are often necessary for irregular spaces like under-seat areas or side-trunk cavities, allowing you to maximize every millimeter of available space.
When comparing options, verify that the mounting depth and cutout diameter of the box match your subwoofer’s specifications. Even if the overall box volume is correct, a subwoofer with a large magnet structure may not fit into a shallow pre-fabricated enclosure.
Frequently Asked Questions (FAQ)
Does Speaker Box Shape Change the Space You Need?
Yes, the shape of the enclosure significantly impacts how efficiently it utilizes the available space in your vehicle. Wedge-shaped, hatchback, or stepped enclosures can maximize space by fitting snugly against sloping rear seats or wheel wells.
Regardless of the external shape, the internal net volume must still meet the subwoofer manufacturer’s specifications to ensure proper performance and longevity. A wedge box might offer the same internal volume as a rectangular box while taking up far less usable floor space in a hatchback or SUV.
Can You Install a Speaker Box in the Spare Tire Well?
Installing a speaker box in the spare tire well is a popular option for stealth installations, but it requires careful planning. You must decide whether to maintain spare tire access or switch to a tire repair kit and roadside assistance to free up the space permanently.
Before placing an enclosure in the well, check for drainage plugs, structural reinforcements, and moisture risks, as water accumulation can ruin the speaker box and electronics. Ensure the enclosure is securely bolted down using the factory spare tire mounting point to prevent movement and vibration.
Community discussion
Share your experience or ask a question. Comments are reviewed before publication.