
To maintain both impact protection and weatherproofing during a wet ride, motorcycle rain gear must always be worn as the outermost layer, positioned directly over your armored riding jacket. Reversing this order by putting a rain jacket underneath your protective gear compromises your safety. CE-rated armor is engineered to sit snugly against your body, held in place by the structured chassis of your riding jacket. When you wear rain gear underneath, the outer jacket can become saturated, heavy, and cold, while the inner rain layer prevents heat dissipation and traps sweat. More importantly, placing a bulky layer beneath your armor can cause the protective pads to shift away from critical impact zones like your elbows and shoulders, leaving you vulnerable during a slide or fall.
An improper fit of your outer rain layer introduces significant riding hazards. If the rain gear is too tight, it compresses your riding jacket, restricting your range of motion and pulling the armor out of its correct alignment. This compression can also restrict blood flow, leading to rapid fatigue and numbness in your arms. Conversely, if the rain gear is too loose, the excess fabric will flap violently at highway speeds. This constant flapping creates aerodynamic drag, increases rider fatigue, and can even cause the fabric to snag on controls or motorcycle parts. In the event of a crash, loose material can catch on the road surface, causing you to tumble rather than slide smoothly, which increases the risk of rotational injuries.
It is vital to understand that dedicated motorcycle rain suits are designed primarily for weather protection and basic abrasion resistance; they do not provide impact absorption. The armored riding jacket underneath remains your primary defense against impact forces. The rain gear acts as a sacrificial shield against wind and water, keeping your primary protective gear dry and preventing wind chill from sapping your concentration. To ensure both systems work in harmony, you must select and adjust your rain gear with a clear understanding of how the two layers interact under real-world riding conditions.
Products mentioned in this guide
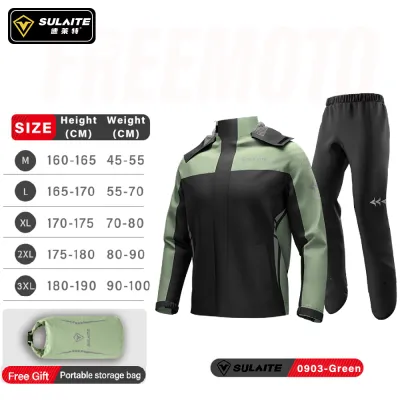
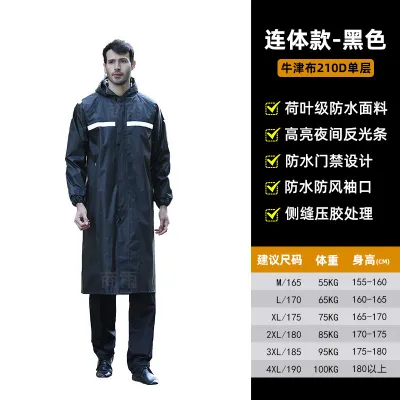
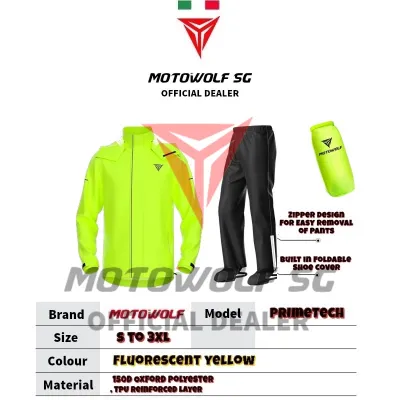
![Adult Waterproof Raincoat [Jacket & Pants] Windbreaker PVC Night Reflect Hooded Outdoor Rainwear Bicycle Motorcycle Raincoat for Men/Women 雨衣](https://img.lazcdn.com/g/p/2d81d184a9cfa2e073c168fd7a7fe8ae.jpg_400x400q80.jpg_.webp)
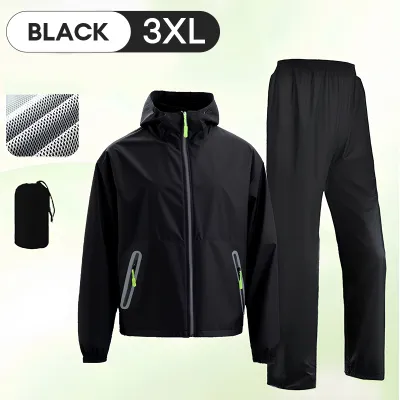
![🇸🇬 [In Stock]Motorcycle raincoat Bicycle raincoat Waterproof jacket Reflective waterproof breathable PVC jacket raincoat](https://img.lazcdn.com/g/p/9f54116258c264d1edd034c6e88eaebb.png_400x400q80.png_.webp)
![[Ready Stock] Waterproof Rain Coats Oxford Cloth Raincoat Motorcycle Rain Coat Jacket Men Raincoats Windproof Reflective Strip Elastic Waistband Suit Impermeable Rain Jackets Suit Baju Hujan](https://img.lazcdn.com/g/p/d0538d9c2c04e137b5ee85f105977ae5.jpg_400x400q80.jpg_.webp)
![[✅SG Ready Stock] Three Layer PVC Premium Raincoat Motorcycle Single Raincoat With hidden shoe cover](https://img.lazcdn.com/g/p/50ae8b6e138329c2208687bf68f1be64.png_400x400q80.png_.webp)
Prices are valid at publication and may change. Please refer to the product page for the latest price.
Selecting the Right Size and Cut for Over-Gear Rain Suits
When shopping for motorcycle rain gear, you should look for products specifically designated as “over-gear,” “touring,” or “commuter” cuts. These designs are specifically patterned with extra room in the shoulders, chest, and arms to accommodate the bulk of CE-rated armor and thick textile or leather jackets. Many riders make the mistake of simply buying standard rain jackets in a larger size, but this often results in an awkward fit, with sleeves that are too long or a torso that is excessively baggy. Dedicated motorcycle rain gear manufacturers account for this by scaling the proportions correctly, ensuring that a size medium rain jacket is designed to fit over a size medium riding jacket. Always consult the manufacturer’s specific sizing charts and fit guides, as some brands recommend ordering your standard jacket size, while others may instruct you to size up depending on the thickness of your primary gear.
Articulation features are critical when evaluating how a rain suit will perform over your armored jacket. Look for rain gear that incorporates pre-curved sleeves, underarm gussets, and stretch panels. Pre-curved sleeves match the natural forward reach of a rider grasping the handlebars, preventing the fabric from pulling tight across the back and shoulders. Underarm gussets provide extra material that allows you to raise your arms or perform shoulder checks without lifting the hem of the jacket, which would otherwise expose your waist to water ingress. Stretch panels, often located at the lower back or shoulders, allow the rain gear to expand slightly as your body moves, ensuring that the inner armored jacket remains stable and does not shift on your body.
Closure systems and adjustability are equally important for maintaining a secure, waterproof seal without compromising comfort. High-quality over-gear rain suits feature robust adjustment systems, such as hook-and-loop waist cinches, elastic drawcords, and adjustable sleeve cuffs. These features allow you to customize the fit, pulling in excess fabric to prevent flapping while leaving enough room for your armor. Look for wide storm flaps with secure closures that cover the main zipper, as this is a common point of water entry. The cuffs should be wide enough to fit over the gauntlets of your gloves or seal tightly around your wrists under your glove cuffs, depending on your preference and the intensity of the rain. Ensure that these closures do not bind or pinch your wrists, which can restrict circulation and lead to cold, numb fingers.
Before making a purchase, always verify the specific product labels and manufacturer instructions regarding the intended layering configuration. Some lightweight rain jackets are designed only for casual use or light showers and may not have the structural integrity or sizing clearance to fit over a heavy, armored adventure or leather jacket. Checking the manufacturer’s specifications ensures that the materials used are rated for motorcycle speeds and that the seams are fully taped or welded to withstand the high-pressure water impact experienced while riding.
Step-by-Step Layering and Pre-Ride Adjustment
Achieving a safe and comfortable fit requires a systematic approach to putting on and adjusting your gear before you mount your motorcycle. Begin with a thorough check of your base layer and primary riding jacket. Ensure that your riding jacket is fully zipped and that all adjustment straps at the waist, biceps, and forearms are secured. Verify that the CE-rated armor pads are correctly seated in their internal pockets and aligned with your elbows, shoulders, and back. If your riding jacket has an integrated thermal liner, make sure it is zipped in smoothly without any bunches or folds, as these wrinkles can create painful pressure points once the outer rain gear is compressed over them.

Next, carefully don your rain jacket over the riding jacket. Take your time to pull the sleeves of the rain jacket completely over the sleeves of your riding jacket, ensuring that the inner sleeves do not bunch up or push your riding jacket cuffs backward. Align the collar of the rain jacket with the collar of your riding jacket. Secure the main zipper of the rain jacket from the bottom up, making sure that the inner storm flap lies flat behind the zipper. Once zipped, secure the outer storm flap or hook-and-loop closures along the main zipper line to create a continuous barrier against wind-driven rain.
Once the rain gear is on, perform a comprehensive mobility test to simulate your actual riding posture. Sit on your motorcycle if possible, or stand with your feet shoulder-width apart and reach your arms forward as if gripping the handlebars. Perform full head turns to the left and right, and bend forward at the waist. During these movements, pay close attention to any binding, pulling, or restriction. The rain gear should not pull the collar of your riding jacket tight against your throat, nor should it drag the sleeves up your forearms, exposing your wrists. If you feel the armor in your shoulders or elbows shifting or pressing painfully into your joints during these movements, the rain gear is too tight and must be adjusted or replaced with a larger size.
Finally, focus on sealing the gaps between your upper and lower gear. If you are wearing a two-piece rain suit, the rain jacket must overlap the rain pants by several inches when you are seated in your riding position. This prevents water from pooling at your waist and running down inside your pants. Adjust the waist cinches on both the pants and the jacket to create a snug fit that prevents wind from blowing water up under the hem of the jacket. If your rain pants feature stirrups or adjustable ankle cuffs, secure them tightly over your riding boots to prevent the pant legs from riding up and exposing your shins to road spray.
On-Road Safety Checks and When to Pull Over
Even with careful pre-ride adjustments, the dynamic forces of riding in wet weather can cause your gear to shift. While on the road, continuously monitor your physical comfort and the behavior of your gear. Pay close attention to any signs of restricted blood flow, such as numbness, tingling, or a cold sensation in your hands and fingers. This is often caused by overly tight rain jacket cuffs compressing the thick sleeves of your riding jacket, which pinches the blood vessels and nerves at your wrists. If you experience any loss of sensation or control in your hands, you must find a safe place to pull over immediately to loosen the cuffs and restore circulation.
Another critical area to monitor is the interaction between your rain jacket collar and your helmet. The collar of your rain jacket should sit flat and secure, sealing out water without pushing upward into the base of your helmet. If the collar is too tall or stiff, it can restrict your ability to look up or turn your head for vital blind-spot checks. Additionally, a collar that interferes with your helmet can disrupt the helmet’s neck roll seal, allowing water to run down your neck or causing your visor to fog up rapidly due to restricted airflow. If your head movement is compromised, pull over safely to adjust the collar or tuck it under the helmet’s neck roll.
Wind management is essential for safety on wet roads. Periodically check that no loose straps, drawstrings, or excess fabric are flapping excessively in the wind. Flapping fabric not only causes distraction and physical fatigue but can also be dangerous if loose cords or straps are positioned near the motorcycle’s moving parts, such as the drive chain, wheels, or hot exhaust pipes. A loose drawstring catching on a footpeg or control lever can prevent you from putting your foot down when stopping, leading to an avoidable fall. Ensure all adjustment cords are tucked away and secured before starting your ride.
Establish clear stop conditions for your journey. If you feel your armor shifting significantly out of place, if the rain gear begins to bind and restrict your steering inputs, or if you detect a major water breach that is soaking your inner layers, do not attempt to push through. Riding while cold, wet, and physically restricted drastically reduces your reaction times and situational awareness. Pull over at a safe, sheltered location—such as a petrol station or under a highway flyover—to readjust your gear, tighten loose seals, or dry off before continuing your ride.
Frequently Asked Questions (FAQ)
Can I wear a rain jacket under my armored riding jacket?
No, you should never wear a rain jacket under your armored riding jacket. Wearing a waterproof layer underneath traps your body heat and sweat, creating a humid environment that leaves you damp and cold. More importantly, your riding jacket is designed to hold CE-rated armor tightly against your body to prevent it from shifting during an impact. Adding a slippery, bulky rain jacket underneath can cause the armor pockets to slide out of alignment, leaving your elbows, shoulders, and back unprotected during a crash. Always follow the manufacturer’s instructions and wear your rain gear as the outermost layer.
Does the rain suit need its own CE-rated armor?
Most dedicated motorcycle rain suits do not require their own CE-rated armor because they are designed to be worn over an armored riding jacket that already provides impact protection. The primary purpose of the rain suit is to offer weatherproofing and wind resistance, acting as a barrier to keep your primary protective gear dry. However, you should always check the specific product labels and manufacturer specifications for your rain gear. Some heavy-duty adventure rain suits may include integrated protectors or reinforced abrasion panels, but these are exceptions rather than the standard.
Community discussion
Share your experience or ask a question. Comments are reviewed before publication.