
Maintaining a vehicle’s exterior in a tropical environment like Singapore requires a dedicated care routine. The combination of intense ultraviolet radiation, high humidity, and sudden downpours can rapidly degrade a car’s clear coat, leading to premature oxidation and unsightly water spots. To protect your automotive investment and preserve its resale value, you must establish a structured detailing workflow.
To get the best results when combining Armor All car wash with polish or wax, you must follow a strict three-step sequence: wash first to remove surface contaminants, polish second to correct paint imperfections, and wax last to seal and protect the finish. Deviating from this order can trap dirt, damage your clear coat, or render your detailing efforts ineffective. Understanding the distinct role of each product is the key to achieving a professional-grade, long-lasting shine.
The Correct Order: Why Armor All Car Wash Precedes Polish and Wax
Every product in a detailing regimen serves a specific, non-overlapping purpose. An armorall car wash is formulated to lift, encapsulate, and safely rinse away loose dirt, road grime, dust, and environmental fallout without scratching the paint. It prepares a clean canvas by removing the abrasive particles that accumulate during daily driving.
Products mentioned in this guide
![[Bundle Available!] Armorall Car Wash Liquid Concentrate 1.89L](https://img.lazcdn.com/g/p/32dfe11decd7a1f03cfed8d5d1c63a52.jpg_400x400q80.jpg_.webp)
![[Bundle Available] ArmorAll Car Wash Liquid Concentrate 1.89L](https://img.lazcdn.com/g/p/23529cc2d5c9e8f50b6ec7f581940443.jpg_400x400q80.jpg_.webp)
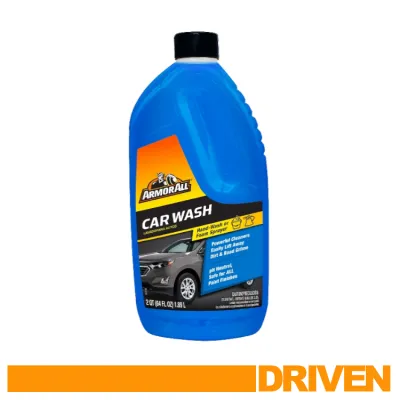
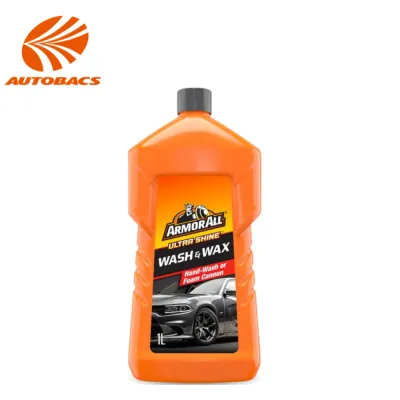
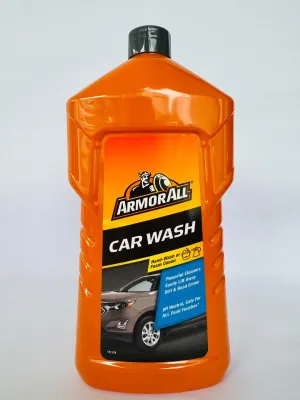
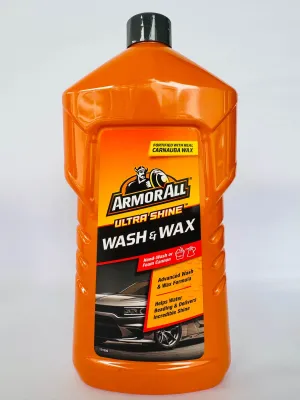
Prices are valid at publication and may change. Please refer to the product page for the latest price.
Car polish, by contrast, is a corrective medium containing micro-abrasives or chemical cleaning agents. Its primary function is to level the clear coat microscopically, smoothing out fine scratches, swirl marks, and dull, oxidized paint. Polish does not offer any protective qualities; instead, it restores optical clarity and gloss so that the underlying paint color can shine through clearly.
Car wax acts as a sacrificial barrier that seals the freshly polished paint. It fills microscopic pores in the clear coat, creating a smooth, highly hydrophobic surface that repels water, dust, and contaminants. This protective layer shields the paint from UV rays and acidic environmental elements, making future cleaning significantly easier.
Reversing or skipping these steps can cause severe damage to your vehicle’s finish. If you attempt to polish or wax a car without washing it first, you will drag abrasive surface dirt across the paint, creating deep, permanent scratches. Similarly, applying polish over a freshly waxed surface is counterproductive, as the polish’s abrasives will immediately strip away the protective wax layer you just applied.
While washing and waxing are routine maintenance steps, polishing is a corrective measure. You should wash your car regularly and apply wax every few months to maintain protection. Polishing should only be performed when the paint shows visible signs of degradation, such as swirl marks or oxidation, rather than during every routine wash.
Step-by-Step Guide to Layering Armor All Products
Before beginning any detailing work, always consult your vehicle’s manual for specific paint care guidelines, and thoroughly read the labels on your chosen Armor All products. Ensure the vehicle is parked in a shaded area and the paint is cool to the touch, as working on hot panels can cause products to dry too quickly, leading to streaking and difficult removal.

Step 1: Cleaning with Armor All Car Wash
Begin by thoroughly rinsing the vehicle with clean water to remove loose dirt and debris. To minimize the risk of introducing swirl marks, employ the two-bucket wash method. Fill one bucket with water and the recommended dilution of your armorall car wash, and fill a second bucket with clean water to serve as your rinse bucket. Use grit guards in both buckets to trap abrasive particles at the bottom.
Dip a clean microfiber wash mitt into the soapy solution and wash the vehicle section by section, starting from the top and working your way down. This technique ensures that heavy road grime from the lower panels is not transferred to the cleaner upper sections of the car. Rinse the mitt in the clean water bucket before reloading it with soap.
Once the entire vehicle is washed, perform a final rinse with a gentle stream of water to wash away all soap residue. Dry the vehicle completely using clean, high-quality microfiber drying towels. Leaving the car to air-dry, especially in warm climates, will result in mineral deposits and water spots that can interfere with the bonding of subsequent polish or wax layers.
Before moving to the next step, verify the type of car wash you used. If you plan to apply a dedicated polish or wax immediately afterward, ensure you used a pure cleaner rather than a “wash and wax” formula. Wash-and-wax soaps leave behind a temporary protective film that can prevent polishes from correcting the paint effectively.
Step 2: Refining the Paint with Polish
Inspect the dry paint surface under direct sunlight or a strong LED light to assess its condition. Look for fine scratches, swirl marks, or a dull haze. If the paint feels rough to the touch even after a thorough wash, you may need to use a clay bar to remove embedded contaminants before proceeding with the polish.
Apply a few pea-sized drops of Armor All polish onto a foam applicator pad or a dual-action polisher pad. Work in small, manageable sections, such as a 50cm by 50cm area, using overlapping circular or cross-hatch motions. Apply light to moderate pressure, allowing the micro-abrasives in the polish to gently level the clear coat.
Avoid getting polish on unpainted plastic trim, rubber seals, or parking sensors, as it can leave white residue or cause discoloration. If contact occurs, wipe it off immediately with a damp cloth. Check your vehicle’s documentation to ensure the polish is compatible with your specific paint type, such as matte or satin finishes, which should never be polished.
Before the polish dries into a hard crust, use a clean, dry microfiber towel to wipe away the residue. Buff the area gently using circular motions, flipping the towel frequently to a clean side. The surface should appear smooth, clear, and highly reflective, completely free of hazy polish residue.
Step 3: Sealing the Finish with Wax
With the paint clean and corrected, you can now apply the protective wax layer. Apply a small amount of Armor All liquid, paste, or spray wax to a clean foam applicator pad. Spread the wax over the paint in a very thin, even layer using overlapping circular motions, working one panel at a time.
Applying thick layers of wax does not provide additional protection; instead, it makes the buffing process incredibly difficult and increases the likelihood of streaking. A thin, uniform film is all that is required to bond with the clear coat and create an effective barrier.
Allow the wax to cure according to the specific instructions on the product label. Curing times can vary depending on ambient temperature and humidity. To check if the wax is ready to be removed, perform the “swipe test” by running a clean finger across the waxed surface. If the wax smears, it needs more time; if it wipes away cleanly, it is ready to buff.
Use a plush, clean microfiber towel to buff away the cured wax haze. Use light pressure and circular motions to reveal a deep, high-gloss shine. Keep a second clean towel on hand to perform a final pass, ensuring all wax residue is completely removed from panel gaps and body lines.
Crucial Pairing Rules and Combinations to Avoid
Achieving a flawless finish requires selecting compatible products. Using incompatible formulas can ruin your hard work, strip away protection, or leave unsightly streaks on your vehicle’s paint.
- The "Wash & Wax" Conflict: If you wash your vehicle with an Armor All "Wash & Wax" shampoo, it will deposit a thin layer of wax on the paint. If you immediately follow this with a dedicated polish, the polish's abrasives will strip that fresh wax layer away, wasting the wax-depositing benefits of the soap. Conversely, applying a dedicated wax over a wash-and-wax residue can lead to uneven bonding, cloudiness, or streaking because the surface is not chemically clean.
- Stripping the Wax: Avoid using household dish soaps, heavy-duty degreasers, or highly alkaline car washes for routine cleaning. These harsh detergents are designed to break down grease and will instantly strip away your protective wax layer, leaving the clear coat vulnerable to environmental damage. Always use a pH-neutral car wash for regular maintenance.
- Polishing Over Wax: Applying polish on top of an existing wax layer is counterproductive. The abrasive action of the polish will remove the wax rather than correct the paint underneath. If you want to polish your vehicle, you must first strip the old wax layer using a dedicated paint prep spray or a non-waxing car wash.
Always read the manufacturer’s label on your specific Armor All products to verify pH levels, intended use, and material compatibility. If product instructions conflict with your vehicle manufacturer’s paint care guidelines, prioritize the vehicle manufacturer’s recommendations or consult a professional detailer.
Maintaining the Finish Between Full Detailing Sessions
To keep your vehicle looking its best without repeating the labor-intensive wash-polish-wax cycle, establish a consistent maintenance routine. Wash your car weekly or bi-weekly using a pH-neutral Armor All car wash. This regular cleaning prevents road grime, bird droppings, and brake dust from etching into the protective wax layer.
Avoid polishing your vehicle too frequently. Because polishing removes a microscopic layer of clear coat, over-polishing can prematurely thin the paint, eventually leading to clear coat failure that requires an expensive professional respray. Limit polishing to once or twice a year, focusing only on areas with visible defects.
Between full waxing sessions, which typically occur every three to six months, you can boost your paint’s protection and shine using a quick detailer or spray wax. After a routine wash and dry, mist the spray wax onto the paint and buff it dry with a clean microfiber towel. This simple step reinforces the existing wax layer, restores hydrophobic properties, and extends the lifespan of your base protection.
Frequently Asked Questions (FAQ)
Can I mix Armor All car wash and wax in the same bucket?
No, you should never mix a separate liquid car wash soap and a liquid or paste wax together in the same wash bucket. Car wash soaps contain surfactants designed to break down, encapsulate, and suspend oils and waxes so they can be rinsed away with water. Mixing them directly will cause the soap’s surfactants to break down the wax emulsion, resulting in a clumpy, ineffective mixture that will smear your paint, clean poorly, and leave no protective barrier. Always use products strictly as intended by the manufacturer.
Do I need to polish my car every time I wash and wax it?
No, polishing is not a mandatory step for every detailing session. Polishing is an abrasive, corrective process that physically removes a tiny amount of your vehicle’s clear coat to eliminate defects. Doing this during every wash will quickly wear down your paint’s protective clear layer. A standard maintenance routine only requires washing and waxing to protect the surface. Reserve polishing for once or twice a year when the paint shows noticeable dullness, oxidation, or fine scratches.

Community discussion
Share your experience or ask a question. Comments are reviewed before publication.