
Installing new motorcycle handle grips is a straightforward maintenance task that significantly improves riding comfort, control, and safety. However, rushing the process often results in torn rubber, misaligned patterns, or—worst of all—a slipping grip that compromises throttle control. To achieve a secure, professional-grade fit without damaging your new components, you must follow a systematic approach of careful removal, meticulous surface preparation, and precise adhesive application. This guide walks you through the entire process, tailored to handle the unique challenges of different handlebar setups and environmental conditions.
Before purchasing new grips, verify your vehicle’s specific model, year, handlebar diameter (typically 22mm or 25.4mm), and mounting positions. If your motorcycle features integrated heated grips, complex electronic throttle-by-wire systems, or custom bar-end mirrors, consult your original-vehicle instructions. If you are uncomfortable performing these steps, seek assistance from a qualified motorcycle mechanic before attempting the installation.
Essential Tools and Materials for Grip Installation
To avoid mid-task improvisation that can lead to torn rubber or scratched handlebars, assemble all necessary tools and materials before you begin. Having the correct supplies on hand ensures a smooth workflow and a secure bond.
Products mentioned in this guide
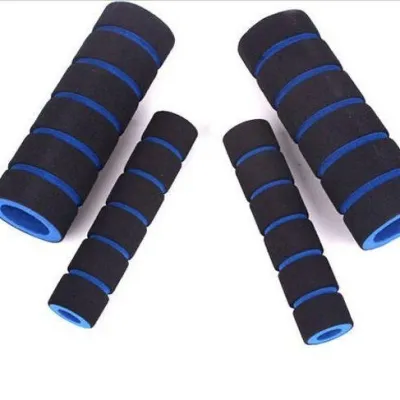
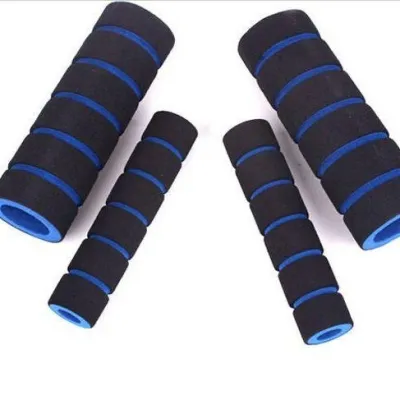
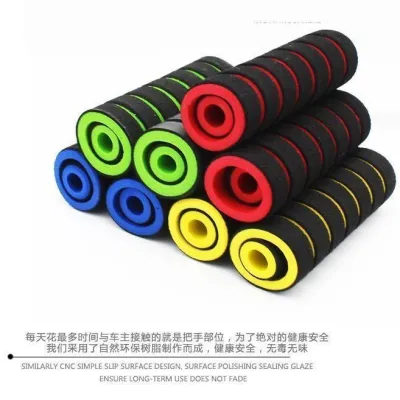
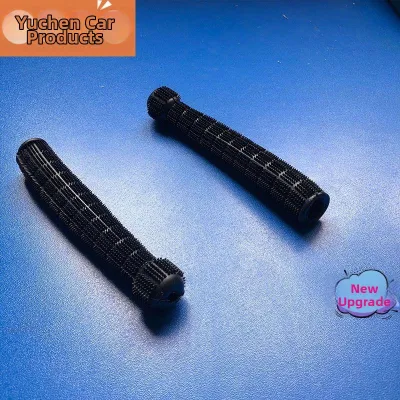
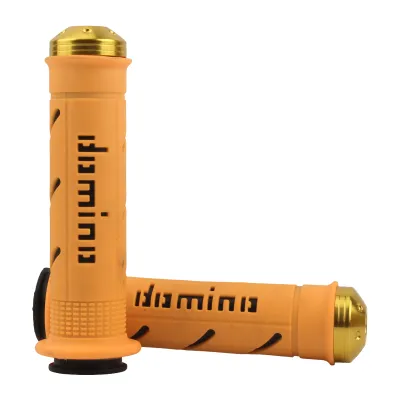
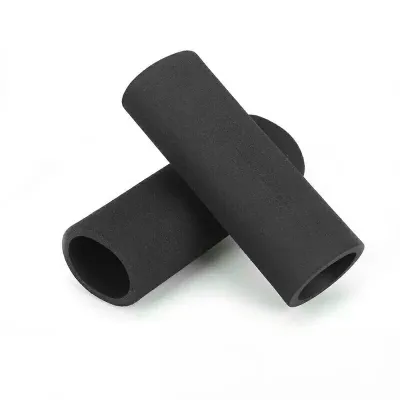
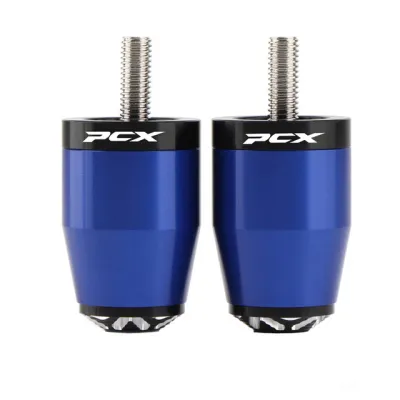
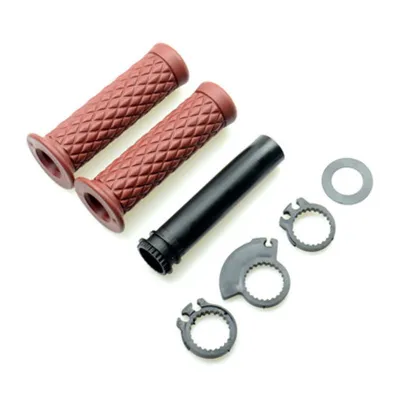
Prices are valid at publication and may change. Please refer to the product page for the latest price.
- Removal and Prep Tools: A utility knife with a fresh, sharp blade, a thin flathead screwdriver (for prying), needle-nose pliers (if your grips use safety wire), a wire brush, and medium-to-fine-grit sandpaper (around 320 to 400 grit) to scuff the metal surface.
- Cleaning Agents: High-concentration isopropyl alcohol (99% IPA) or a dedicated electrical contact cleaner. Always check product labels to ensure these cleaners are safe for use on plastics, rubbers, and painted surfaces. Avoid using petrol or heavy solvent degreasers, as these can leave a microscopic oily residue or degrade the plastic throttle tube and surrounding switchgear.
- Adhesives: A dedicated, flexible motorcycle grip glue. These specialized adhesives are formulated to bond rubber to metal and plastic while remaining pliable enough to withstand continuous engine vibrations and temperature fluctuations. A tube of dedicated grip glue is highly affordable, typically costing under S$15 to S$20 at local motorcycle shops in Singapore.
- Alternative Lubricants: While some riders use hairspray or soapy water as temporary lubricants that dry to a light tack, these alternatives have strict limitations. In highly humid environments, such as Singapore's tropical climate, water-based or slow-evaporating lubricants can take days to dry fully, or may fail to cure entirely, leading to persistent grip slippage.
- Safety Gear: Always wear cut-resistant gloves and protective eyewear. Working with sharp blades near rubber and metal surfaces carries a high risk of slippage, making hand protection essential.
How to Safely Remove Old Motorcycle Handle Grips
Before removing anything, check your motorcycle’s owner manual and any aftermarket documentation for specific handlebar or throttle tube requirements. Removing the existing grips requires patience to avoid scoring the metal handlebar, cracking the plastic throttle tube, or causing personal injury.

First, assess the condition of your old grips. If they are worn out, sticky, or damaged, the easiest path is to cut them off. However, if you plan to save them for future use or transfer them to another bike, you will need to preserve them using non-destructive methods.
To cut the grips off, use a sharp utility knife. Start at the inner flange (closest to the switch housing) and slice the rubber longitudinally toward the bar end. Always cut away from your body. Maintain a shallow blade angle to avoid scoring the metal handlebar on the clutch side, and exercise extreme caution on the throttle side to prevent slicing or cracking the plastic throttle tube underneath. A deep scratch in a plastic throttle tube can create a stress point that leads to cracking under hard twist pressure, or it can create a burr that jams the throttle mechanism.
If you want to reuse the grips, use an air compressor equipped with a narrow blowgun nozzle. Gently insert a thin flathead screwdriver under the inner flange of the grip to lift it slightly, then insert the air nozzle into the gap. Direct a blast of compressed air into the opening while pulling and twisting the grip outward. The high-pressure air expands the rubber and breaks the adhesive seal, allowing the grip to slide off effortlessly.
Be especially gentle when working around the throttle side. The throttle tube is a thin, fragile plastic sleeve that rotates over the metal handlebar. Never use excessive prying force with screwdrivers on this side, as you risk snapping the plastic tabs or the tube itself. Ensure no fragments of old rubber or adhesive remain near the throttle housing, as even tiny debris can migrate into the assembly and cause the throttle to stick open.
Cleaning and Prepping the Handlebar for Maximum Adhesion
Proper surface preparation is the single most critical factor in preventing grip slippage. Any leftover adhesive, grease, or dirt will prevent the new glue from bonding, leading to “throttle twist” or a loose clutch-side grip.
Start by removing old glue. Use a plastic scraper, a brass wire brush, or 400-grit sandpaper to strip away all traces of hardened factory glue. Work carefully on the clutch side to clean the bare metal without removing the handlebar’s protective anodized or painted coating, which prevents rust. On the throttle side, gently scrape the plastic tube. Avoid aggressive sanding on plastic, as this can thin the tube wall or create deep grooves that collect dirt.
Once the bulk of the old adhesive is removed, thoroughly wipe down the bare metal bar and the plastic throttle tube using a clean, lint-free microfiber rag saturated with 99% isopropyl alcohol. Next, clean the inside of your new grips. Brand-new rubber grips often carry a thin layer of silicone mold-release agent from the manufacturing process. If you do not wipe the inside of the new grips with alcohol, this chemical barrier will repel any adhesive you apply, causing the grip to slide off during your first ride.
Before proceeding, verify that the bare throttle tube spins freely on the handlebar. It should rotate smoothly and snap back to the closed position without any friction or catching. If you notice any burrs, rust spots on the underlying bar, or leftover rubber debris, address them now. If the throttle tube is cracked or severely worn, replace it before installing new grips.
Allow all cleaned surfaces to dry completely. In humid climates, moisture can collect on cold metal surfaces during solvent evaporation. Ensure the handlebar, throttle tube, and the inside of the grips are 100% dry and free of condensation before applying any adhesive.
Step-by-Step Installation of New Motorcycle Handle Grips
Before applying any glue, identify which grip belongs on which side. Motorcycle grip sets contain two different inner diameters: the grip with the larger inner diameter is designed to fit over the plastic throttle tube on the right side, while the grip with the smaller inner diameter fits directly onto the bare metal handlebar on the left (clutch) side. Forcing the smaller grip onto the throttle tube will split the rubber, while putting the larger grip on the clutch side will result in a loose, spinning fit.
For the left side (clutch/brake) installation, apply a thin, even bead of dedicated motorcycle grip glue around the first 2 to 3 centimeters of the handlebar end, and a small amount inside the opening of the new grip. Do not coat the entire length of the bar, as sliding the grip on will naturally push the glue forward, spreading it along the surface. Align the grip and slide it onto the bar using a smooth, continuous, twisting motion. Speed is essential here, as some grip glues set very quickly. Avoid using brute force or hammering the end of the grip with a mallet, as this can tear the inner rubber collar or damage the handlebar controls.
Applying glue to the right side (throttle) requires extreme precision. Apply a thin layer of adhesive only to the outer half of the plastic throttle tube, keeping it far away from the inner flange and the throttle housing. If you apply glue near the housing, the sliding action of the grip will push the excess adhesive directly into the throttle mechanism, gluing the throttle tube to the handlebar switch housing. This creates an incredibly dangerous situation where the throttle can stick open. Slide the right grip on with the same steady, twisting motion until it is fully seated.
If your new grips feature ergonomic finger grooves, branding, or specific traction patterns, you must align them immediately before the adhesive begins to set. Sit on the motorcycle in your normal riding position, grasp the grips, and rotate them until they feel natural and comfortable. Ensure the grip flanges do not rub against the throttle housing or the bar-end weights, as any friction here can cause the throttle to stick.
If the grips are exceptionally tight and difficult to slide on, do not force them. Instead, use a very small amount of hairspray or a highly diluted soapy water solution inside the grip as a temporary lubricant. Be aware that these lubricants require a significantly longer drying time to evaporate and allow the rubber to shrink-fit onto the bar. If you choose this method, avoid riding the motorcycle until you are certain the lubricant has completely evaporated and the grips are securely locked in place.
Never use a hammer, block of wood, or blunt tools to force a stubborn grip onto the bar. Doing so concentrates impact forces on the end of the grip, which will easily punch the handlebar clean through the rubber end cap, ruining your new purchase. If a grip gets stuck halfway, the safest approach is to inject a small amount of isopropyl alcohol under the edge using a syringe or a thin nozzle to reactivate the lubricant, then twist and work it forward.
Curing, Verification, and Pre-Ride Safety Checks
Do not rush to ride your motorcycle immediately after installation. Taking the bike out before the adhesive has fully cured can cause the grips to slip under hand pressure, creating a severe safety hazard.
Allow the grip adhesive to cure undisturbed. Always refer to the glue manufacturer’s instructions for specific curing windows, which typically range from 8 to 24 hours. Keep in mind that high ambient humidity, a constant factor in Singapore, can significantly delay the evaporation of solvents and water-based lubricants. It is highly recommended to let the bike sit overnight in a dry, covered area to ensure the bond reaches its maximum shear strength.
Perform a throttle snap-back test before starting the engine. With the bike turned off, twist the throttle to the fully open position and release it. The throttle must snap back to the completely closed position instantly and smoothly, regardless of whether the handlebars are turned straight, fully to the left, or fully to the right. If the throttle feels sluggish, sticky, or fails to snap back, do not ride the motorcycle. Inspect the inner flange for glue seepage, check if the grip is rubbing against the bar-end weight, and resolve the issue before operating the vehicle.
Once the curing period has passed, physically test the security of both grips. Grasp each grip firmly and attempt to twist it with significant force, then try to pull it axially off the bar. If there is any rotation or lateral movement, the bond has failed. You must remove the grip, clean off the failed adhesive, and reinstall it correctly.
Finally, use a clean cloth dampened with a small amount of isopropyl alcohol to wipe away any excess adhesive that squeezed out during installation. Pay close attention to the gaps between the grips and the handlebar switch clusters to ensure no residue interferes with the operation of your turn signals, horn, or starter buttons.
Frequently Asked Questions (FAQ)
Can I use super glue to install motorcycle handle grips?
Super glue (cyanoacrylate) is highly discouraged for motorcycle grip installation. While it creates a fast bond, super glue cures into a hard, brittle crystalline structure. The constant high-frequency vibrations from a motorcycle engine and road impacts will quickly shatter this brittle bond, causing the grips to break loose and slip unexpectedly. Additionally, super glue bonds almost instantly, leaving you zero time to slide the grip fully onto the bar or align ergonomic patterns. Instead, always use a dedicated flexible grip glue or a high-quality flexible adhesive designed to withstand vibration and temperature swings.
Why do my new grips keep slipping even after using glue?
Persistent grip slippage is almost always caused by inadequate surface preparation or insufficient curing time. If you did not thoroughly degrease the handlebar and the inside of the new grips with isopropyl alcohol, leftover manufacturing oils or old adhesive residue will prevent the glue from bonding. Another common issue is riding the bike before the adhesive has fully cured, especially in highly humid environments where drying times are extended. Finally, ensure you used a compatible adhesive; generic household glues or silicone sealants often lack the shear strength required to secure motorcycle grips under twisting forces.
Community discussion
Share your experience or ask a question. Comments are reviewed before publication.