
Installing a steelmate tpms external sensor system is an effective way to monitor your vehicle’s tire health in real time, helping you prevent sudden blowouts and optimize fuel efficiency. The complete process involves assessing your current tire valve stems for safety, physically mounting the lightweight external sensors, pairing them with the solar-powered or plug-in dashboard receiver, and performing routine maintenance like battery and seal replacements. By following a systematic approach, you can ensure accurate pressure readings and maintain a secure seal on all four wheels.
Pre-Installation Checks and Valve Stem Safety
Before mounting any external hardware, you must evaluate whether your vehicle’s valve stems are in suitable condition to carry the extra weight. External sensors screw directly onto the end of the valve stem, replacing the standard plastic cap. Although each sensor is relatively lightweight, adding any mass to the tip of a valve stem subjects it to significant centrifugal forces when driving at highway speeds, such as along the Pan Island Expressway (PIE).
Inspect your current valve stems closely for signs of aging. Look for micro-cracks, dry rot, or excessive flexibility in rubber stems. If you notice the rubber is stiff, brittle, or bends too easily under light finger pressure, do not install the sensors. The added dynamic load could cause an aged rubber stem to flex excessively and fail, leading to rapid deflation. If your vehicle is currently fitted with older rubber stems, consult a professional tire service center to upgrade to high-quality solid metal (brass or aluminum) valve stems before proceeding.
Products mentioned in this guide
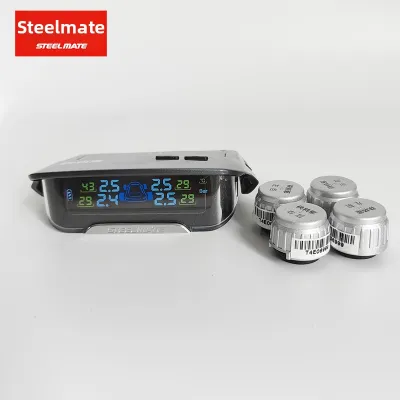
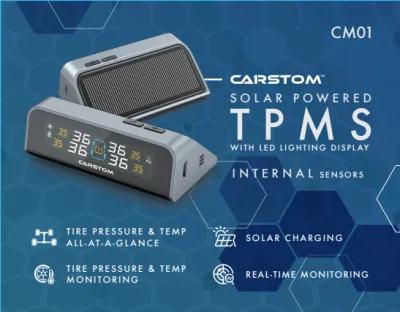
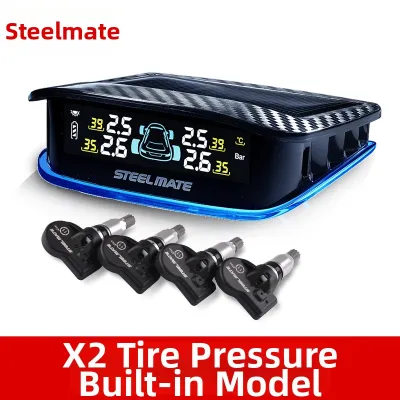
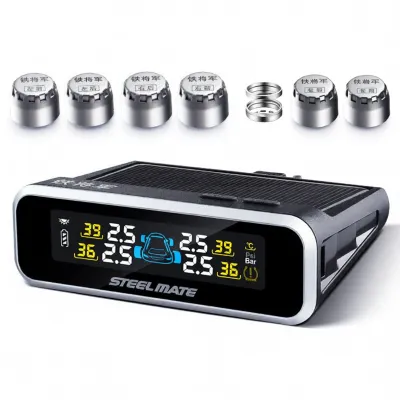
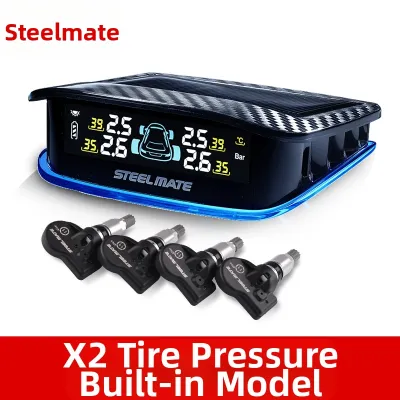
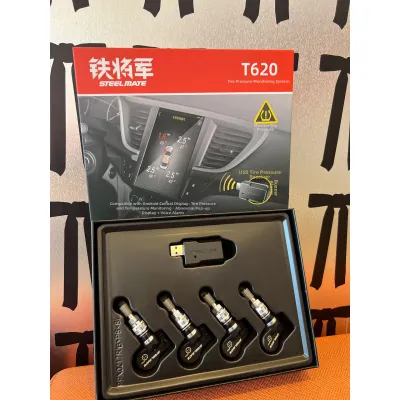
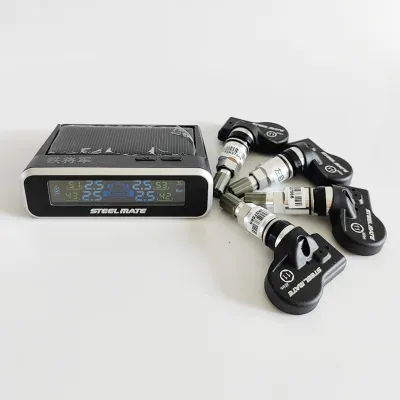
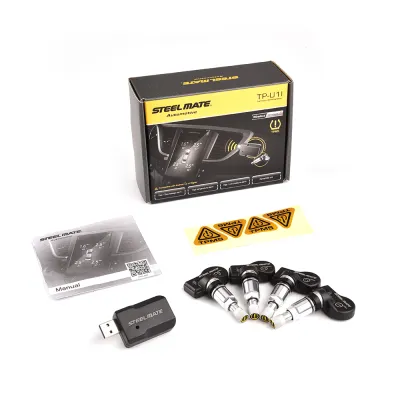
Prices are valid at publication and may change. Please refer to the product page for the latest price.
Next, verify the manufacturer’s recommended cold tire pressure for your vehicle. This specification is typically located on a placard inside the driver’s door jamb, on the inside of the fuel filler flap, or within your owner’s manual. Knowing this baseline is critical because you will need to program your high- and low-pressure alert thresholds based on these official numbers, rather than the maximum pressure stamped on the tire sidewall.
Finally, gather the necessary tools and materials before starting the installation. Your product kit should include the external sensors, matching anti-theft hex nuts, a specialized locking wrench, and a sensor-opening tool. You will also need a reliable manual tire pressure gauge to verify baseline pressures, a clean cloth to wipe down the valve threads, and a spray bottle filled with a mild soapy water solution to perform a leak test once the installation is complete.
Step-by-Step Installation of External Sensors
The physical installation of external sensors is a straightforward process, but it requires precision to avoid cross-threading the valve stems or damaging the internal valve core.

Securing the Anti-Theft Nuts
To protect your investment from opportunistic theft and prevent the sensors from vibrating loose over time, you must install the provided anti-theft hex nuts first. Begin by removing the existing plastic dust caps from your tire valve stems and cleaning the brass threads with a dry microfiber cloth to remove dirt or road grit.
Thread the anti-theft hex nut onto the valve stem by turning it clockwise. Spin the nut down as far as it will go without forcing it against the rubber base or the wheel rim. Ensure the nut is oriented correctly according to the diagram in your product manual. Do not tighten it down with a tool at this stage; it must remain loose near the bottom of the threads so that the sensor can be fully screwed on above it.
Mounting the Sensors and Leak Testing
Each external sensor is typically marked with a specific wheel position, such as “FL” for front-left or “RR” for rear-right. Locate the correct sensor for the wheel you are working on and align it with the valve stem threads.
Screw the sensor onto the valve stem clockwise by hand. As you tighten the sensor, you will hear a brief hiss of escaping air as the sensor’s internal pin depresses your tire’s valve core. Continue threading the sensor rapidly and smoothly until the hissing stops and the sensor is completely snug against the valve stem.
Once the sensor is hand-tight, hold the sensor body firmly with one hand while using the provided specialized wrench to turn the anti-theft hex nut counter-clockwise (upward) until it presses tightly against the base of the sensor. This locks the sensor and the nut together, preventing the sensor from being unscrewed by hand. Avoid applying excessive force with the wrench, as over-tightening can strip the threads, damage the internal rubber gasket, or crack the valve stem.
After securing the sensor, you must perform a leak test to ensure the valve core is fully sealed. Spray a small amount of soapy water around the base of the sensor and the valve stem connection. Watch the area closely for two to three minutes. If you see expanding bubbles or foam forming, air is escaping. In this scenario, loosen the locknut, unscrew the sensor, verify that the internal rubber gasket is seated flat inside the sensor, and reinstall. If a leak persists, remove the sensor immediately and consult a professional tire technician.
Pairing Your Steelmate TPMS External Sensors with the Display
To receive real-time pressure and temperature alerts, your physical steelmate tpms external sensors must communicate reliably with the dashboard display receiver.
Start by powering on your display unit, which may be solar-powered or designed to plug into your vehicle’s 12V accessory socket. Navigate to the sensor-matching or pairing mode by pressing and holding the designated settings buttons. Because the exact button sequence and menu layout vary depending on your specific model, you must refer to the quick-start guide or user manual provided with your kit to access the pairing screen.
Most modern systems are pre-paired at the factory, meaning the receiver is already programmed to recognize the unique ID of each sensor in its designated position. However, if you are replacing a sensor or resetting the system, you will need to trigger a signal to pair them manually. This is typically done by inflating or deflating the tire by 2 to 3 PSI while the receiver is in pairing mode, which wakes the sensor’s internal transmitter and sends its unique ID to the display. Alternatively, some models automatically register the sensors once the vehicle is driven above a certain speed, usually around 20 km/h.
Ensure that each sensor is assigned to its correct position on the digital vehicle diagram on your screen. If you accidentally swap the front and rear sensors, the display will report incorrect tire data, which could lead you to inflate or deflate the wrong tire during an alert.
Once all sensors are paired and displaying active readings, set your custom high- and low-pressure alert thresholds. A standard rule of thumb is to set the low-pressure alert to 20% below your vehicle’s recommended cold pressure and the high-pressure alert to 30% above. For instance, if your recommended cold pressure is 32 PSI (approximately 220 kPa), configure your low-pressure warning to trigger at 25 PSI and the high-pressure warning at 41 PSI to account for normal pressure expansion as the tires heat up during driving.
Routine Maintenance and Battery Replacement
To keep your external monitoring system operating accurately over the long term, you must perform periodic maintenance and monitor the physical condition of the hardware.
Replacing the Sensor Batteries
External sensors are powered by small, replaceable coin-cell batteries (typically CR1632) that generally last between one and two years, depending on your driving habits and environmental exposure. Keep an eye on your dashboard display for low-battery indicators or intermittent signal loss from a specific wheel.
To replace a battery, use the specialized wrench to loosen the anti-theft nut, then unscrew the sensor from the valve stem. Use the plastic sensor-opening tool included in your kit to hold the sensor base secure while unscrewing the outer cap.
Carefully lift out the depleted coin-cell battery and insert a fresh one, ensuring the positive (+) terminal faces upward or matches the polarity markings inside the housing. Avoid touching the face of the new battery with bare fingers, as skin oils can degrade electrical conductivity. Once the battery is replaced, dispose of the old lithium battery responsibly at a designated e-waste recycling collection point in Singapore.
Inspecting Seals and O-Rings
The weatherproofing of your external sensors depends entirely on the small rubber O-ring or gasket located inside the sensor housing. In Singapore’s tropical climate, characterized by high humidity, intense heat, and heavy rain, rubber components can degrade, dry out, or flatten over time.
Every time you open a sensor to change its battery, perform a thorough visual inspection of this rubber seal. Look for physical signs of wear, such as cracking, flattening, or dirt accumulation. If the O-ring appears worn or damaged, replace it immediately with a compatible spare to prevent moisture, road salt, or dust from entering the electronic chamber and causing permanent corrosion.
When cleaning your wheels, wipe the exterior of the sensors gently with a damp microfiber cloth. Never spray high-pressure water jets from car wash wands directly at the sensors or valve stems, as the intense pressure can bypass the seals or damage the delicate internal valve components. Avoid using aggressive chemical wheel cleaners or acid-based solvents, which can corrode the sensor’s metal threads and degrade the outer plastic housing.
Troubleshooting Signal and Alert Issues
If you experience issues with your TPMS, a few simple diagnostic steps can help you determine the cause before assuming the hardware is faulty.
If your display shows a blank reading or a signal loss icon after your vehicle has been parked, remember that external sensors enter a low-power sleep mode when stationary to conserve battery life. Simply drive your vehicle for five to ten minutes at speeds above 20 km/h to activate the internal motion sensors and update the display with real-time pressure readings.
Be aware that radio frequency (RF) interference can occasionally disrupt the communication between your sensors and the receiver. Heavy rainstorms, high-voltage power lines, or aftermarket window tints containing metallic particles can block or weaken the wireless signal. If you experience frequent signal dropouts, try repositioning your display receiver to a different spot on your dashboard or windshield, away from other electronic accessories like dashcams or GPS units.
If you receive a sudden low-pressure alert, do not ignore it, even if the tire looks perfectly inflated. Ambient temperature drops, such as parking in an air-conditioned basement carpark after driving on sun-baked asphalt, can cause the air inside your tires to contract, naturally lowering the pressure enough to trigger a warning. Always pull over safely and verify the actual pressure using a reliable, manual tire pressure gauge before adding air or adjusting your TPMS settings.
If a sensor consistently fails to transmit data, displays erratic readings, or causes a persistent slow air leak despite proper installation and a new O-ring, stop using it immediately. Remove the sensor, reinstall a standard valve cap, and consult a professional tire service center to ensure your tires are safe and leak-free.
Frequently Asked Questions (FAQ)
Do external TPMS sensors affect wheel balancing?
External sensors add a small amount of unsprung weight (typically 5 to 10 grams) to the end of your valve stems. While this weight is generally negligible for daily commuting in standard passenger vehicles, it can occasionally affect the balance of high-performance tires or sensitive steering setups. If you notice any steering wheel vibration or shimmying at highway speeds after installing the sensors, visit a professional tire shop to have your wheels balanced with the sensors securely mounted.
What should I do if a sensor triggers a low-pressure alert but the tire looks fine?
Never rely on a visual inspection alone to judge tire pressure. Modern radial tires, especially those with stiff sidewalls or low-profile designs, can lose a significant amount of air pressure without visibly sagging or looking flat. Pull over safely to a flat area and use a calibrated manual tire pressure gauge to measure the actual pressure. If the manual gauge confirms the pressure is correct, your TPMS sensor may require a battery replacement, a system recalibration, or a new internal seal to resolve the false alert.
Community discussion
Share your experience or ask a question. Comments are reviewed before publication.