
Installing a tyre rim protector correctly requires a methodical approach that combines precise wheel preparation, specialized tyre-mounting equipment, and careful bead manipulation. To prevent damage to your alloy wheels and ensure the protector remains securely in place, you must avoid using makeshift hand tools or forcing a protector onto an incompatible wheel profile. Instead, the process relies on deflating the tyre, breaking the bead safely, inserting the protector into the designated rim groove, and re-inflating the tyre to lock the assembly together. By following professional tyre-fitting protocols, you can safeguard your wheels from curb rash while maintaining the structural integrity of your tyres.
Understanding Rim Protector and Wheel Compatibility
Before purchasing or attempting to install any tyre rim protector, you must verify that the accessory is fully compatible with your specific wheel and tyre combination. Rim protectors are not universal solutions; they are engineered to fit specific wheel diameters, rim lip profiles, and tyre sidewall designs. You should begin by checking the tyre sidewall markings to identify the exact diameter of your wheels, such as 18-inch or 19-inch configurations, and cross-reference this with the specifications provided by the protector manufacturer. Before purchasing or operating any tyre accessories, always refer to your vehicle’s original owner’s manual for specific tyre and wheel guidelines, and consider seeking qualified professional installation to ensure road safety and prevent damage to critical components.
Additionally, you must review the manufacturer’s installation manual for specific exclusions regarding wheel lip shapes. To ensure complete compatibility and road legality, you must verify your vehicle model, year, wheel dimensions, mounting position, and safety impact directly from the specific product and vehicle documentation, rather than inferring compatibility from a generic category term. Some alloy wheels feature flat, rounded, or stepped lips that may not accept certain types of insertable protectors. If your wheels have pre-existing curb damage, deep gouges, or bent outer lips, these imperfections can prevent the protector from seating flush against the metal. Inspect the entire circumference of the wheel rim edge for any signs of structural fatigue, cracks, or heavy corrosion, as these issues must be professionally repaired before you attempt any installation.
Products mentioned in this guide
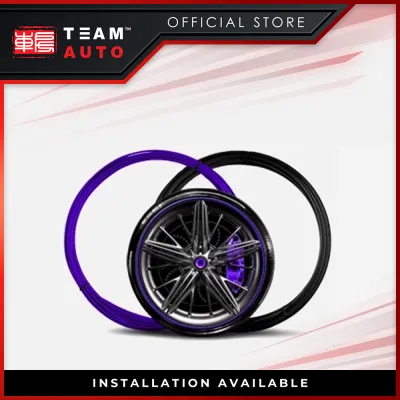
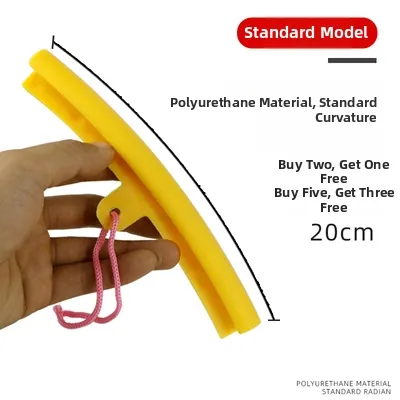
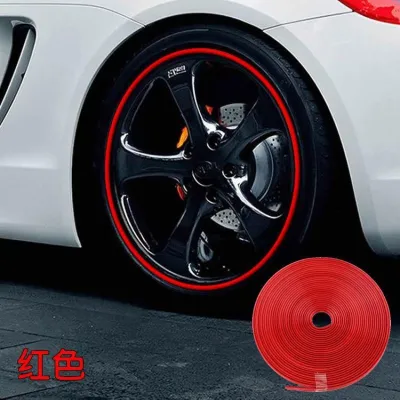
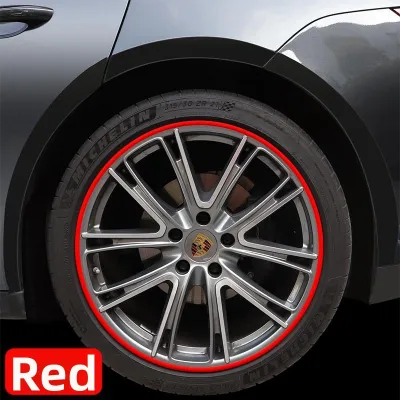
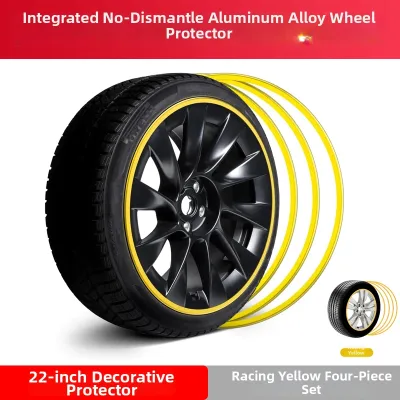
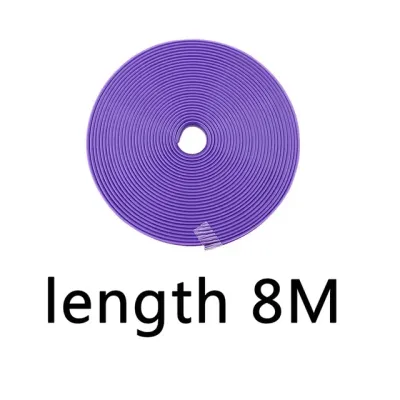
Prices are valid at publication and may change. Please refer to the product page for the latest price.
Tools and Preparation for a Safe Installation
A successful and damage-free installation relies heavily on using the correct tools rather than relying on manual force. Attempting to install insert-style rim protectors using standard screwdrivers or metal pry bars is a primary cause of scratched alloy finishes and torn tyre beads. Instead, you should utilize a professional tyre changing machine and non-marring nylon or plastic tyre levers designed specifically for alloy wheels. These tools distribute pressure evenly and prevent metal-on-metal contact that can gouge the wheel surface.

Preparation also requires the use of dedicated tyre mounting lubricants, used strictly according to their label-authorized instructions, to facilitate the smooth movement of the rubber bead over the protector. You must avoid using household dish soaps, detergents, or petroleum-based lubricants, as these chemicals can degrade the tyre rubber, cause the protector to slip out of position over time, or promote corrosion on the alloy wheel surface. Before beginning, thoroughly clean the wheel rim edge and tyre bead area with a dedicated wheel cleaner—ensuring it is approved for your specific wheel finish—to remove accumulated brake dust, road grime, old adhesive balance weights, and surface oxidation that could compromise the seal.
Step-by-Step Installation Process
The installation process must follow a logical, step-by-step sequence to ensure that neither the tyre bead nor the protector is pinched, torn, or misaligned. Because this process involves manipulating a high-pressure tyre assembly, you must prioritize safety by working in a controlled environment and wearing appropriate protective gear. The entire procedure hinges on releasing all air pressure from the tyre before attempting to break the bead or insert the protector.
To begin the deflation process, use a valve core removal tool to unscrew the valve core from the valve stem, allowing the air to escape rapidly and completely. Never attempt to break the tyre bead while there is residual pressure inside the tyre, as this can cause severe injury and damage the tyre machine. Once the tyre is fully deflated, you can position the wheel securely on the tyre changing machine’s turntable, ensuring the clamping jaws are fitted with protective plastic inserts to avoid scratching the inner barrel of the alloy wheel.
Breaking the Bead and Positioning the Protector
With the wheel secured on the machine, position the bead breaker blade against the tyre sidewall, keeping it slightly clear of the visible outer rim lip to prevent metal contact. Activate the bead breaker to push the tyre bead down into the drop center of the wheel, working your way around the circumference until the bead is completely separated from the outer rim. Repeat this process on the inner bead if necessary, although most insertable protectors only require the outer bead to be broken to allow access to the rim lip.
Once the bead is free, clean the newly exposed inner rim groove with a clean cloth to remove any trapped dirt or old mounting paste. Depending on the specific design of your rim protector, you will either hook the protector’s locking tail into the rim’s outer groove or slide it directly under the relaxed tyre bead. If the protector features a jointed design, position the joint or seam opposite the valve stem or align it with any manufacturer-recommended alignment marks to maintain proper wheel balance. Avoid using excessive force or metal tools to pry the protector into place; instead, use gentle hand pressure or a non-marring rubber mallet to seat the protector evenly around the entire rim circumference.
Seating the Tyre and Re-inflating Safely
Before re-inflating the tyre, apply a generous layer of approved tyre mounting lubricant to both the tyre bead and the exposed surfaces of the rim protector. This lubrication is critical because it allows the rubber bead to slide smoothly over the protector’s locking mechanism without catching, tearing, or dragging the protector out of its aligned position. If the bead catches on the protector during inflation, it can distort the plastic or rubber material, leading to an uneven fit or premature failure of the protector.
Begin inflating the tyre slowly, keeping your hands and fingers clear of the bead area to prevent injury. As the tyre takes shape, visually monitor the bead to ensure it rises evenly and pushes the protector flush against the alloy rim. You should hear the characteristic “pop” as the tyre bead seats itself onto the wheel’s safety hump. Once the bead is seated, inspect the entire circumference for any gaps, lifting, or twisting of the protector. If any section appears misaligned, deflate the tyre immediately, adjust the protector, and repeat the inflation process. Finally, reinstall the valve core and inflate the tyre to the vehicle manufacturer’s recommended cold tyre pressure, verifying the pressure with a calibrated gauge.
Post-Installation Checks and Maintenance
After completing the physical installation, you must perform a series of post-installation checks to verify that the rim protectors are secure and functioning as intended. Conduct a thorough visual inspection around the entire circumference of each wheel, checking that the protector sits perfectly flush against the rim edge and does not bulge outward or pinch the tyre sidewall. The protector must not interfere with the natural flex of the tyre sidewall under load, as this could lead to localized wear or compromise tyre performance.
To ensure the protectors remain stable under real-world driving conditions, take the vehicle for a short, low-speed test drive of approximately five to ten kilometers. During this drive, listen carefully for any unusual clicking, flapping, or whistling sounds coming from the wheels, which could indicate a loose or shifting protector. Upon returning, re-inspect each wheel to confirm that the protectors have not migrated, lifted, or separated at the joints. For ongoing maintenance, avoid directing high-pressure water streams from pressure washers directly at the protector joints during washing, and use only pH-neutral wheel cleaners to prevent chemical degradation of the protector material.
When to Stop and Seek Professional Help
While many automotive enthusiasts attempt this installation themselves, you must recognize the safety boundaries and physical limitations of DIY work. If you encounter physical signs of incompatibility during the process—such as the protector refusing to lock into the rim groove, or the tyre bead failing to seat even with proper lubrication—you must halt the installation immediately. Forcing components that do not fit naturally can damage the tyre’s internal bead wire or scratch the alloy wheel’s protective clear coat.
Furthermore, attempting to seat tyre beads without proper safety equipment, such as an inflation cage, carries a risk of explosive decompression if a component fails or if the tyre is over-inflated to force a fit. If your vehicle is equipped with an internal Tyre Pressure Monitoring System (TPMS), the sensors are highly vulnerable to damage from tyre machine blades and levers during the bead-breaking process. If you are unsure about the positioning of your TPMS sensors, or if your wheels show signs of structural fatigue, corrosion, or previous repairs, it is highly recommended to stop and consult a certified tyre fitter at a professional service center to complete the installation safely.
Frequently Asked Questions (FAQ)
Do Tyre Rim Protectors Affect Wheel Balancing?
Adding any accessory to your wheel assembly alters the distribution of rotational mass, which can directly affect wheel balance. Even lightweight plastic or rubber rim protectors introduce enough variance to cause steering wheel vibrations, especially at highway speeds. To prevent uneven tyre wear and maintain a smooth ride, you should always have your wheels professionally rebalanced on a spin-balancing machine immediately after installing rim protectors.
Can You Reuse a Tyre Rim Protector After a Puncture?
Whether you can reuse a rim protector after a tyre puncture depends entirely on the condition of the protector after the tyre is dismounted. If the protector has retained its original circular shape, shows no signs of stretching, and the locking teeth or mounting tails remain completely intact, it may be safe to reinstall. However, if the protector exhibits deep cuts, stress whitening, or deformation from the puncture event or the dismounting process, you must replace it with a new unit to ensure a secure fit.
Will a Rim Protector Interfere with TPMS Sensors?
Most high-quality rim protectors are designed to sit on the outermost lip of the wheel rim and do not extend deep enough into the wheel barrel to interfere with internal TPMS sensors. However, the primary risk to TPMS sensors occurs during the installation process itself, specifically when breaking the tyre bead or using levers near the valve stem where the sensor is mounted. To avoid crushing or damaging the sensor unit, always locate the valve stem and ensure the tyre machine’s bead breaker tool is positioned away from this area during disassembly.
Community discussion
Share your experience or ask a question. Comments are reviewed before publication.