
Installing a dash cam is an excellent way to protect yourself on the road, but mounting it securely without leaving permanent marks on your windshield can be a challenge. Many modern dash cams utilize a magnetic mounting system for easy removal. However, sticking the magnetic metal plate directly to your glass or window tint with high-strength adhesive can lead to permanent damage, stubborn residue, or torn tint film when it comes time to remove or reposition the device. Fortunately, you can achieve a rock-solid mount that is completely reversible by using a protective barrier, such as a static cling film, between the adhesive and your windshield. This guide walks you through the step-by-step process of preparing your glass, applying the protective layer, and securing your magnetic mount safely and legally.
Understanding the Mounting Setup and Legal Windshield Zones
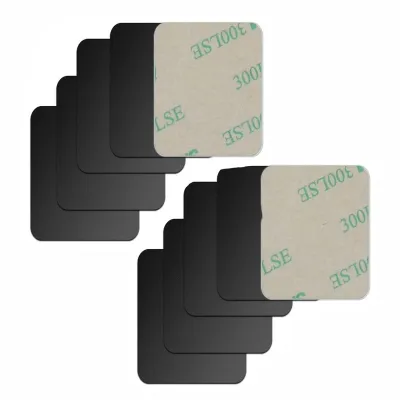
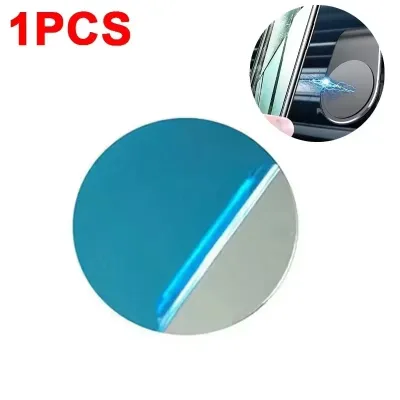
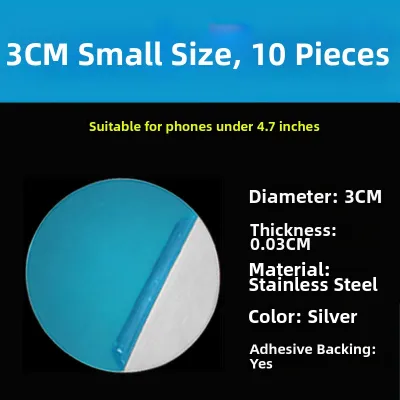
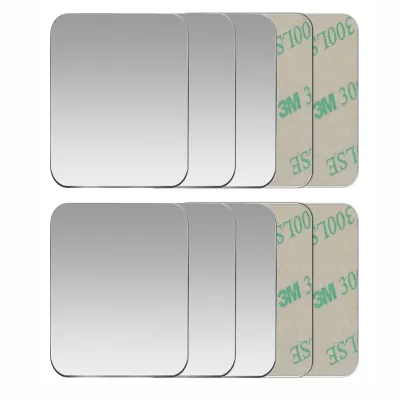
To achieve a clean, damage-free installation, it is essential to understand how the components of a magnetic mounting system interact. The setup relies on a three-part system: the dash cam itself, the magnetic metal plate, and a non-adhesive windshield barrier. The non-adhesive barrier, typically a specialized static cling film, adheres to the glass using static electricity rather than glue. The magnetic metal plate, which features a strong adhesive backing, is then stuck directly onto this protective film. Finally, the dash cam connects magnetically to the metal plate, allowing you to attach or detach the camera in seconds while keeping the mounting hardware firmly in place.
When planning your installation, choosing the correct mounting zone on your windshield is critical for both safety and legal compliance. As a general principle, the mount should be placed in a position that does not obstruct your direct line of sight while driving. A common location is behind or adjacent to the rearview mirror, which keeps the camera out of your primary field of vision while still allowing it to capture a clear view of the road. Additionally, the camera lens should sit within the sweep of your windshield wipers so that it can record clear footage during rainy weather.
Products mentioned in this guide

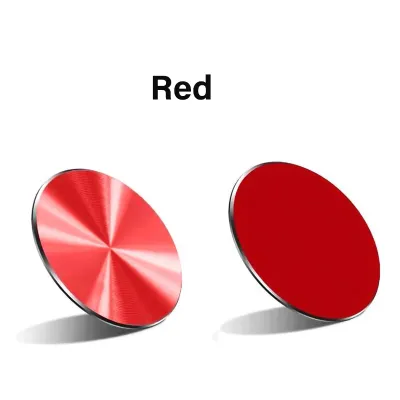

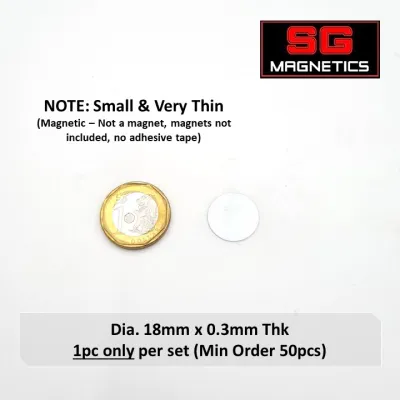
Prices are valid at publication and may change. Please refer to the product page for the latest price.
Before finalizing the placement, you must verify the legal mounting boundaries for your specific vehicle. In Singapore, the Land Transport Authority (LTA) maintains strict regulations regarding any objects attached to the windscreen. The mounting setup must not interfere with the driver’s view, nor should it obstruct any factory-installed safety sensors, forward-collision warning cameras, or rain sensors mounted near the rearview mirror. Always consult the latest LTA guidelines and your vehicle’s owner manual to ensure your chosen mounting zone is fully compliant before proceeding with the installation.
Tools and Materials for a Non-Damaging Installation
Gathering the correct tools and materials beforehand is key to ensuring a secure hold that will not degrade over time. For this installation, you will need a high-quality magnetic metal plate kit, a protective barrier (such as a static cling film sheet or a compatible suction cup base), a clean microfiber cloth, and an automotive-grade glass cleaner. Having these items ready prevents delays and ensures you do not have to substitute improper materials that could compromise the installation.

One of the most common mistakes drivers make is applying high-strength permanent adhesive tapes directly to the windshield glass or aftermarket window tint. While these adhesives provide an incredibly strong bond, they are not designed for direct glass application in automotive environments. Over time, exposure to intense sunlight and cabin heat can bake the adhesive onto the glass, making it extremely difficult to remove without using sharp blades or harsh chemical solvents that can scratch the windshield or ruin expensive window films. Using a non-adhesive protective barrier completely eliminates this risk.
Before you begin the application process, take a moment to inspect all your materials. Check the magnetic metal plate and the protective barrier for any signs of dust, scratches, or manufacturing oils. Even a microscopic layer of oil or a single speck of dust on the static cling film can prevent it from bonding correctly to the glass, leading to premature peeling. If you notice any residue on the metal plate or film, gently wipe it down with a dry microfiber cloth before proceeding.
Preparing the Windshield Surface for a Secure Grip
A successful installation depends heavily on how well you prepare the windshield surface. Over time, automotive glass accumulates a thin, invisible layer of road grime, grease, dust, and outgassed plastic residues from the dashboard. If you attempt to apply a static cling film or adhesive plate over this contamination, the barrier will fail to grip the glass securely, and the weight of the dash cam will eventually cause the entire mount to fall off.
To clean the target area effectively, start by spraying an ammonia-free automotive glass cleaner onto a clean, lint-free microfiber cloth rather than directly onto the windshield. Ammonia-based cleaners should be avoided because they can chemically degrade aftermarket window tints and damage plastic dashboard components if oversprayed. Use the damp microfiber cloth to scrub the mounting zone thoroughly, paying close attention to removing any old adhesive residues or stubborn dirt. Follow up with a dry section of the microfiber cloth to buff the glass until it is completely streak-free.
Once the glass is clean, ensure that the surface is completely dry before applying any materials. Moisture trapped under a static cling film will prevent proper adhesion and can cause unsightly bubbling. Furthermore, pay attention to the temperature of the windshield. In tropical climates, a car parked in direct sunlight can have an extremely hot windshield, which can cause static cling films to warp or adhesive backings to cure too quickly. It is best to perform the installation in a shaded area, a covered car park, or after running the vehicle’s air conditioning to bring the cabin and glass to a moderate, comfortable temperature.
Applying the Protective Barrier to the Glass
Applying the protective barrier correctly is the foundation of a stable, non-damaging mount. If your kit includes a static cling protective film, begin by carefully peeling the backing off the film, taking care not to touch the cling side with your bare fingers, as skin oils can ruin the static bond. Align the film with your pre-determined legal mounting zone on the windshield. Gently press the center of the film against the glass, then use a plastic squeegee or a rigid card wrapped in a microfiber cloth to smooth the film outward. Work from the center to the edges to push out all trapped air bubbles, ensuring the film lies completely flat and flush against the glass.
If your mounting kit utilizes a suction cup base instead of a static cling film, the application process differs slightly. First, ensure the suction pad is completely clean and free of dust. Some manufacturers recommend priming the suction cup by wiping it with a damp cloth to enhance the vacuum seal. Press the suction cup firmly against the prepared area of the windshield, applying steady pressure to expel the air underneath, and then engage the locking lever or mechanism to secure the vacuum hold.
Regardless of the barrier type you use, you must establish a strict stopping condition during this step. If you notice large, stubborn air bubbles, trapped dust particles, or hair underneath the static cling film or suction cup, do not attempt to ignore them. Trapped debris creates air gaps that weaken the hold, which will eventually cause the mount to fail under the weight of the dash cam or during sudden vehicle movements. If the barrier is not perfectly flat and clean, peel it off immediately, re-clean the glass surface, and apply a fresh, clean barrier before moving forward.
Securing the Magnetic Metal Plate to the Barrier
With the protective barrier securely in place, you can now proceed to attach the magnetic metal plate. It is absolutely critical that you apply the plate’s adhesive side strictly to the protective barrier, and never directly to the glass or the window tint. The barrier acts as a sacrificial layer that absorbs the permanent bond of the adhesive, protecting your vehicle’s windshield from any direct contact with the glue.
Before peeling the adhesive backing off the metal plate, do a dry run to confirm its alignment. Once the high-strength adhesive touches the protective film, it will bond almost instantly, making repositioning extremely difficult without ruining the film. Once you are confident in the alignment, peel the backing paper off the metal plate, align it carefully over the center of the protective barrier, and press it down.
When applying pressure to secure the adhesive bond, you must exercise caution. Apply firm, even pressure across the entire surface of the metal plate for approximately 30 seconds to activate the pressure-sensitive adhesive. However, warn yourself against applying excessive or sudden force, as pushing too hard against the windshield can risk cracking the glass or dislodging the vacuum seal of a suction cup mount.
After the plate is pressed onto the barrier, it is vital to allow the adhesive to cure properly before subjecting it to any load. Do not mount the heavy dash cam immediately. The adhesive requires a setting time to form a permanent bond with the protective film. Refer to the manufacturer’s instructions for the exact curing duration; most high-strength automotive adhesives require at least 12 to 24 hours to cure fully, especially in high-humidity environments. Leaving the mount unweighted during this period ensures the adhesive does not stretch or peel away prematurely.
Mounting the Dash Cam and Testing the Magnetic Hold
Once the adhesive has fully cured, you can proceed to mount your dash cam and verify the integrity of the installation. Gently align the magnetic mounting bracket of the dash cam with the installed metal plate. Allow the magnets to pull the camera into place, ensuring that the connection is completely flush and that there are no gaps between the magnetic surfaces. A flush connection maximizes the magnetic surface area, which is essential for maintaining a secure hold while driving.
Before taking your vehicle out onto the road, perform a stationary shake test to evaluate the stability of the mount. With the vehicle parked safely, gently wiggle the camera body with your hand to simulate road vibrations and bumps. The dash cam should remain firmly attached to the metal plate without sliding, tilting, or vibrating excessively. If the camera feels loose or wobbles, double-check that the magnets are properly aligned and that no debris is trapped between the magnetic surfaces.
Finally, adjust the camera lens to the optimal angle to ensure a clear, unobstructed view of the road ahead. When making these adjustments, always hold the mounting base with one hand while moving the camera body with the other. This prevents you from twisting or straining the magnetic joint, which could put unnecessary stress on the protective barrier and cause the static cling film to lift from the glass.
Troubleshooting Weak Holds and Peeling Edges
Even with careful installation, you may occasionally encounter issues such as a weak magnetic hold or peeling edges on the protective barrier. One of the primary culprits is extreme cabin heat, which can soften adhesives and cause static cling films to lose their grip, especially if the vehicle is parked in direct sunlight for extended periods. Trapped moisture or installing the mount on a highly curved section of the windshield can also prevent the barrier from maintaining a flat, secure seal.
If you notice the edges of the static cling film beginning to lift, or if the suction cup repeatedly loses vacuum, corrective action is necessary. Start by removing the dash cam and peeling off the compromised barrier. Thoroughly re-clean the windshield surface to remove any microscopic dirt or oils that may have caused the initial failure. Replace the old static cling film with a fresh, unused piece, ensuring that you apply it to a flatter area of the glass if the previous spot had too much curvature.
If you have followed all the steps and the mount still fails to hold securely, it is time to stop making DIY adjustments. Continued attempts to secure a failing mount can result in the dash cam falling while you are driving, which can distract you or damage the device. In such cases, consult the dash cam manufacturer to check for compatible replacement mounts, or seek professional assistance from an authorized automotive electronics installer who can recommend a specialized mounting solution tailored to your vehicle’s windshield design.
Frequently Asked Questions (FAQ)
Can I use a magnetic metal plate on a tinted windshield?
Yes, but you must never apply the adhesive side of the metal plate directly to the window tint. The high-strength adhesive can permanently bond to the tint film, and attempting to remove it later will almost certainly tear, bubble, or peel the expensive aftermarket tint. To protect your tint, always install a high-quality static cling protective barrier on the tinted glass first, and then adhere the magnetic metal plate directly to that barrier. This setup ensures the adhesive never touches the tint film itself.
Will the magnetic plate interfere with GPS or wireless signals?
In most cases, a standard magnetic metal plate will not interfere with your dash cam’s GPS reception or wireless connectivity. Modern dash cams are engineered with their internal antennas positioned away from the mounting bracket to prevent signal degradation. However, because electronic designs vary, you should always check your dash cam’s user manual for specific antenna placement guidelines and recommended clearances to ensure optimal signal performance.
Community discussion
Share your experience or ask a question. Comments are reviewed before publication.