
To install a dash cam mounting pad disk in compliance with the Land Transport Authority (LTA) guidelines in Singapore, you must position the adhesive disk within the permitted zones of your windshield—typically behind the rearview mirror or along the top edge—where it does not obstruct your primary line of sight. The installation requires thorough surface preparation, precise alignment to avoid safety sensors, and secure cable routing that avoids interfering with side-curtain airbags. By following a systematic approach, you can ensure your dash cam remains firmly attached under high-humidity conditions while fully adhering to local road safety regulations.
Understanding LTA Windshield Placement Rules
Before peeling any adhesive backing, you must understand where a dash cam can legally sit on your windshield. LTA regulations focus on maintaining an unobstructed view for the driver. Any aftermarket accessory that blocks your primary line of sight can lead to compliance issues, fines, or failure during your periodic vehicle inspection.
To stay compliant, target the area directly behind your rearview mirror. This zone is already physically blocked from your direct line of sight by the mirror itself, making it the ideal spot for a mounting pad disk. Alternatively, the upper-most portion of the windshield—typically within the top 15 centimeters—is generally acceptable, provided the camera body does not hang down low enough to interfere with your view of the road.
Products mentioned in this guide
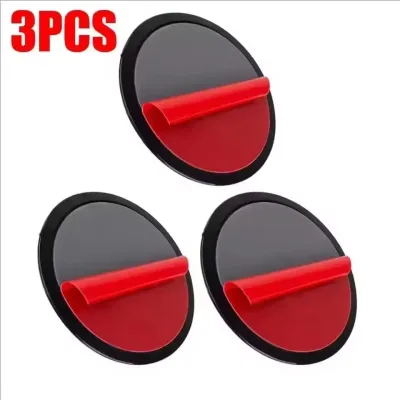
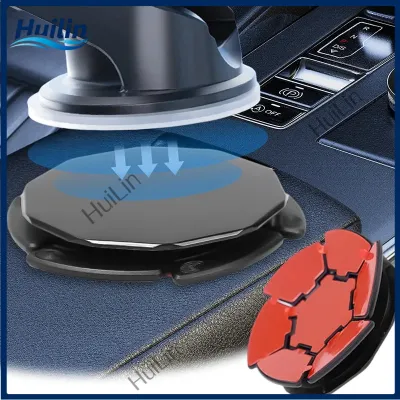
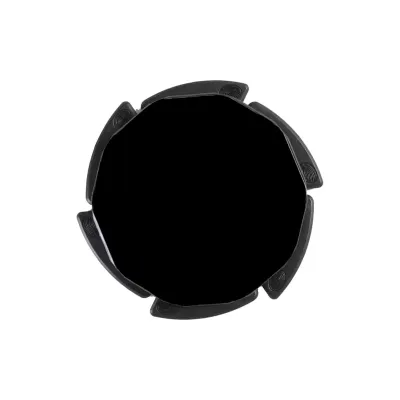
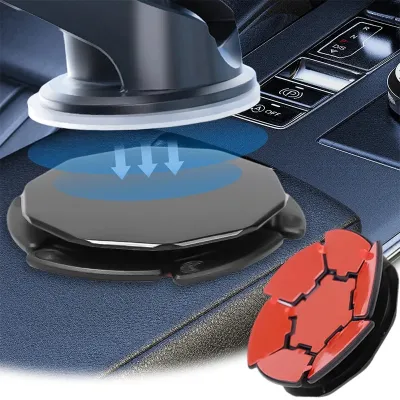
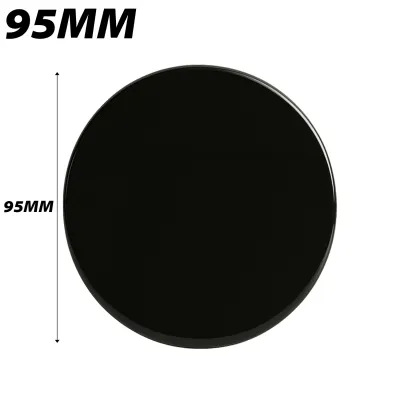
Prices are valid at publication and may change. Please refer to the product page for the latest price.
Before finalizing this spot, consult your vehicle owner’s manual to identify built-in safety systems. Many modern vehicles feature Advanced Driver Assistance Systems (ADAS) cameras, rain sensors, or humidity sensors mounted near the rearview mirror. Placing an adhesive disk too close to these sensor housings can block their field of view or cause optical interference, potentially disabling critical safety features like lane-keep assist or automatic emergency braking.
Additionally, take note of any factory-installed tinted bands or solar films at the top of the windshield. Applying a high-bond adhesive directly onto these films can cause permanent damage if you ever need to remove or reposition the mount. If your vehicle has aftermarket window tinting, you must verify whether the film can support the weight and heat stress of a mounted dash cam without bubbling or peeling away from the glass.
Preparing Your Windshield and Mounting Pad Disk
A secure bond depends entirely on how well you prepare the glass surface. Singapore’s tropical climate brings high humidity and intense cabin heat, both of which will quickly compromise an adhesive pad applied to a dirty or oily surface. Taking the time to clean the area thoroughly prevents the frustrating experience of your dash cam falling off while driving.

Begin by cleaning the target area of the windshield using a dedicated glass cleaner or isopropyl alcohol, ensuring the product is safe for any installed window films. Avoid using household glass cleaners that contain ammonia or heavy silicones, as these can leave a microscopic residue that prevents the adhesive from bonding properly. Wipe the area dry with a clean microfiber cloth, ensuring no lint or dust particles remain.
Next, inspect your mounting pad disk. Ensure the adhesive surface is completely clean and free of manufacturing dust, debris, or deformities. If you are reusing a mount, completely scrape away any old adhesive residue using a plastic scraper and clean the disk surface before applying a fresh, high-quality double-sided adhesive pad.
Pay close attention to the environmental conditions during installation. Avoid applying the adhesive disk in direct, intense sunlight or when the windshield glass is hot to the touch. High temperatures can cause the adhesive to cure prematurely or unevenly, leading to a weak bond. It is best to perform the installation in a shaded, cool area, such as a sheltered multi-story car park, allowing the windshield to cool down to ambient temperature first.
Step-by-Step Installation of the Mounting Pad Disk
Once the windshield is clean and cool, you can proceed with the physical application of the mounting pad disk. Proper technique during this step ensures that the adhesive makes full contact with the glass without trapping air pockets.
Carefully peel the protective backing off the adhesive pad. Avoid touching the sticky surface with your fingers, as the natural oils on your skin will degrade the adhesive’s bonding strength. Hold the disk by its outer edges as you prepare to position it.
Align the disk precisely with your pre-identified, LTA-compliant location on the windshield. Take your time during this step, as high-bond adhesives are designed to stick instantly and can be very difficult to reposition once they make contact with the glass. Gently touch one edge of the disk to the glass first, then roll the rest of the disk down to minimize the chance of trapping air.
Apply firm, even pressure across the entire surface of the disk using your thumb or the palm of your hand. Maintain this pressure continuously for at least 30 to 60 seconds. This pressure-sensitive adhesive requires physical force to activate the chemical bond and expel any tiny air bubbles that could expand under the hot sun.
After securing the disk, observe the recommended curing time before attaching the heavy dash cam unit. While the disk may feel secure immediately, most high-bond adhesives require at least 24 hours to reach their maximum bonding strength. Leaving the disk unweighted during this curing period ensures a long-lasting installation that can withstand road vibrations and cabin heat.
Routing Cables and Final Dash Cam Setup
With the mounting pad disk securely in place, the next step is to route the power cable neatly to your vehicle’s power source. Loose, dangling wires are not only unsightly but can also create dangerous visual obstructions and physical hazards while driving.
Use a plastic trim tool to gently tuck the power cable into the gap between the windshield glass and the headliner. Route the cable across the top of the windshield toward the passenger-side A-pillar. This keeps the wire completely out of the driver’s field of view.
When routing the cable down the A-pillar, you must observe a critical safety boundary. If your vehicle is equipped with side-curtain airbags housed inside the A-pillar, never run the cable directly across the airbag cover. In the event of a collision, an improperly routed cable can prevent the airbag from deploying correctly or turn the cable into a dangerous projectile.
To route the cable safely, consult your vehicle’s manual to locate the airbag deployment path. Carefully remove or loosen the A-pillar trim panel and run the cable behind the airbag mechanism, securing it to the existing factory wiring harness using zip ties. If you are uncomfortable working around airbag systems or hardwiring the camera to your vehicle’s fuse box, seek assistance from a qualified professional installer.
Verifying Compliance and Camera Visibility
After the adhesive has fully cured and the cables are neatly routed, attach your dash cam to the mounting pad disk. The final step is to verify that the entire setup is both legally compliant and functionally effective.
Sit in the driver’s seat in your normal driving position and look forward. Ensure that the dash cam body, the mounting disk, and the routed cables do not block your view of the road, side mirrors, or traffic signals. The entire assembly should be virtually hidden behind your rearview mirror from your perspective.
Next, turn on the dash cam and check the live video feed, either on the device’s built-in screen or via its companion smartphone application. Adjust the lens angle so that the horizon sits approximately in the middle of the frame, with the bottom edge of the video capturing a small portion of your vehicle’s hood. This framing provides the necessary visual context for distance and speed calculations in the event of an incident.
Regularly inspect the mounting pad disk over the following weeks, especially after your car has been parked in the sun. If you notice any peeling, bubbling, or lifting at the edges, do not attempt to push it back down or use household glue. Instead, remove the mount completely, clean the glass thoroughly, and apply a fresh adhesive pad to ensure the camera remains safely secured.
Frequently Asked Questions (FAQ)
Can I mount the dash cam on the passenger side instead of behind the rearview mirror?
Yes, mounting the dash cam on the passenger side of the windshield is legally acceptable under LTA guidelines, provided it does not obstruct the driver’s primary line of sight. However, you must ensure the camera lens is positioned to capture a balanced, wide-angle view of the road ahead. Placing the mount too far to the left can create an asymmetrical recording angle, potentially leaving a significant blind spot on the right side of your vehicle.
Will the mounting pad disk damage my windshield tint or leave residue upon removal?
Applying a high-bond adhesive disk directly onto aftermarket solar films or window tints carries a risk of bubbling, peeling, or tearing the film during removal. Factory-tinted glass, where the tint is embedded within the glass layers, is safe from this type of damage. To safely remove a mounting disk without damaging your tint, gently warm the area with a hairdryer to soften the adhesive, then use a piece of dental floss or a plastic pry tool to slowly slice through the softened adhesive layer before cleaning any residue with a film-safe adhesive remover.
Do I need to declare my dash cam installation during vehicle inspections?
You do not need to formally declare a standard dash cam installation during routine vehicle inspections. However, vehicle inspectors will check for windshield obstructions and unsafe modifications. If your mounting pad disk or camera blocks the driver’s view, or if the wiring is loose and hangs down obstructively, your vehicle may fail the inspection until the setup is corrected.
Community discussion
Share your experience or ask a question. Comments are reviewed before publication.