
Integrating modern smartphone connectivity into an older vehicle does not require a costly or invasive dashboard overhaul. A dedicated CarPlay adapter serves as a bridge, translating your phone’s display and audio signals into a format your factory stereo can read and display. Whether your vehicle features a basic color screen with a USB port or an older system with only auxiliary inputs, these adapters offer a non-destructive way to access navigation, hands-free calling, and music streaming. By preserving the original head unit, you maintain the vehicle’s factory aesthetics, retain integrated climate controls, and avoid the complex wiring challenges associated with aftermarket radio installations.
Check Compatibility and Gather Tools
Before purchasing any hardware, you must verify your vehicle’s specific model, year, and factory interface options against the adapter manufacturer’s official documentation. Never infer compatibility solely from a broad category term or general vehicle make. Start by inspecting your dashboard and center console for active media inputs. Some adapters require a fully functional, data-capable factory USB port that already supports basic smartphone connectivity, while other standalone screen-based or interface-box adapters rely on an AUX input or a dedicated video-in port to route audio and video signals.
Consult your vehicle’s owner’s manual to identify which USB ports support data transfer, as many older vehicles feature ports designed strictly for charging devices. Additionally, review the adapter’s packaging or official manual to confirm compatibility with your smartphone’s operating system version.
Products mentioned in this guide
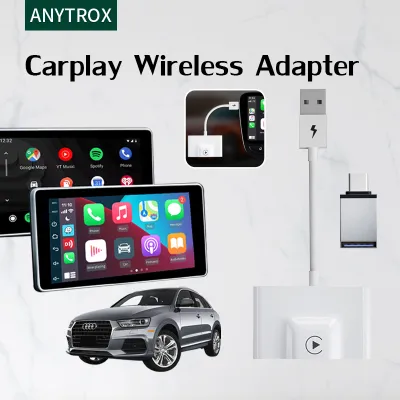
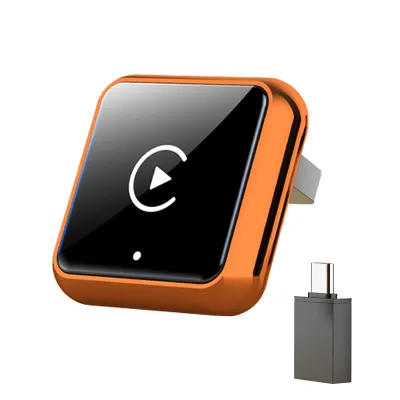
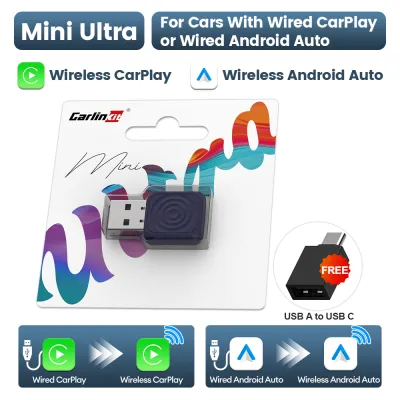
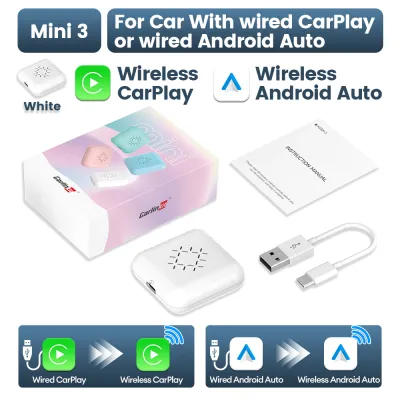
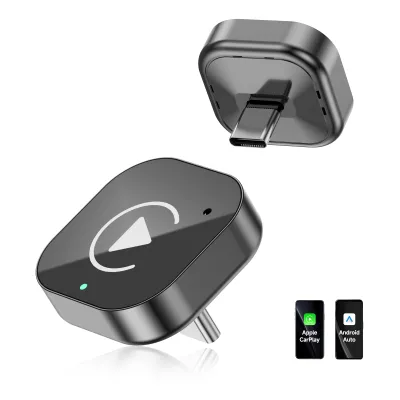
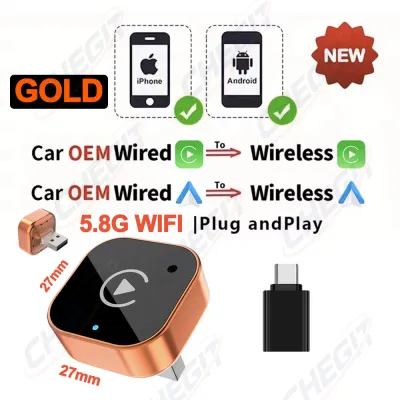
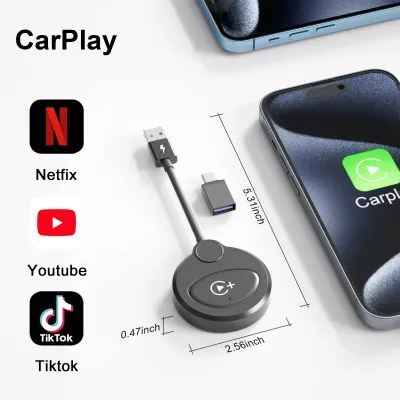
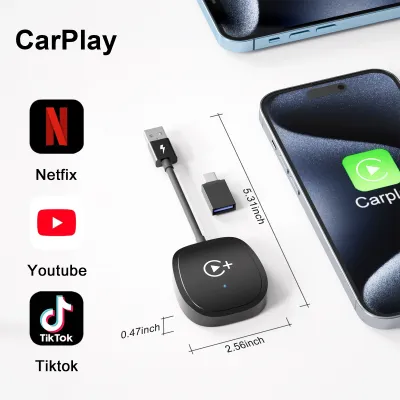
Prices are valid at publication and may change. Please refer to the product page for the latest price.
Once compatibility is confirmed, gather the necessary tools to ensure a clean and safe installation. You will need a set of plastic trim removal tools to gently pry open dashboard panels without scratching the delicate plastic or leather surfaces. Keep a pack of high-quality zip ties, double-sided adhesive pads, or Velcro strips on hand to secure the adapter and prevent annoying rattles while driving. A clean microfiber cloth is useful for wiping down mounting surfaces, and you should ensure your smartphone is updated to its latest operating system version to prevent software handshake issues during the initial pairing process.
Step-by-Step Installation Guide
Installing a CarPlay adapter is a straightforward process when approached systematically. The primary goal is to establish a secure physical connection to the factory stereo, route the necessary cables neatly to maintain a clutter-free cabin, and complete the digital pairing sequence. Throughout this process, prioritize patience and gentle handling of all vehicle components. Using specialized plastic trim tools instead of metal screwdrivers is essential to avoid scratching interior surfaces or snapping fragile plastic dashboard clips that can lead to permanent alignment issues or persistent cabin squeaks.

Connect to the Factory USB or AUX Port
Begin the physical installation by identifying the correct input port on your factory stereo. If you are using a plug-and-play USB CarPlay adapter, insert the adapter’s primary cable directly into the designated media USB port. It is critical to use the specific port linked to the vehicle’s infotainment system; plugging the adapter into a charge-only port or a rear-seat power outlet will fail to establish a data connection.
For setups that utilize an AUX or video-input adapter, connect the corresponding audio and video cables securely to the factory inputs. These ports are commonly located inside the center console storage bin, at the base of the dashboard, or within the glovebox. Ensure all connections are seated firmly to prevent audio static or video flickering caused by loose plugs.
Refer to your adapter’s official manual to determine if the unit requires an external power source. While standard USB dongles typically draw sufficient power directly from the vehicle’s media port, some advanced interface boxes or standalone display units require a separate power cable connected to a 12V accessory outlet or a dedicated fuse tap. If an external power connection is required, always follow the manufacturer’s instructions to avoid overloading your vehicle’s electrical circuits.
Route Cables and Secure the Adapter
A professional-looking installation relies on clean cable management. Loose, dangling wires not only look untidy but can also pose a safety hazard if they interfere with your gear shifter, handbrake, or climate control dials. Carefully tuck any excess cable length behind the dashboard trim panels, run them along the side of the center console, or route them directly into the glovebox.
To secure the adapter box itself, select a flat, clean surface away from direct heat sources and moving parts. In warm, humid climates, interior dashboard temperatures can rise significantly when the vehicle is parked in the sun. To prevent mounting adhesives from melting or sliding, thoroughly clean the chosen surface with a microfiber cloth, then use high-temperature double-sided adhesive pads or heavy-duty Velcro strips to mount the adapter securely. Alternatively, you can use zip ties to secure the unit to existing structural brackets behind the dashboard.
Once the adapter is mounted and the cables are neatly routed, carefully reattach any removed trim panels. Align the plastic clips with their corresponding slots on the dashboard and apply gentle, even pressure until you hear them snap securely back into their original positions.
Power Up and Pair Your Smartphone
With the physical installation complete, you are ready to configure the digital connection. Start by turning your vehicle’s ignition to the “Accessory” or “On” position to power up the factory stereo and the newly installed adapter. Switch your factory head unit’s input source to match the connection method you used, such as USB, AUX, or AV.
Next, open your smartphone’s settings menu and ensure both Bluetooth and Wi-Fi are enabled. Follow the adapter’s specific pairing sequence as outlined in its official manual. Typically, this involves searching for the adapter’s unique Bluetooth ID on your phone, initiating the pairing request, and confirming the passkey on your screen.
Once the initial Bluetooth handshake is successful, the adapter will prompt your phone to establish a secure Wi-Fi connection, which is used to transmit the high-bandwidth CarPlay data. Accept any on-screen prompts on your smartphone regarding CarPlay permissions, data sharing, or terms of service. Within a few moments, the familiar CarPlay interface should launch automatically on your factory screen or standalone display.
Troubleshooting Common Connection Issues
If the system does not boot up immediately, do not assume the hardware is defective. Most initial setup failures stem from simple connection or configuration errors. If you encounter a “No Signal” or “Device Not Recognized” error, double-check that you have plugged the adapter into the correct data-capable media USB port. Inspect the connecting cable for any physical damage, kinks, or debris inside the connectors, and try using a high-quality, certified replacement cable to rule out cable failure.
Audio routing issues are another common hurdle, such as navigation prompts or music playing directly from your phone’s speakers instead of the car’s sound system. To resolve this, verify that your factory stereo is set to the correct input source (such as AUX or USB). Some adapters feature internal settings menus accessible via a web browser or companion app where you can manually adjust the audio output routing to match your vehicle’s specific configuration.
If you experience wireless dropping, audio lag, or screen freezing, check for available firmware updates. Manufacturers frequently release software patches to improve compatibility with newer phone operating systems. Connect your phone to the adapter’s local Wi-Fi network, open your mobile browser, and enter the IP address listed in the adapter’s manual to access the update portal and install the latest firmware.
When to Stop and Seek Professional Help
While many CarPlay adapters are designed for straightforward DIY installation, you must recognize the limits of your technical comfort level and your vehicle’s physical constraints. Stop the installation immediately if you discover your factory stereo lacks the necessary physical inputs and the setup requires dashboard modification, drilling, or splicing into the vehicle’s original wiring harness. Performing unauthorized electrical modifications can void your vehicle’s warranty and carries a risk of short circuits or electrical fires.
You should consult a qualified professional car audio installer if your chosen adapter requires complex integration with the vehicle’s CANbus system. This level of integration is often necessary if you want to retain factory steering wheel controls, native voice assistant triggers, or the automatic display switch for an existing reverse camera. A professional installer has the specialized diagnostic tools and wiring diagrams required to complete these connections safely.
Finally, never force any trim panels, bezels, or electrical connectors that do not fit naturally. If a component resists alignment or requires excessive force to snap into place, stop and inspect the area for pinched wires or misaligned clips to prevent permanent cosmetic or structural damage to your vehicle’s interior.
Frequently Asked Questions (FAQ)
Will a CarPlay adapter drain my car battery when parked?
Most modern CarPlay adapters are designed to draw minimal power and will automatically shut down or enter a low-power sleep mode when the vehicle’s ignition is turned off. However, some older vehicles keep their media USB ports or 12V accessory outlets powered even after the key is removed and the doors are locked. If your car’s ports remain active indefinitely, the adapter will continue to draw power, which could gradually drain the battery over several days. Check your vehicle’s power behavior and the adapter’s manual for standby specifications. If your ports remain powered, it is highly recommended to unplug the adapter when parking the vehicle for extended periods.
Can I use steering wheel controls with an aftermarket CarPlay adapter?
Whether your factory steering wheel controls will work depends entirely on the adapter’s design and how it interfaces with your car. Basic plug-and-play USB adapters that convert wired CarPlay to wireless typically retain all factory steering wheel functions, including volume adjustment and track skipping, because they utilize the car’s existing communication protocols. However, more complex adapters that connect via AUX or video inputs generally cannot read steering wheel commands directly. Retaining full button functionality with these setups usually requires a dedicated CANbus decoder interface, which may require professional installation.
Do I need to jailbreak my phone to use a wireless CarPlay adapter?
No, you do not need to jailbreak your iPhone or perform any unauthorized software modifications to use a standard wireless CarPlay adapter. These devices are engineered to work seamlessly with official, unmodified iOS operating systems by utilizing standard Bluetooth and Wi-Fi protocols to establish the wireless connection. Modifying your phone’s operating system is highly discouraged, as it can compromise your device’s security, void your manufacturer warranty, and lead to system instability that prevents the CarPlay adapter from functioning reliably.
Community discussion
Share your experience or ask a question. Comments are reviewed before publication.