
Replacing a damaged, faded, or scuffed car mirror cover is a practical and highly effective way to restore your vehicle’s exterior appearance while protecting the sensitive components housed inside the side mirror assembly. Modern side mirrors are no longer just simple pieces of reflective glass; they are complex housings that protect blind-spot monitoring sensors, turn signal indicators, ambient temperature sensors, and power-folding motors. Undertaking this replacement yourself is entirely feasible, provided you use the correct tools, follow a systematic approach, and handle the integrated electrical components with care.
To achieve a seamless, professional finish without causing costly damage to your vehicle’s paintwork or internal wiring, you must understand the mechanical design of your specific mirror assembly. This step-by-step guide walks you through the entire process, from initial tool preparation and compatibility checks to safe removal, installation, and post-assembly troubleshooting.
Preparation: Tools, Safety, and Compatibility Checks
Before touching any part of your vehicle, you must gather the appropriate tools and establish a safe working environment. Using the wrong tools is the most common cause of cracked plastic housings and scratched paintwork during a side mirror repair.
Products mentioned in this guide
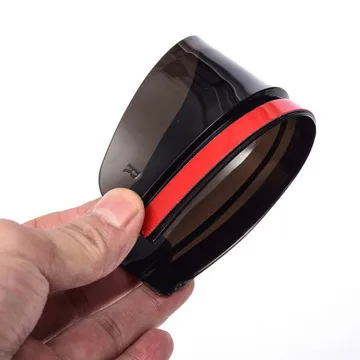
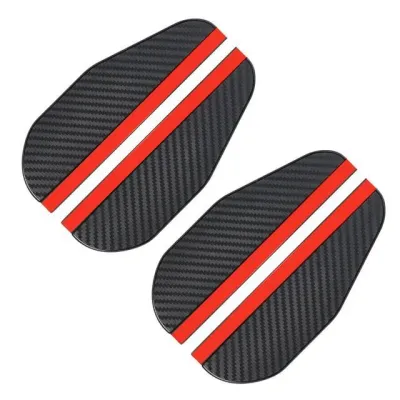
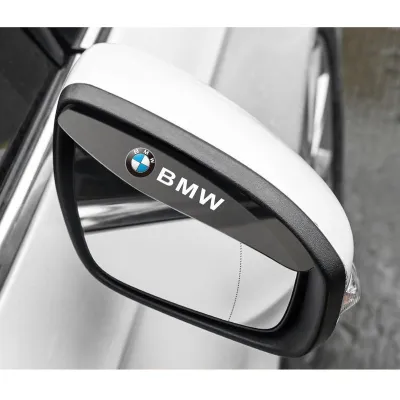
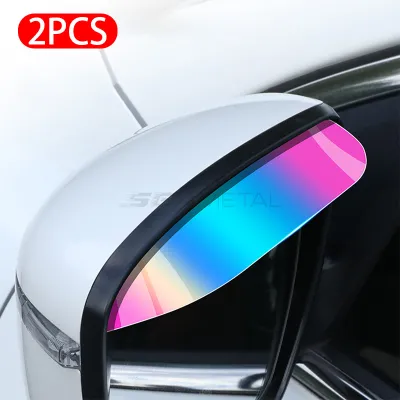
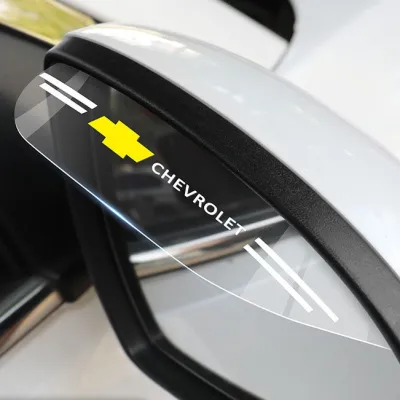
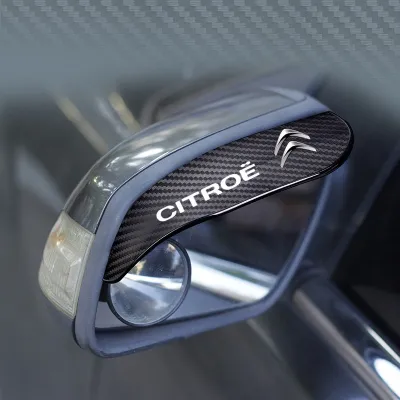
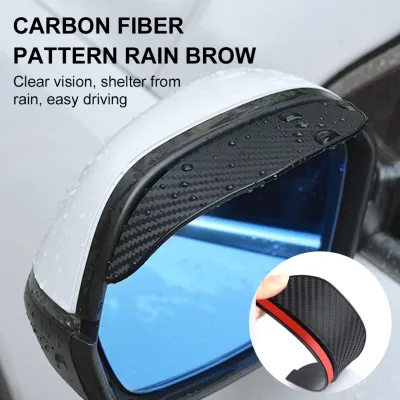
Prices are valid at publication and may change. Please refer to the product page for the latest price.
Essential Tools for the Job
To complete this task safely, you should prepare the following low-risk tools:
- Plastic trim removal pry tools: These are non-marring wedge-shaped tools designed specifically for automotive plastic clips. Never use metal screwdrivers or metal putty knives, as they will easily gouge the plastic housing and scratch your vehicle's paint.
- Masking tape or painter's tape: Apply this to the painted edges of the mirror housing surrounding the cover. This acts as a protective barrier against accidental slips of your prying tools.
- Microfiber cloths: Useful for cleaning internal surfaces and handling the mirror glass without leaving oily fingerprints.
- Safety glasses: Protect your eyes from flying plastic fragments or dust that may have accumulated inside the mirror housing over time.
- Small flashlight or headlamp: Essential for illuminating the dark, narrow gaps inside the mirror assembly to locate hidden clips and screws.
Compatibility and Sensor Verification
You must verify that your replacement car mirror cover matches your exact vehicle make, model, year, and trim level. Side mirror designs often change during mid-generation vehicle refreshes, meaning a cover for a 2022 model might not fit a 2024 model of the same car. Furthermore, you must check if your original cover integrates features such as LED turn signal indicators, blind-spot monitoring (BSM) warning lights, puddle lights, or 360-degree camera modules. The replacement cover must have the correct cutouts and mounting points to accommodate these specific features.
Safety Boundaries and Professional Help
Always consult your vehicle’s owner manual or factory service manual for model-specific disassembly instructions before beginning. If your side mirror housing contains complex wiring harnesses, active safety cameras that require recalibration after removal, or if you feel uncomfortable disconnecting electronic control modules, stop immediately. In such cases, or if you suspect the internal motorized glass actuator is broken, consult a qualified automotive technician to perform the replacement.
Step-by-Step: Removing the Old Mirror Cover Safely
Removing the existing car mirror cover requires patience and a gentle touch. Plastic clips become brittle over time due to exposure to UV radiation and temperature fluctuations, making them highly susceptible to snapping if excessive force is applied.

Step 1: Position the Mirror Glass
Begin by sitting inside the vehicle, turning on the ignition, and using the cabin’s electronic mirror controls to tilt the mirror glass fully inward (towards the vehicle body) and downward. This creates the maximum possible gap between the outer edge of the glass and the plastic housing, giving you clear visibility and access for your plastic trim tools.
Step 2: Access the Internal Clips
Depending on your vehicle’s design, you may be able to pry the cover off directly from the outside, or you may need to remove the mirror glass first to access internal retaining screws. If your vehicle requires glass removal, insert a wide, flat plastic trim tool behind the center of the mirror glass. Apply gentle, even outward pressure until the glass pops off its central motor actuator dial. Do not pry from a single corner, as this uneven pressure will shatter the glass. Once the glass is loose, disconnect any heated mirror wires and set the glass aside on a soft microfiber cloth.
Step 3: Locate the Release Points
Use your flashlight to peer inside the mirror housing. Look for plastic locking tabs, snap-fit clips, or small Torx screws holding the outer cover to the inner frame. If your vehicle uses internal screws, use the correct screwdriver size to remove them completely and store them in a secure tray.
Step 4: Apply the Prying Technique
If your cover is held entirely by snap-fit clips, apply masking tape along the seam where the cover meets the main mirror body. Insert a thin plastic trim tool into the seam, starting from the outer edge furthest from the car door. Gently wiggle the tool and apply gradual upward pressure. Work your way slowly around the perimeter of the cover. You should hear a series of distinct clicking or popping sounds as the plastic clips release from their slots. Apply even pressure with both hands to prevent the cover from twisting and snapping the remaining tabs.
Step 5: Disconnect the Wiring Harnesses
Once all clips are released, do not pull the cover away immediately. If your cover houses an integrated turn signal LED or sensor, there will be a wiring harness connecting the cover to the main mirror assembly. Carefully hold the cover close to the housing, locate the electrical connector, squeeze its locking tab, and pull the plug apart. Never pull directly on the wires themselves, as this can pull the metal pins out of the plastic connector housing.
Stop Conditions to Remember
If you encounter significant resistance and the cover refuses to budge, do not force it. Stop and re-examine the assembly with your flashlight. High resistance almost always indicates an overlooked internal screw, a hidden locking tab that has not been depressed, or a clip that is caught on an internal wire. Forcing the cover will break the delicate mounting brackets on the main mirror assembly, which could force you to buy an entire new side mirror unit.
Step-by-Step: Installing the New Car Mirror Cover
With the old cover successfully removed, you can now prepare to install the new car mirror cover. Taking your time during this phase ensures that the new part sits perfectly flush and does not rattle at highway speeds.
Step 1: Clean and Prepare the Housing
Before mounting the new cover, use a dry microfiber cloth to wipe away any dirt, road grime, or debris that has accumulated inside the mirror housing base. If the manufacturer’s label on your cleaning agent explicitly permits its use on automotive plastics, you may use a mild plastic cleaner to clean the mounting tracks. If your original cover housed brackets, LED turn signal lenses, or foam vibration-dampening pads that were not included with the new replacement cover, carefully transfer those components to the new cover now.
Step 2: Reconnect Electronic Components
Bring the new cover close to the mirror housing and plug the wiring harness back into the integrated indicator, camera, or sensor. Press the connector halves together until you hear and feel a firm, audible click. Ensure the locking tab is fully engaged. Route the wiring harness neatly along its original path, making sure it does not drape over moving parts of the glass motor actuator and will not get pinched when the cover is snapped into place.
Step 3: Align and Seat the Cover
Carefully align the plastic clips and locating pins on the back of the new cover with the corresponding slots on the mirror assembly frame. Hold the cover flat against the housing. Using the palm of your hand, apply firm but even pressure around the edges and corners of the cover. Work systematically from one side to the other. You should hear a series of solid snaps as each clip locks into its designated slot. Inspect the perimeter to ensure the cover is completely seated and there are no visible gaps.
Step 4: Reinstall Fasteners and Glass
If your mirror design utilizes internal screws, reinstall them now. Tighten them until they are snug, but avoid using excessive force, as over-tightening will strip the soft plastic threads of the housing. If you removed the mirror glass earlier, reconnect the heating element wires, align the glass backing plate with the motor actuator ring, and press firmly in the center of the glass with a flat hand until it clicks back into place. Wipe the glass clean with a microfiber cloth.
Post-Installation Inspection and Troubleshooting
Before taking your vehicle out onto the road, you must conduct a thorough physical and electrical inspection to confirm that the installation was successful and that all safety features are fully operational.
Physical Alignment Check
Walk around the vehicle and visually inspect the seam where the new cover meets the mirror housing. The panel gaps should be uniform all the way around, and the edges of the cover should sit flush with the rest of the assembly. Gently tap the cover with your knuckles at various points; there should be no play, movement, or rattling sounds. If the cover feels loose, one or more clips may not have engaged properly.
Electronic Feature Testing
Turn on your vehicle’s ignition and perform the following functional tests:
- Mirror adjustment: Move the mirror glass through its full range of motion (up, down, left, right) to ensure it does not bind or rub against the new cover.
- Turn signals: Turn on your hazard lights and verify that the integrated LED indicator on the cover flashes correctly.
- Power folding: If your vehicle is equipped with power-folding mirrors, fold and unfold them several times to ensure the cover does not interfere with the hinge mechanism.
- Safety sensors: Check your dashboard for any warning lights. If your vehicle features blind-spot monitoring, verify that the indicator light on the mirror glass illuminates during its start-up sequence.
Troubleshooting Common Issues
If you encounter problems during your post-installation check, use these troubleshooting steps to resolve them:
- The cover has an uneven gap or won't snap shut: Remove the cover and inspect the plastic tabs on the back. A tab may have bent during installation, or a wire harness may be trapped between the cover and the frame, preventing a flush fit. Straighten any bent tabs and reroute the wires.
- A sensor or turn signal is not working: This is usually caused by a loose electrical connector. Remove the cover, unplug the wiring harness, check the metal pins for damage, and plug it back in, ensuring it clicks securely.
- The mirror glass vibrates or feels loose: The glass backing plate may not be fully snapped onto the motor actuator. Press firmly on the center of the glass until you hear a clear click.
Frequently Asked Questions (FAQ)
Can I paint a universal car mirror cover to match my vehicle?
Yes, you can paint an aftermarket or universal car mirror cover, but achieving a durable, factory-quality finish requires extensive preparation. You must first clean the cover thoroughly to remove any manufacturing oils, then lightly scuff the surface with fine-grit sandpaper. Apply a plastic adhesion promoter, followed by a high-quality primer, several thin coats of color-matched base coat (using your vehicle’s exact paint code), and a protective clear coat. Always check the paint and primer manufacturer’s labels for plastic compatibility. If you are unfamiliar with automotive painting techniques, hiring a professional paint shop is highly recommended to ensure an exact color match.
Will replacing the mirror cover void my car's warranty?
Replacing a cosmetic exterior plastic cover with an OEM or high-quality aftermarket equivalent will generally not void your overall vehicle warranty. However, under standard automotive warranty terms, if the replacement process directly causes damage to integrated electronic components—such as breaking a blind-spot sensor, pinching a wiring harness, or cracking the mirror glass actuator—the cost of repairing those specific components will not be covered under your manufacturer’s warranty. Always work carefully and follow proper procedures to protect your warranty coverage.
Do I need to remove the entire side mirror assembly to change the cover?
For the vast majority of modern vehicles, you do not need to remove the entire side mirror assembly from the car door to replace the outer cover. The outer plastic cap is designed as an independent service part that can be unclipped and replaced while the main housing remains bolted to the vehicle. However, some older vehicle models, or those featuring highly integrated surround-view camera systems, may require you to unbolt the entire assembly from the inner door panel to access the internal mounting screws. Always refer to your vehicle’s specific service manual to verify the correct disassembly procedure before starting.
Community discussion
Share your experience or ask a question. Comments are reviewed before publication.