
Before purchasing any leather cleaner, you must determine whether your car seats are upholstered in genuine leather, synthetic leather (such as vinyl or polyurethane), or a specialized finish like semi-aniline or perforated leather. Applying the wrong chemical formula can permanently strip protective factory coatings, discolor the surface, or clog ventilation pores. You can identify your specific material by cross-referencing your vehicle’s official documentation, observing how the surface reacts to temperature and pressure, and performing a controlled spot test. Taking these diagnostic steps ensures you select a compatible, pH-balanced cleaner that preserves the texture and appearance of your cabin.
Why Identifying Your Seat Material Prevents Damage
Modern automotive cabins feature a wide variety of seating materials, each requiring a specific chemical approach for safe maintenance. Many car owners assume that any product labeled as a leather cleaner is universally safe, but this misconception can lead to costly interior damage. For instance, genuine leather often features a thin, protective polyurethane topcoat applied by the manufacturer to resist spills and UV wear. Using harsh solvents, high-pH degreasers, or alcohol-based cleaners can dissolve this protective barrier, leaving the underlying natural hide vulnerable to drying, cracking, and dye transfer.
Synthetic alternatives, such as vinyl or polyurethane-based faux leathers, present a different set of chemical vulnerabilities. While these materials are generally more moisture-resistant than natural hides, they do not absorb traditional leather conditioners. Applying heavy, oil-rich conditioners designed for porous genuine leather to synthetic seats will only leave a greasy, sticky residue that attracts dust and grime. Over time, this buildup can degrade the synthetic surface, causing it to harden or peel prematurely under the intense heat of a parked vehicle.
Products mentioned in this guide
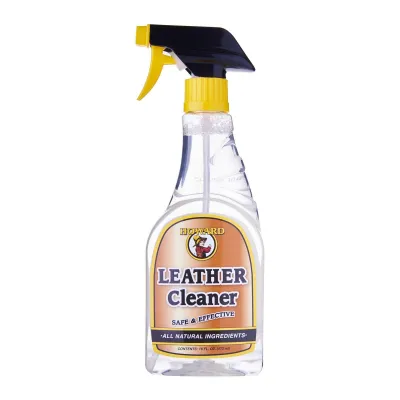
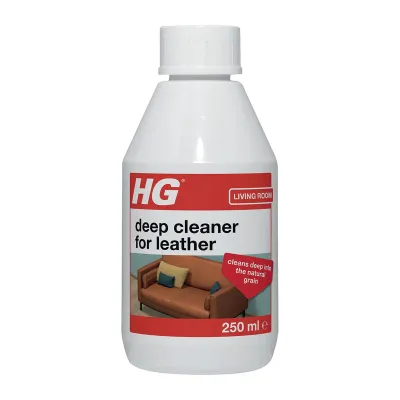
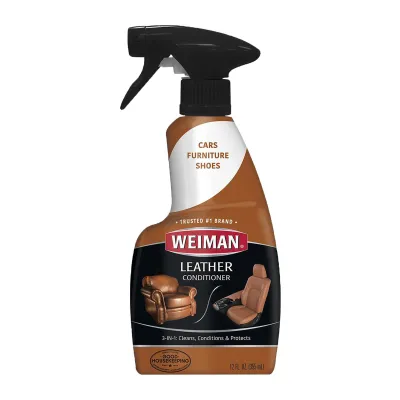
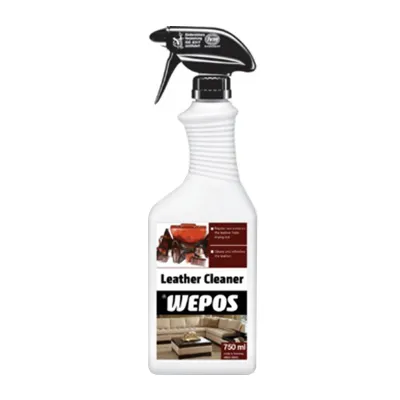
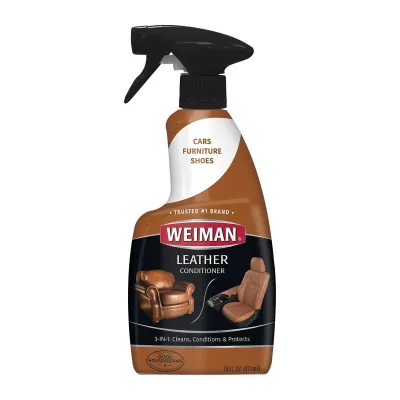
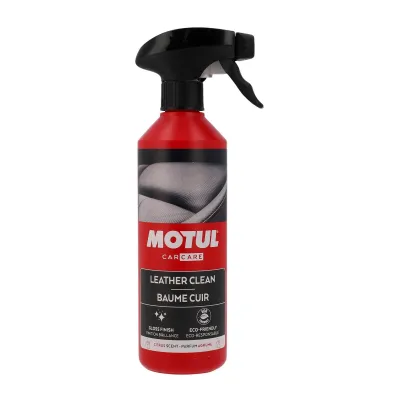
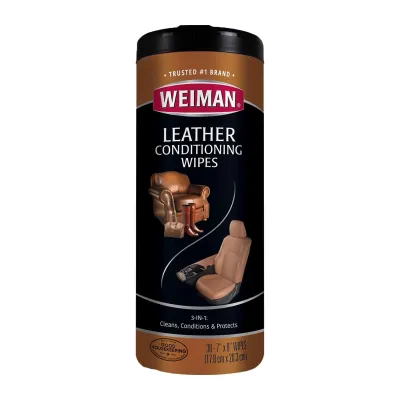
Prices are valid at publication and may change. Please refer to the product page for the latest price.
Perforated seats, which feature thousands of tiny ventilation holes for climate-controlled cooling or heating, introduce physical risks that go beyond chemical compatibility. If you apply liquid cleaners directly to these surfaces, the moisture can easily pool inside the perforations. This trapped liquid can seep into the underlying foam cushions, leading to mold growth, unpleasant odors, and potential electrical short circuits in the integrated heating or cooling elements. Identifying these design features beforehand allows you to adjust your application technique to protect the vehicle’s internal electronics.
Visual and Tactile Checks to Identify Your Seats
The most reliable starting point for material identification is your vehicle’s official documentation. Before performing any physical tests, consult your owner’s manual, original window sticker, or dealership build sheet, which often list the exact upholstery specifications by trim level. If you bought the vehicle secondhand or lack these documents, you can look for manufacturer labels under the seat frames or inside the door jambs, which sometimes detail the interior material codes.

When documentation is unavailable, a systematic physical inspection can help narrow down the material category. Begin by examining the seats under bright, natural light to observe the overall surface characteristics. Look closely at the grain uniformity, the presence of visible pores, and how the material is finished around the seams and edges. Synthetic materials are typically manufactured in continuous rolls, resulting in highly consistent patterns, whereas natural hides exhibit subtle variations across different sections of the seat.
Distinguishing Genuine Leather from Faux Alternatives
To differentiate natural hide from synthetic alternatives, you can use simple sensory checks that rely on touch, sight, and smell. First, place your bare hand flat against the seat surface for several seconds. Genuine leather is naturally porous and tends to adjust to your body temperature quickly, feeling warm and soft to the touch. In contrast, synthetic vinyl or polyurethane materials often feel noticeably cooler initially and have a smoother, more plastic-like resistance when you slide your hand across them.
Next, perform a gentle pressure test by pressing your thumb firmly into a flat section of the seat cushion. Genuine leather will typically form fine, radiating wrinkles around the point of pressure, mimicking the behavior of human skin. When you release the pressure, these natural wrinkles will smoothly disappear. Synthetic materials, because of their uniform backing and elastic top layers, tend to depress as a single rigid unit without forming delicate wrinkles, or they may simply stretch without showing any grain distortion.
You can also inspect the grain pattern and the seat’s aroma for secondary clues. Natural leather features irregular, non-repeating pore structures and occasional natural imperfections, whereas faux leather displays a perfectly stamped, repeating pattern. Additionally, while modern synthetic materials can be treated with artificial scents, genuine leather retains a distinct, earthy aroma that is difficult to replicate. If the seat smells strongly of plastic, rubber, or petroleum chemicals, it is highly likely to be a synthetic alternative.
Recognizing Perforated and Semi-Aniline Finishes
Perforated seats are easily recognized by the dense grid of micro-holes punched into the center inserts of the cushions and backrests. These perforations are designed to facilitate airflow from active ventilation systems, making them highly common in premium vehicles driven in warm climates. When cleaning these areas, you must treat them with extreme care, as the open holes expose the raw, absorbent edges of the material and provide a direct pathway to the delicate foam and electrical wiring underneath.
Semi-aniline leather represents another specialized finish that requires careful identification. This high-grade material is dyed through with soluble dyes but features an extremely thin, translucent protective topcoat containing a small amount of pigment. This design preserves the natural softness and breathability of the hide while offering a basic level of stain resistance. You can identify semi-aniline leather by its exceptionally soft texture, subtle satin sheen, and high sensitivity to moisture compared to heavily coated standard leather.
It is critical not to assume that all premium-looking seats are fully unfinished aniline leather, which lacks any protective topcoat whatsoever. True aniline leather is exceptionally rare in modern production vehicles due to its extreme vulnerability to staining and UV fading. Most luxury vehicles utilize semi-aniline or fully pigmented leather to ensure daily durability. If you suspect your seats are semi-aniline, you must avoid aggressive scrubbing brushes and strong chemical solvents, as even moderate friction can wear through the delicate protective barrier.
How to Conduct a Safe Spot Test on Unknown Materials
Once you have formed a hypothesis about your seat material, you must conduct a controlled spot test before applying any new cleaner to the entire cabin. This step is the ultimate safeguard against permanent chemical damage, discoloration, or texture alteration. Always select a hidden, low-visibility area for the test, such as the lower side bolster near the plastic seat trim, the underside of the headrest, or the folded material along the bottom edge of the seat frame.
To perform the test safely, prepare a mild, pH-neutral cleaning solution according to the manufacturer’s instructions, or use a dedicated gentle leather cleaner. Lightly dampen a clean, white microfiber cloth with the solution—never spray the cleaner directly onto the seat surface. Gently press the damp cloth onto the selected test area and rub in a small, circular motion for five to ten seconds using minimal pressure. Avoid soaking the material, as excess moisture can distort the test results.
After rubbing, immediately inspect the white microfiber cloth for any signs of color transfer or dye bleeding. If you see the color of your seat upholstery on the cloth, stop immediately; this indicates that the cleaner is too aggressive or that the seat’s protective topcoat has already degraded. Next, allow the test spot to dry completely under natural ventilation, then inspect it under direct light. Check for any adverse reactions, such as a dulling of the original sheen, a change in texture, surface stickiness, or localized hardening of the material. If any of these negative changes occur, do not proceed with the product.
Matching the Right Leather Cleaner to Your Identified Seats
With your material type confirmed, you can now match it to a compatible cleaner category. For standard pigmented genuine leather, look for water-based, pH-balanced cleaners that are specifically formulated to clean without stripping the polyurethane topcoat. These products should be free of harsh solvents, ammonia, and alcohol. If your seats are synthetic leather or vinyl, you can use a mild interior detailer or a dedicated synthetic leather cleaner, which focuses on lifting surface grime without leaving behind unnecessary conditioning oils that cannot be absorbed.
If you have identified perforated or semi-aniline surfaces, your purchasing criteria must be even more stringent. For perforated seats, select low-foam, highly concentrated cleaners that do not require heavy rinsing, or opt for specialized dry-foam cleaners that minimize liquid penetration. Avoid any products containing heavy waxes, silicones, or thick conditioning creams, as these substances will clog the ventilation holes, dry into unsightly white plugs, and potentially damage the climate-control blowers.
Always read the product label carefully to verify explicit compatibility statements rather than relying on generic marketing claims like “safe for all interiors.” Look for clear instructions regarding semi-aniline or synthetic materials if those match your vehicle. If you remain uncertain about the exact factory coating on your seats, the safest approach is to purchase the mildest, most diluted pH-neutral formulation available. You can always perform a second, slightly more thorough spot test to ensure its safety before committing to a full detail.
When to Stop DIY Cleaning and Consult a Professional
While routine maintenance is highly manageable for most car owners, certain conditions require you to step away from DIY methods and seek professional detailing or upholstery services. If your physical inspection reveals deep cracks that expose the raw grey or brown hide underneath, peeling topcoats, or crumbling foam, chemical cleaners will not resolve the issue. In fact, applying liquid cleaners to damaged or cracked leather will only accelerate the deterioration by soaking directly into the unprotected fibers.
You should also consult a professional if your identification efforts remain inconclusive or if your spot test yields borderline results, such as slight color transfer or a sticky residue. Professional detailers possess specialized tools, such as digital gloss meters and pH-testing kits, along with access to commercial-grade, material-specific restorers. Attempting to force a DIY solution on an unconfirmed luxury material can result in permanent damage that costs hundreds of S$ to repair or reupholster.
Frequently Asked Questions (FAQ)
Can I use the same cleaner for perforated and standard leather?
While many high-quality, pH-balanced cleaners are chemically safe for both materials, the application method must change significantly for perforated leather. Standard leather allows you to work a liquid cleaner into a light lather directly on the surface, but doing this on perforated seats will force liquid into the ventilation holes. To clean perforated areas safely, always apply a minimal amount of cleaner directly to a soft-bristled detailing brush or a microfiber cloth first, work it into a dry foam, and gently wipe the surface. This low-moisture technique prevents liquid from pooling in the holes and damaging the underlying heating elements or foam cushions.
What should I do if my car manual does not specify the seat material?
If your owner’s manual is vague or missing, you can contact your local dealership’s parts department and provide them with your Vehicle Identification Number (VIN). The parts database can pull up the exact factory build sheet for your specific vehicle, confirming whether the seats are genuine leather, a synthetic blend, or a premium semi-aniline option. If you cannot obtain this information, treat the seats as if they are the most delicate material possible. Use only a highly diluted, pH-neutral cleaner, apply it with a slightly damp microfiber cloth, and perform a rigorous spot test in an inconspicuous area before cleaning the rest of the cabin.
Community discussion
Share your experience or ask a question. Comments are reviewed before publication.