
Washing your vehicle without leaving unsightly swirl marks or micro-scratches requires a systematic approach focused on minimizing mechanical friction. Every time you touch your vehicle’s paintwork, you risk dragging microscopic dirt particles across the clear coat. By combining a dedicated, high-lubricity car wash shampoo with proper hand-wash techniques—such as the two-bucket method, grit guards, and premium microfiber tools—you can safely isolate, lift, and rinse away contaminants without compromising the paint finish.
Understanding Swirl Marks and the Role of Car Wash Shampoo
Swirl marks and micro-scratches are physical damage caused by dragging abrasive dirt particles across the vehicle’s clear coat. When sunlight or harsh overhead lighting hits these microscopic scratches, they reflect light in a circular, spiderweb-like pattern. This damage is highly visible on darker paint finishes, making the surface look dull and weathered. The vast majority of these scratches are introduced during improper washing and drying processes, where dirt is ground directly into the paint rather than being lifted away safely.
Using a dedicated car wash shampoo is the foundational step in preventing this damage. Unlike household cleaners, such as dishwashing liquids or laundry detergents, specialized automotive shampoos are formulated with advanced surfactants and high-lubricity agents. Household soaps are designed to strip grease and oils, which means they will aggressively remove protective waxes, paint sealants, and ceramic coatings, leaving the paint dry and highly susceptible to friction. A quality car wash shampoo creates a slick barrier of suds that encapsulates dirt particles, allowing them to slide off the paint surface without scratching the delicate clear coat underneath.
Products mentioned in this guide
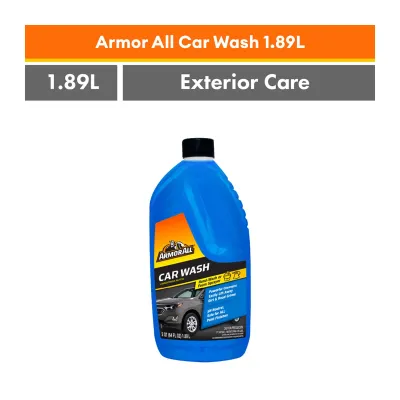
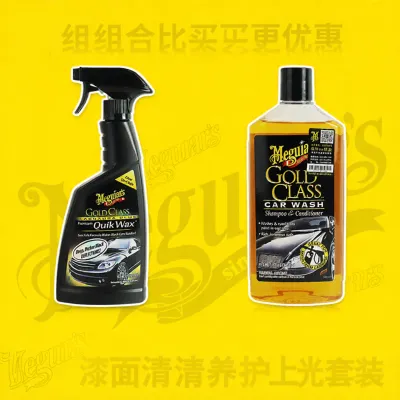
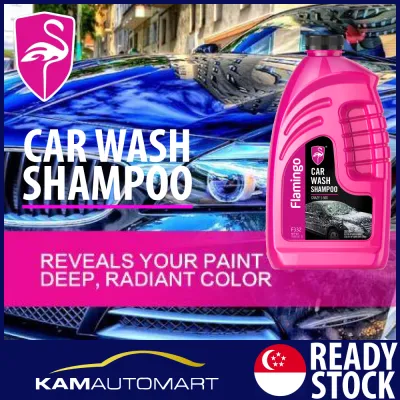
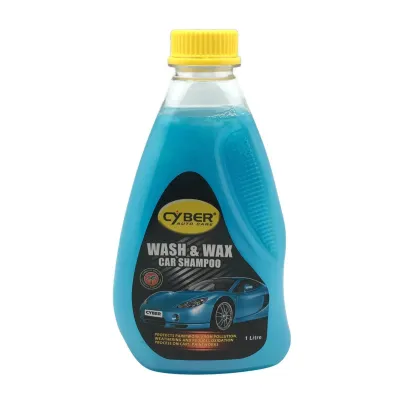
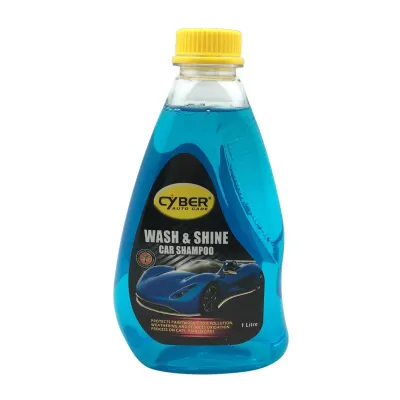
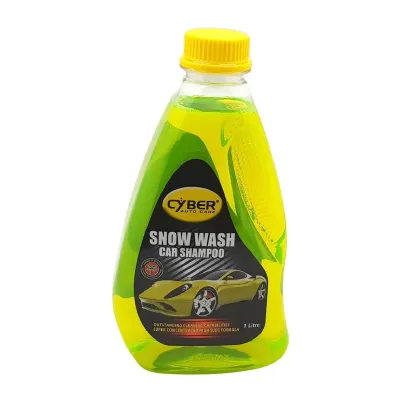
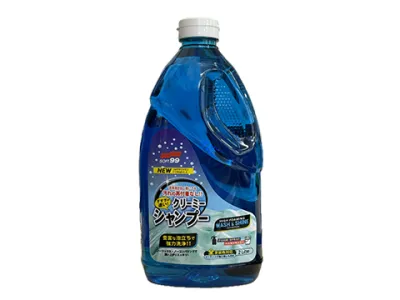
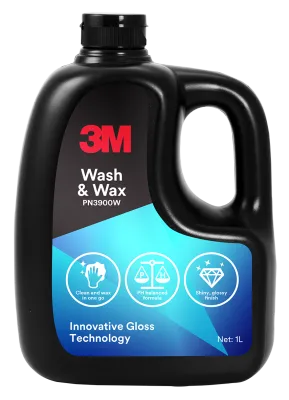
Prices are valid at publication and may change. Please refer to the product page for the latest price.
However, even the most advanced shampoo cannot protect your paint if your washing technique is flawed. Safe car care is a combination of the right chemical formulas and the correct mechanical processes. By using the proper tools and a disciplined wash method, you ensure that the dirt lifted by the shampoo is safely removed from the vehicle and not reintroduced during the wash cycle.
Essential Tools for a Scratch-Free Hand Wash
Achieving a flawless, scratch-free finish requires a precise checklist of specialized detailing equipment. Using the wrong tools, such as household sponges or old cotton towels, will inevitably introduce swirl marks regardless of how carefully you wash.

- Two Buckets with Grit Guards: This setup is non-negotiable for safe hand-washing. You will need one bucket for your soapy wash water and a second bucket filled with plain water for rinsing your wash mitt. Each bucket must be equipped with a grit guard—a radial plastic insert that sits at the bottom of the bucket. The grit guard acts as a baffle, preventing the water from swirling and keeping heavy dirt particles trapped at the very bottom where your wash mitt cannot reach them.
- Microfiber Wash Mitts: Traditional cellulose sponges have flat surfaces that trap dirt and sand directly between the sponge and the paint, acting like sandpaper as you wipe. In contrast, premium microfiber or natural lambswool wash mitts feature a deep, plush pile. These long fibers safely encapsulate dirt particles, pulling them deep into the mitt and away from the paint surface until they are rinsed out in your bucket.
- Premium Car Wash Shampoo: Select a pH-neutral, high-lubricity formula designed specifically for automotive clear coats. A pH-neutral shampoo cleans effectively without degrading existing waxes, sealants, or ceramic coatings. Always check the manufacturer's label for the recommended dilution ratio to ensure optimal lubricity and sudsing performance.
- Microfiber Drying Towels: Standard bath towels or old cotton T-shirts lack the pile depth to cushion microscopic particles and often have abrasive seams or polyester threads that scratch delicate paint. A large, clean, edgeless microfiber drying towel with a high GSM (grams per square meter) rating will absorb water quickly and safely without requiring aggressive rubbing.
- Hose and Nozzle: A standard garden hose equipped with an adjustable spray nozzle is ideal. Avoid high-pressure washers unless you are experienced, as excessive pressure can force water past delicate rubber door seals, damage sensitive parking sensors, or lift peeling clear coat. A gentle spray or shower setting is perfect for flushing away loose debris safely.
Step 1: Preparation and the Crucial Pre-Rinse
Before you apply any shampoo to the vehicle, proper preparation and a thorough pre-rinse are essential to minimize the risk of scratching the paint.
Selecting the right washing environment is critical, especially under intense tropical conditions. In Singapore’s hot and humid climate, washing a car in direct sunlight is highly discouraged. The intense heat causes water and car shampoo to evaporate almost instantly on the hot metal panels. This rapid drying leaves behind stubborn mineral deposits, known as water spots, as well as dried soap surfactants. These deposits are highly abrasive and require aggressive polishing to remove. Always choose a shaded area, such as a multi-storey car park washing bay, or wash your vehicle during the cooler hours of the early morning or late evening.
Before spraying any water, verify that the vehicle’s panels and brakes are cool to the touch. Spraying cold water onto hot brake rotors can cause thermal shock, leading to warped rotors or cracked brake components. Once the surfaces have cooled down, begin the pre-rinse process.
Using your hose and nozzle, thoroughly rinse the vehicle from the top down. Start with the roof, then move down to the hood, trunk, side panels, and finally the wheels and lower rocker panels. This step softens and flushes away the majority of loose, abrasive road grime, dust, bird droppings, and mud. By removing these loose contaminants before you touch the paint with a wash mitt, you drastically reduce the amount of physical friction generated during the contact wash.
Step 2: Mastering the Two-Bucket Method and Wash Technique
The core of a scratch-free wash lies in how you physically clean the panels. The two-bucket method is the industry standard for preventing dirt from being ground back into the clear coat.
To set up your buckets, fill the first bucket with clean water and the recommended amount of car wash shampoo as specified on the product label. Fill the second bucket with plain, clean water. Ensure both buckets have their grit guards securely installed at the bottom.
The washing loop is a disciplined, repetitive cycle that must be followed throughout the entire wash:
- Submerge your clean microfiber wash mitt into the soapy wash bucket, allowing it to absorb a generous amount of the lubricated shampoo solution.
- Select a small, manageable section of the car to wash, such as half of the hood, a single door panel, or one fender.
- Gently glide the mitt across the panel using light, straight-line motions.
- Once the panel is clean, submerge the dirty mitt into the plain rinse water bucket. Rub the mitt vigorously against the grit guard to release trapped dirt and road grime, which will settle at the bottom of the bucket.
- Squeeze the excess water out of the mitt outside the bucket, then dip it back into the soapy wash bucket to reload with fresh, clean shampoo.
- Move to the next panel and repeat the process.
When wiping the paint, always use straight-line motions—either front-to-back or side-to-side. Avoid making circular motions. If a microscopic particle does cause a scratch, a straight-line scratch is far less visible to the human eye under direct sunlight than a circular scratch, which reflects light from all angles and forms a highly visible swirl mark. Apply almost zero downward pressure; let the high lubricity of the shampoo and the weight of the wet mitt do the work of lifting the dirt.
Always follow a top-to-bottom washing progression. The lower sections of a vehicle, including the rocker panels, bumpers, and wheel arches, accumulate the heaviest road grime, tar, and abrasive road debris. By washing the roof, hood, and trunk first, you ensure that you do not transfer these heavy contaminants to the cleaner upper portions of the vehicle, protecting your paint from severe scratching.
Step 3: Safe Rinsing and Scratch-Free Drying
Once the contact wash is complete, you must remove all shampoo residue and dry the vehicle safely to prevent water spots.
Begin rinsing the vehicle from the top down, using a gentle, high-volume stream of water. Ensure that you thoroughly flush all shampoo residue out of panel gaps, door mirrors, window seals, grilles, and badging. Dried soap residue can stain plastic trim, degrade rubber seals, and leave unsightly white marks that are difficult to clean.
Never allow your vehicle to air-dry. Tap water contains dissolved minerals like calcium and magnesium. When water evaporates naturally, these minerals are left behind, forming hard water spots that bond to the clear coat. Over time, these spots can etch into the paint, requiring professional machine polishing to correct.
To dry the car safely, lay a large, clean microfiber drying towel flat across a wet panel. Gently pull the towel toward you by its corners, allowing the weight of the towel to absorb the water. Alternatively, use a gentle patting or blotting motion. Strictly avoid rubbing, scrubbing, or buffing the paint with the drying towel, as any microscopic dust particles that settled on the paint during the wash could be ground into the clear coat.
For added protection and safety, consider using a drying aid. Spraying a light mist of a quick detailer or a dedicated drying aid onto the wet paint before drying provides extra lubrication. This reduces friction between the towel and the clear coat, minimizes the risk of scratching, and boosts the paint’s gloss and water-beading properties.
Common Hand-Washing Mistakes That Damage Paint
Even with high-quality shampoo, making simple mistakes during the wash process can quickly ruin your efforts and introduce swirl marks.
- Using a Single Bucket: This is the most common detailing mistake. Washing a car with only one bucket means you are continuously dipping your dirty wash mitt back into the same water containing suspended dirt and sand. This reintroduces abrasive particles directly back onto the paint, turning your wash mitt into an abrasive pad.
- Dropping the Wash Mitt: If your wash mitt touches the ground, it acts as a magnet for tiny pebbles, sand, and grit. If you drop your mitt, you must stop using it immediately. Switch to a clean, spare wash mitt. Never attempt to simply rinse a dropped mitt in your buckets, as tiny abrasive particles can remain trapped deep within the microfiber pile.
- Using Household Fabrics: Old bath towels, beach towels, or cotton T-shirts are not designed for automotive paint care. They lack the deep pile needed to safely encapsulate dirt, and their seams and polyester threads can easily scratch delicate clear coats.
- Washing Wheels First with the Same Mitt: Brake dust consists of highly abrasive metallic shards, carbon fibers, and road grime. Using the same mitt or bucket for both your wheels and your paint will transfer these sharp metallic particles directly onto your clear coat, causing severe scratching. Always use dedicated, separate brushes, wash mitts, and buckets for your wheels.
Frequently Asked Questions (FAQ)
Can I use household dish soap instead of car wash shampoo?
No, you should never use household dish soap to wash your car. Dish soap is formulated to strip grease, oils, and food residue, which means it will aggressively remove protective waxes, paint sealants, and ceramic coatings from your vehicle’s paint. Repeated use of dish soap will dry out plastic trim, rubber window seals, and headlight lenses, leading to premature fading, cracking, and oxidation. Always use a pH-neutral car wash shampoo designed specifically for automotive clear coats to preserve your vehicle’s protective layers.
How often should I hand-wash my car to maintain the finish?
As a general baseline, you should hand-wash your car every one to two weeks. Regular washing prevents environmental contaminants like bird droppings, tree sap, industrial fallout, and road film from bonding to and etching into your vehicle’s clear coat. If your car is parked outdoors, driven daily in heavy traffic, or exposed to heavy rain, you may need to wash it weekly to prevent damage. Garage-kept vehicles that are driven infrequently can often go up to three weeks between washes.
Community discussion
Share your experience or ask a question. Comments are reviewed before publication.