
A sudden drop in suction power is a common issue with handheld car vacuums, typically caused by clogged filters, blocked airways, or compromised seals. When a mini vacuum loses its pulling power, the motor has to work twice as hard to draw in air, which can lead to rapid battery depletion and overheating. Fortunately, most suction issues do not require replacing the device and can be resolved through systematic cleaning and basic troubleshooting.
In tropical environments like Singapore, high relative humidity can cause fine dust and organic debris inside the cabin to clump together. This damp dust adheres more aggressively to the internal filtration media, forming a restrictive barrier that quickly chokes off airflow. Understanding how to properly maintain your handheld vacuum ensures it remains ready to tackle cabin messes, from sand tracked in from East Coast Park to everyday dust on the dashboard.
Identify the Symptoms of Suction Loss
Before dismantling your mini vacuum, it is helpful to observe how the loss of suction manifests during operation. A gradual decline in performance over several cleaning sessions usually points to a slowly filling dust cup or a progressive buildup of fine dust within the filter fibers. Conversely, a sudden, dramatic drop in suction during a single use almost always indicates a physical blockage, such as a leaf, coin, or clump of hair lodged in the intake nozzle.
Products mentioned in this guide
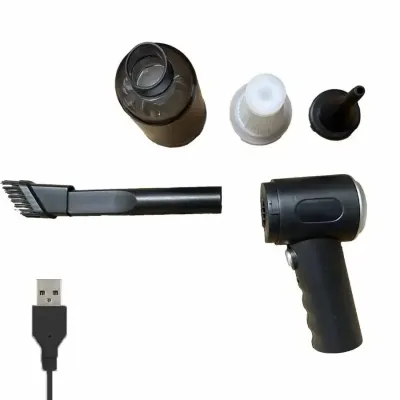
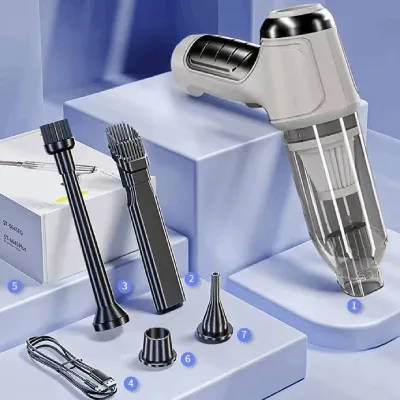
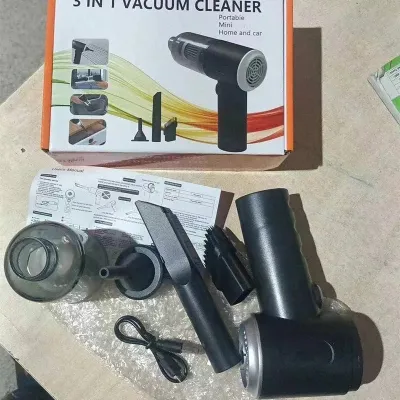
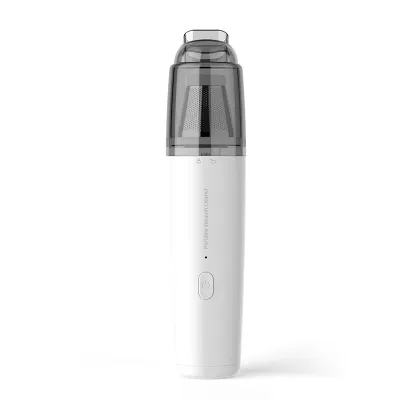
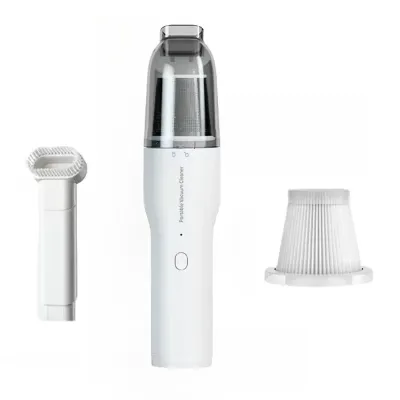
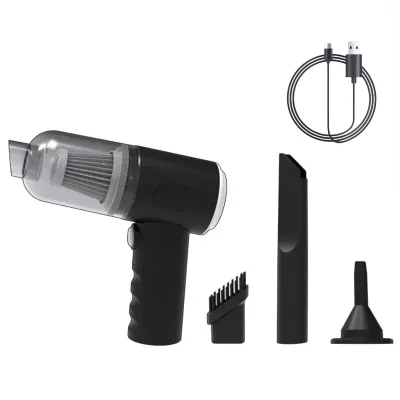
![[Clearance Hot Sale] High Power Cordless Vacuum Cleaner Handheld Car & Household Use Rechargeable for Desktop Carpet Auto Inte](https://img.lazcdn.com/g/ff/kf/S1a9e7c6bbc824af2bcc3971576a46334l.jpg_400x400q80.jpg_.webp)
Prices are valid at publication and may change. Please refer to the product page for the latest price.
Pay close attention to the sound of the motor when you turn the vacuum on. A high-pitched, straining whine suggests that the motor is spinning rapidly but cannot draw in enough air, which is a classic sign of a severe blockage or a completely saturated filter. If the motor sounds sluggish, uneven, or cuts out entirely after a few seconds of operation, the issue is more likely related to battery degradation, a faulty power switch, or an electrical fault rather than a simple airflow restriction.
You should also check if the suction loss is universal or if it only occurs when using specific attachments. If the vacuum performs adequately on its own but struggles when you attach the crevice tool or brush nozzle, the restriction lies within the accessory itself or at the connection interface. Identifying these specific symptoms early prevents unnecessary troubleshooting steps and helps you target the exact source of the restriction.
Step-by-Step Troubleshooting and Cleaning Guide
Restoring your mini vacuum’s suction involves a systematic process of clearing obstructions, cleaning the filtration system, and verifying the integrity of the housing seals. Always turn off the device and disconnect it from any charging cables before beginning any maintenance to prevent accidental activation or electrical hazards.

Start by detaching the dust cup or collection canister from the main motor housing. Empty all accumulated debris into a waste bin, tapping the sides of the canister gently to dislodge stubborn dirt clinging to the walls. Inspect the intake port—the opening where dirt enters the vacuum—to ensure the small rubber or plastic flap valve moves freely. This flap prevents dirt from falling back out of the vacuum, but it can sometimes become jammed with larger debris, blocking incoming airflow.
Next, carefully remove the filter assembly, which typically consists of a plastic mesh pre-filter and an inner HEPA filter. Slide the pre-filter off and brush away any hair, lint, or large dust particles using a soft-bristled brush or an old toothbrush. This outer screen acts as the first line of defense, and keeping it clear prevents larger particles from prematurely clogging the delicate pleats of the inner filter.
To clean the HEPA filter, you must first verify the manufacturer’s instructions to determine if the material is washable. If the filter is labeled as washable, rinse it gently under a slow stream of cold, running tap water. Avoid using harsh detergents, soaps, or abrasive scrubbing brushes, as these can tear the delicate synthetic fibers and ruin the filter’s filtration efficiency. Do not use high-pressure water sprays, which can puncture the pleated media.
If you wash the filter, it must be allowed to dry completely before you reinstall it in the vacuum. In Singapore’s humid climate, this drying process can take up to 24 to 48 hours. Place the filter in a well-ventilated indoor area out of direct sunlight. Reinstalling a damp filter can cause water droplets to be drawn directly into the high-speed motor, leading to permanent electrical damage, short circuits, or the growth of mold and mildew inside the vacuum body.
If the manufacturer’s label indicates the filter is non-washable, do not let it touch water. Instead, clean it by tapping it gently against the inside of a trash bin to knock loose dust out of the pleats. You can also use a can of compressed air to blow dust out from the clean side of the filter toward the dirty side, ensuring you do this outdoors or in a well-ventilated space to avoid inhaling the fine particles.
Finally, inspect the rubber gaskets and silicone seals located at the connection points between the dust cup, the filter assembly, and the motor housing. Over time, fine grit can accumulate on these seals, preventing a tight fit and allowing air to leak into the system. Wipe the seals clean with a slightly damp microfiber cloth, check that they are seated flat in their designated grooves, and ensure the dust cup clicks securely back into place.
Symptom, Cause, and Action Matrix
To help you quickly diagnose and resolve performance issues, use the following matrix to match the observed behavior of your mini vacuum with the most likely cause and the appropriate corrective action.
| Symptom | Potential Cause | Recommended Action |
|---|---|---|
| Motor runs with a high-pitched whine; very little air exits the exhaust. | Severe blockage in the intake port, nozzle, or a completely saturated filter. | Turn off the vacuum immediately. Empty the dust cup, clear the intake path, and clean or replace the filter. |
| Suction starts strong but drops rapidly within a minute of use. | Fine dust clogging the filter micropores or a partially blocked exhaust vent. | Clean the filter thoroughly. Check the exhaust vents on the motor housing for lint or dust buildup. |
| Vacuum loses suction only when using a specific attachment. | Debris lodged inside the attachment channel or an air leak at the connection joint. | Inspect the inside of the attachment for blockages. Ensure the accessory is pushed firmly onto the intake. |
| Motor runs sluggishly and suction is weak across all settings. | Low battery voltage or internal battery degradation. | Charge the battery fully. If performance does not improve, check the manufacturer's battery replacement guidelines. |
| Vacuum shuts off unexpectedly during heavy cleaning. | Thermal overload protection triggered due to restricted airflow and overheating. | Allow the device to cool down completely for at least 30 minutes. Clear all blockages before restarting. |
When to Stop and Seek Professional Help
While most suction issues can be resolved with basic cleaning, certain symptoms indicate internal mechanical or electrical failures that require professional attention. If you notice a distinct burning smell, see smoke, or feel excessive heat radiating from the handle or battery compartment, turn off the device immediately and place it on a non-flammable surface. These are critical warning signs of an electrical short circuit, motor failure, or a malfunctioning lithium-ion battery pack.
Never attempt to bypass safety mechanisms, such as thermal cutoffs or pressure switches, to force a struggling vacuum to run. Do not attempt to unscrew or pry open the sealed motor housing or battery compartment. Handheld vacuums use high-density lithium-ion batteries that can pose a fire or chemical hazard if punctured, shorted, or exposed to moisture and high temperatures.
If the vacuum fails to turn on after a thorough cleaning and a full charge, or if you hear loose parts rattling inside the motor casing, stop using the device. Check the manufacturer’s warranty terms or contact their customer support team. If the vacuum is out of warranty, consult a qualified small-appliance repair technician rather than attempting DIY electrical repairs, which can compromise the safety of the device.
Preventive Maintenance for Consistent Suction
Establishing a regular maintenance routine is the most effective way to prolong the lifespan of your mini car vacuum and ensure it delivers consistent suction power. Instead of waiting for the suction to drop completely, make it a habit to empty the dust cup after every cleaning session. Leaving dirt and organic debris inside the canister can lead to unpleasant odors, especially when the vacuum is stored in a warm vehicle.
Plan to clean the filter assembly thoroughly after every three to five uses, or immediately after vacuuming fine materials like spilled baby powder, dry soil, or fine sand. If you use your vacuum frequently, inspect the filter for physical wear, such as tears in the pleated paper or thinning of the mesh screen. A damaged filter must be replaced immediately to prevent fine dust from bypassing the filtration system and entering the motor chamber, where it can cause abrasive wear on the moving parts. Check online marketplaces to compare the cost of replacement filters, which typically range from S$10 to S$25 depending on the brand.
Proper storage is equally vital for maintaining the health of your vacuum’s battery and motor. Avoid storing the device in areas of your car that experience extreme heat, such as the dashboard, glove box, or parcel shelf under direct sunlight. Instead, store it in a protective case under a seat or in the boot, where temperatures remain more stable. For rechargeable models, try to charge the battery periodically rather than letting it sit completely depleted for months, as deep discharge cycles can permanently reduce the battery’s overall capacity.
Frequently Asked Questions (FAQ)
Can I wash a non-washable HEPA filter with water?
No, you should never wash a non-washable HEPA filter with water. Always verify the product label or user manual before introducing moisture to any filter element. Non-washable filters are typically constructed from specialized paper fibers that expand, warp, and lose their structural integrity when wet. Washing them permanently blocks the microscopic pathways required for airflow and can lead to mold growth, rendering the filter useless and potentially damaging your vacuum’s motor if reinstalled.
Why does the suction drop only when using the crevice tool?
The crevice tool features a narrow opening designed to concentrate airflow and reach tight spaces, such as the gaps between car seats. This narrow design naturally restricts the volume of air entering the vacuum, which increases static pressure and places a higher load on the motor. If you experience a severe drop in suction, check for physical blockages like small pebbles or paper scraps wedged inside the narrow channel of the tool. Additionally, inspect the mounting interface to ensure the tool fits snugly without allowing air to leak around the sides.
Community discussion
Share your experience or ask a question. Comments are reviewed before publication.