
Finding the exact car air filter for your vehicle is essential to maintain engine health, fuel efficiency, and overall performance. A mismatched filter can leave gaps that allow abrasive dust and road debris to enter the combustion chamber, leading to premature engine wear or costly internal damage. Conversely, a filter that is too large will not fit into the housing, preventing the airbox from sealing correctly. To identify the correct air filter size and part number, you can consult your vehicle’s owner’s manual, inspect the currently installed filter for printed manufacturer codes, use your Vehicle Identification Number (VIN) for a precise lookup, or leverage online fitment tools provided by reputable automotive parts retailers. By taking a systematic approach to verifying these specifications before making a purchase, you ensure a proper seal and optimal airflow for your specific engine configuration.
Check Your Owner's Manual and Vehicle Specifications
The most reliable starting point for identifying the correct replacement parts is your vehicle’s official documentation. The owner’s manual serves as the definitive guide compiled by the manufacturer, containing precise specifications tailored to your car’s exact build. To locate this information, navigate to the index at the back of the manual and look for terms such as “maintenance,” “specifications,” “capacities,” or “engine compartment.” This section typically lists the recommended service intervals alongside the original equipment manufacturer (OEM) part numbers for routine replacement items, including the engine air filter.
When reviewing the specifications, pay close attention to details such as engine displacement, fuel type, and trim level. Manufacturers often use different airbox designs and filter sizes for different engine options within the same model year. For instance, a 1.5-litre turbocharged engine may require a completely different filter shape and surface area compared to a 2.0-litre naturally aspirated engine of the same model. Noting these specific engine codes ensures you do not accidentally purchase a part designed for a different variant of your vehicle.
Products mentioned in this guide

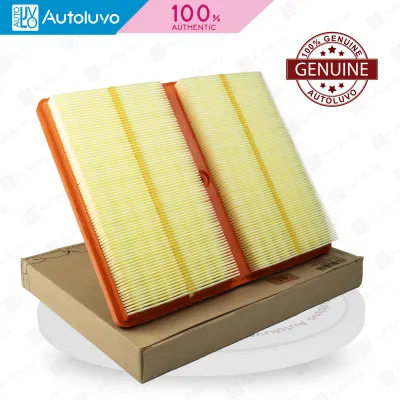
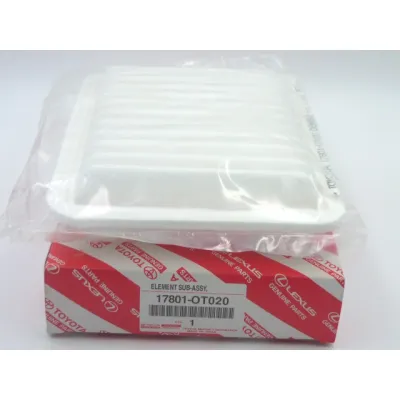
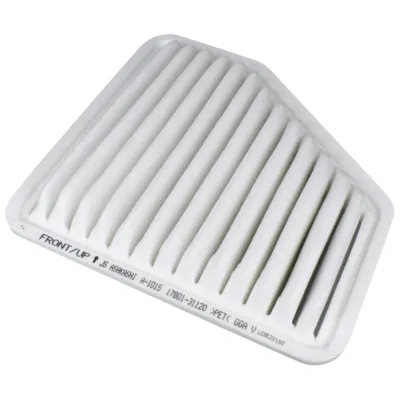
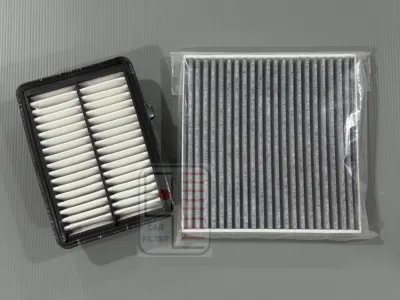
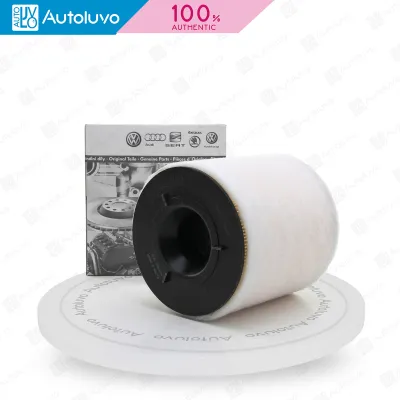
Prices are valid at publication and may change. Please refer to the product page for the latest price.
Additionally, understanding the exact production year of your vehicle is critical. Car models frequently undergo mid-cycle refreshes or minor updates where manufacturers alter under-hood components without changing the model name. A vehicle manufactured in the early part of a transition year might use components from the previous generation, while one built later in the same year uses updated parts. Always cross-reference the production date found on the vehicle’s manufacturing plate—usually located on the driver’s side door jamb—with the specifications listed in your manual to guarantee compatibility.
Inspect the Existing Air Filter for Markings
If the owner’s manual is unavailable or does not list a specific part number, inspecting the currently installed air filter is an excellent alternative. Before attempting to open the airbox, ensure the engine is turned off, the vehicle is parked on a level surface, and the ignition key is removed. Locate the air filter housing, which is typically a dark plastic box situated near the front or side of the engine bay, connected to a large intake duct.

Carefully release the retaining clips, screws, or clamps securing the airbox lid. When lifting the cover, do so gently to prevent any accumulated leaves, dirt, or loose debris on top of the housing from falling into the clean side of the intake tract. If debris does enter the intake tube behind the filter, it can bypass filtration entirely and damage the mass airflow sensor or internal engine components upon startup. Once the cover is safely set aside, lift the old filter straight out of its housing, noting its orientation so you can install the replacement in the exact same direction.
Examine the outer frame, plastic edges, or the paper pleats of the removed filter for any printed information. Manufacturers usually stamp their brand logo, part numbers, or specific size codes directly onto the rubber gasket or plastic border. If you find an OEM part number or a major aftermarket brand’s part number, write it down or take a clear photograph. This number can be directly cross-referenced online to find identical replacements.
In cases where the markings have faded or are entirely absent, you will need to measure the physical dimensions of the filter to establish a baseline. Use a precise measuring tape or calliper to record the length, width, and height of the filter frame in millimetres. Be sure to measure only the structural frame and the sealing gasket, as these are the critical contact points that sit within the airbox channels. Note whether the filter has any unique physical features, such as a chamfered corner, an off-centre tab, or an additional foam pre-filter layer, as these design elements are vital for proper orientation and sealing.
Use Your VIN for Exact Part Matching
To eliminate the guesswork associated with trim levels and mid-year production changes, utilizing your Vehicle Identification Number (VIN) is the most precise method available. The VIN is a unique 17-character alphanumeric code that serves as your car’s fingerprint, detailing the exact factory build specifications, including the engine type, transmission, assembly plant, and original equipment package. Because it links directly to the manufacturer’s database, a VIN lookup bypasses the ambiguities that often arise when searching by model year alone.
You can easily locate your VIN in several standard positions on the vehicle. The most common location is on the driver’s side dashboard, visible from the outside of the car looking through the bottom of the windshield. Alternatively, you can find it printed on a durable safety compliance label affixed to the driver’s side door pillar or door jamb, or listed clearly on your official vehicle registration documents, insurance card, and road tax receipts.
Once you have noted the VIN, you can enter it into online parts databases, official manufacturer portals, or digital catalogues provided by reputable automotive parts retailers. These systems decode the characters to isolate the exact replacement parts specified for your vehicle’s unique build configuration. This process is particularly beneficial for imported vehicles or models with multiple regional variations, where standard cataloguing systems might otherwise suggest multiple conflicting options.
After entering the VIN and receiving a recommended part number, take a moment to verify the result against your physical engine bay. Ensure that the suggested filter matches the general layout of your airbox and that any listed engine codes align with the labels under your hood. This final verification step ensures that no aftermarket modifications or previous repairs have altered the original factory setup, giving you complete confidence before purchasing.
Navigate Online Part Catalogues and Fitment Tools
Digital automotive parts catalogues and online fitment tools are highly convenient resources, provided they are used with care and attention to detail. Most major auto parts websites feature a user-friendly vehicle selector tool where you input the year, make, model, and engine size. While these tools are generally accurate, they rely on database mappings that can occasionally group different vehicle sub-models together, making it essential to cross-reference any suggested part numbers with your OEM specifications.
When navigating these digital platforms, always read the fitment notes and product descriptions thoroughly. These notes often contain critical qualifiers such as “fits models with cold climate package,” “excluding turbo models,” or “only for vehicles built after October.” Ignoring these fine-print details is a common cause of ordering parts that look correct in photos but differ slightly in physical dimensions or mounting tab locations.
Furthermore, take advantage of the high-resolution product images and technical diagrams provided in online listings. Compare the shape of the filter shown on your screen with the physical shape of your existing filter or the empty airbox housing. Pay close attention to the corners—some filters are perfectly rectangular, while others have one rounded or angled corner to ensure they can only be installed in one specific direction. If the online catalogue lists the physical dimensions of the replacement filter, compare those measurements directly with the dimensions you recorded from your old unit.
If you plan to purchase an aftermarket brand rather than an OEM replacement, use the manufacturer’s official cross-reference tool. Reputable filter manufacturers maintain comprehensive online databases where you can input your original OEM part number to find their exact matching equivalent. This cross-referencing method is highly reliable, as it matches the physical specifications and filtration standards of the original part to ensure seamless compatibility and performance.
Verify the Fit Before Installation
Before you attempt to install your newly purchased air filter, performing a physical comparison between the old and new units is a crucial final safeguard. Place both filters side-by-side on a clean work surface. Carefully inspect their overall shape, the thickness of the outer sealing gasket, and the arrangement of the filtration pleats. While minor variations in the color of the filter media or the number of pleats are common among different brands, the overall dimensions and the design of the sealing edge must be identical.
When placing the new filter into the airbox, it should seat smoothly into the designated channels without requiring excessive force. The rubber or foam gasket around the perimeter of the filter must lay completely flat against the sealing surface of the housing. If you find that you need to bend, compress, or force the filter frame to make it fit, stop immediately. A forced fit indicates that the filter is either the wrong size or is misaligned, which can distort the frame and create gaps where unfiltered air can bypass the media.
Ensure that the airbox lid closes easily and that all retaining clips or screws secure tightly without straining. If the lid does not align perfectly or requires force to latch, the filter may not be seated correctly in its tracks. If you discover that your vehicle’s airbox housing is cracked, warped, or has been modified with an aftermarket intake system, consult a qualified professional or refer to the manufacturer’s specific instructions before proceeding. Proper installation is vital to maintain the integrity of your engine’s intake system and protect it from airborne contaminants.
Frequently Asked Questions (FAQ)
Can I use a slightly smaller air filter if the exact size is unavailable?
No, you should never use an air filter that is even slightly smaller than the specified size for your vehicle. An air filter must create a complete, airtight seal within the airbox housing to function correctly. If a filter is too small, gaps will remain around the edges of the sealing gasket, allowing incoming air to bypass the filtration media entirely. This unfiltered air carries dust, sand, and other abrasive road debris directly into the engine’s combustion chambers, where it can score cylinder walls, damage piston rings, and lead to catastrophic engine wear over time. Always wait to source the exact matching part size to protect your engine’s internal components.
Does the air filter size change if I upgrade my engine intake?
Yes, if you install an aftermarket cold air intake or a short ram intake system, the standard OEM air filter size and part number will no longer apply. Aftermarket intake systems typically replace the factory airbox with a custom intake tube and a high-flow cone or cylindrical filter. When replacing the filter on an upgraded system, you must refer directly to the documentation and part numbers provided by the aftermarket intake manufacturer rather than your vehicle’s original owner’s manual. Measure the inlet diameter of the intake pipe and the available clearance in the engine bay if you need to source a universal replacement cone filter.

Community discussion
Share your experience or ask a question. Comments are reviewed before publication.