
Choosing the right mounting pad disk requires evaluating your vehicle’s dashboard texture, the weight of your mobile device, and local climate conditions. A mounting pad disk acts as an intermediary adapter, transforming a textured, curved, or porous dashboard surface into a smooth, flat anchor point for suction-cup phone mounts. By matching the disk’s adhesive type and diameter to your specific hardware setup, you can prevent your navigation system from detaching during sudden stops or sharp turns.
Do You Actually Need a Mounting Pad Disk?
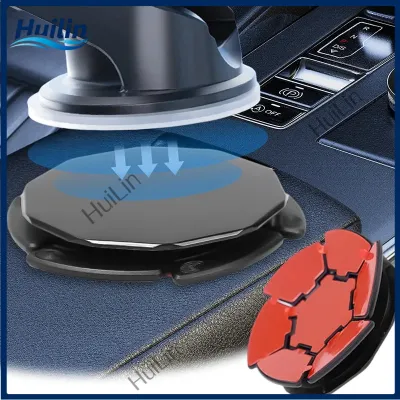
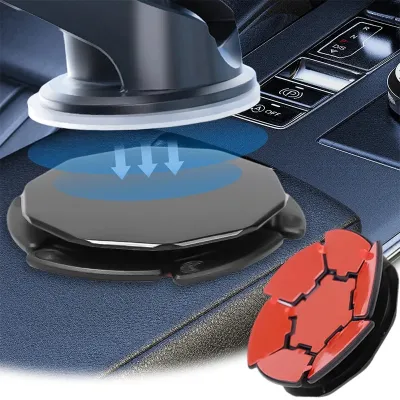
Suction cups rely on a vacuum seal, which fails when microscopic air gaps exist. If your phone mount repeatedly falls off the dashboard, especially during warm afternoons, the surface texture is likely preventing a proper seal. A mounting pad disk provides the non-porous, glassy surface that suction cups require to maintain their vacuum.
Modern vehicle dashboards often feature textured synthetic leather, deep grain plastics, or soft-touch rubberized coatings. These materials are inherently porous or uneven, making direct suction mounting unreliable. Applying a dedicated disk bridges the gap between the textured dashboard and the suction mount.
Products mentioned in this guide
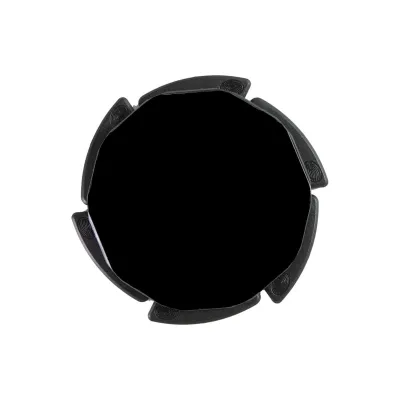
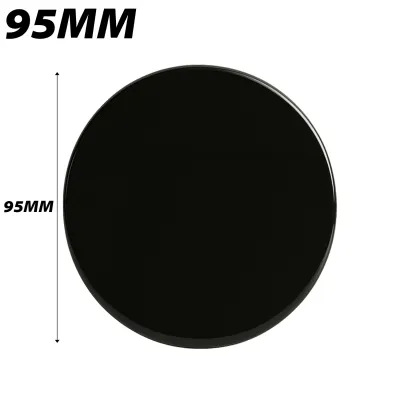
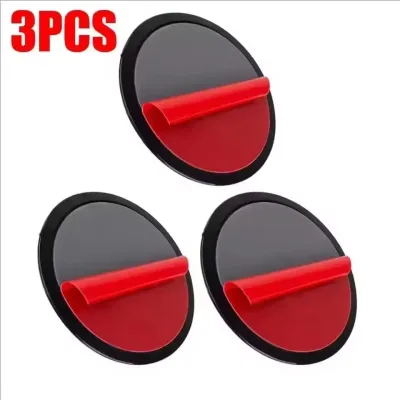
Prices are valid at publication and may change. Please refer to the product page for the latest price.
If your dashboard is heavily contoured or made of delicate materials that cannot tolerate adhesives, alternative mounting solutions may be more appropriate. Air vent mounts or CD slot mounts can bypass the dashboard surface entirely, though they come with their own trade-offs regarding airflow blockage and positioning. For those who prefer dashboard placement, however, a mounting pad disk remains the primary solution.
Assessing Your Dashboard Surface and Curvature
Before purchasing a mounting pad disk, inspect the texture of your chosen mounting location. Deeply grained surfaces reduce the actual contact area available for adhesives, meaning you will need a disk with a thicker, more conformable adhesive backing to fill those microscopic voids. Standard thin adhesives may fail prematurely on highly textured surfaces.

Curvature is another critical factor. Standard rigid plastic disks cannot bend to match curved dashboards; attempting to force them onto a contoured surface results in edge lifting and eventual bond failure. For curved areas, look for semi-flexible or segmented mounting disks designed to conform to slight contours without creating internal tension.
Be cautious with premium or delicate dashboard finishes. Soft-touch coatings and anti-glare treatments can react chemically with certain high-strength adhesives, leading to permanent discoloration or peeling when the disk is eventually removed. Always consult your vehicle’s owner manual regarding dashboard care and material compatibility before applying any adhesive product.
Matching the Pad Disk to Your Phone and Mount Weight
The mounting pad disk must support the cumulative weight of your entire navigation setup. This includes the smartphone itself, any heavy-duty protective case, and the physical weight of the mount arm, especially if it features a long, telescoping design that increases leverage. Heavier setups place greater shear stress on the adhesive bond.
A larger disk diameter distributes this dynamic load across a wider surface area, which significantly reduces the risk of the adhesive peeling at the edges when driving over speed bumps or uneven road surfaces. Standard diameters typically range from 70mm to 90mm, with larger disks being necessary for heavier setups or extended mount arms.
However, you must balance the disk size with the available flat space on your dashboard. Measure the intended mounting zone carefully to ensure the disk can sit completely flat without overlapping dashboard seams, air vents, or decorative trim pieces, as any overlap will compromise the adhesive bond.
Choosing the Right Adhesive and Attachment Type
Mounting pad disks generally utilize one of two adhesive categories: high-strength semi-permanent acrylic foam tapes or removable silicone-based adhesives. Acrylic foam tapes offer exceptional holding power and resistance to high temperatures, making them ideal for long-term installations on standard plastic dashboards.
For leased vehicles, temporary setups, or drivers who frequently change their interior layout, removable or reusable adhesive disks are more suitable. These options use milder adhesives or specialized gel pads that can be peeled off without leaving permanent residue, though they generally support less weight than their heavy-duty counterparts.
The top surface of the disk is specifically engineered to be non-porous and ultra-smooth, mimicking the properties of glass. This design allows standard vacuum-seal suction cups to establish a reliable, long-lasting airtight seal that would otherwise be impossible to achieve on a textured dashboard.
Step-by-Step Installation and Curing Process
Proper installation is vital to ensuring the longevity of the adhesive bond. Begin by cleaning the target area thoroughly with a mild cleaning agent authorized by your vehicle manufacturer, ensuring all dust, oils, and silicone-based dashboard dressings are completely removed.
Allow the surface to dry completely before proceeding. When applying the disk, peel off the protective backing and position it carefully, as repositioning a high-strength adhesive disk after initial contact will severely degrade its ultimate holding capacity.
Apply firm, even pressure across the entire surface of the disk for at least thirty seconds, paying close attention to the outer edges to prevent any lifting. This pressure activates the adhesive, allowing it to flow into the microscopic textures of the dashboard.
Do not attach the phone mount or apply any weight immediately. Most automotive adhesives require a specific curing period—often up to twenty-four hours—to reach their full bonding strength, especially in warm climates where premature loading can cause the adhesive to slide or fail.
Once the curing period has elapsed, verify the stability of the disk by gently tugging on the attached mount without the phone in place. If there is any play or lifting at the edges, do not proceed with mounting your phone, as this indicates an incomplete bond.
Safety, Visibility, and Legal Compliance in Singapore
In Singapore, positioning your navigation setup correctly is not just a matter of convenience; it is a safety and legal requirement. The Land Transport Authority (LTA) and traffic regulations mandate that any aftermarket accessory must not obstruct the driver’s clear view of the road or the vehicle’s instrument cluster.
Avoid placing the mounting pad disk anywhere near airbag deployment zones, such as the passenger-side dashboard or the pillars. An airbag deploying behind or near a mounted phone can turn the device into a dangerous projectile inside the cabin. Refer to your vehicle’s manual to identify all airbag deployment paths.
Position the mount so that the phone screen sits within your peripheral vision, allowing you to check GPS directions with minimal eye movement away from the road. This setup helps maintain situational awareness on busy expressways and urban roads, ensuring a safer driving experience for everyone.
Frequently Asked Questions (FAQ)
How do I safely remove an adhesive mounting pad disk without damaging the dashboard?
To remove a semi-permanent adhesive disk safely, use a hair dryer on a low heat setting to gently warm the plastic disk and soften the underlying adhesive. Once warmed, slide a piece of dental floss or high-strength fishing line underneath the edge of the disk and use a sawing motion to slice through the adhesive layer. Clean any remaining residue using an adhesive remover that is explicitly labeled as safe for your specific dashboard material, and avoid using harsh solvents like acetone which can melt plastics.
Can I reuse a mounting pad disk if I change my phone mount?
Most high-strength adhesive mounting pad disks are designed for single-use application only. Once peeled off, the adhesive backing loses its structural integrity and cannot be safely reapplied to hold a heavy phone. However, the smooth plastic top surface of the disk can be used repeatedly with different suction-cup mounts, provided the surface remains clean, unscratched, and free of dust. If you must move the disk to a new location or vehicle, you will need to replace the adhesive backing with a fresh, compatible double-sided automotive tape.

Community discussion
Share your experience or ask a question. Comments are reviewed before publication.