
Choosing the right motorcycle battery is a critical decision that directly impacts your bike’s electrical stability, starting reliability, and long-term safety. In Singapore’s hot and humid tropical climate, motorcycle batteries face accelerated chemical degradation, making precise compatibility and regular maintenance even more vital. To choose the correct battery, you must match your motorcycle manufacturer’s exact specifications for physical dimensions, terminal layout, cold cranking amps (CCA), amp-hour (Ah) capacity, and battery chemistry. Selecting an incompatible unit can lead to poor starting performance, physical damage from vibration, or catastrophic electrical failures.
Riders must navigate a variety of battery technologies, including conventional flooded lead-acid, absorbent glass mat (AGM), and lithium-iron phosphate (LiFePO4). Each technology has distinct charging requirements, maintenance needs, and performance characteristics. Additionally, physical fitment is non-negotiable; even a minor discrepancy in dimensions or terminal orientation can render a battery unusable or cause a dangerous electrical short circuit. By understanding your motorcycle’s specific electrical demands and your own riding habits, you can confidently select a battery that ensures reliable starting power every time you turn the key.
Quick Guide: What to Check Before Buying a Motorcycle Battery
Before purchasing a replacement battery, you must gather the exact specifications of your motorcycle’s original equipment. The most reliable starting point is to locate the original equipment manufacturer (OEM) battery label on the unit currently installed in your bike. If the label is faded, damaged, or missing, consult your motorcycle’s owner’s manual or factory service documentation. This documentation provides the definitive specifications required for safe operation.
Products mentioned in this guide
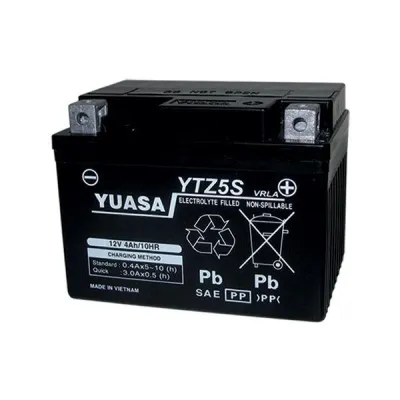
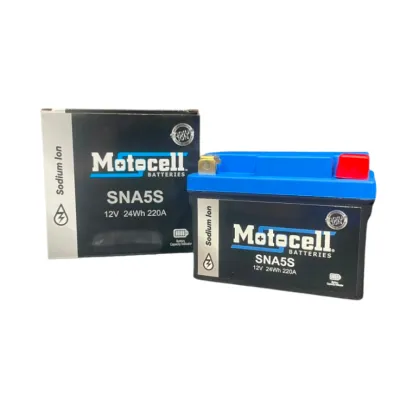
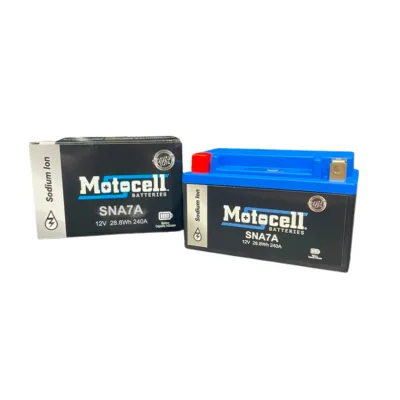
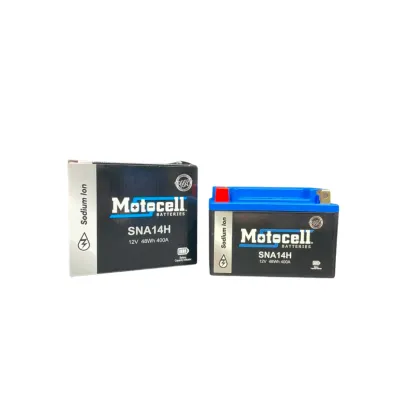
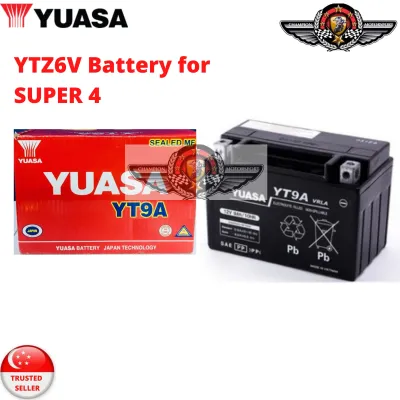
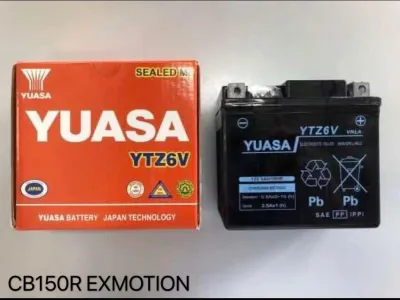
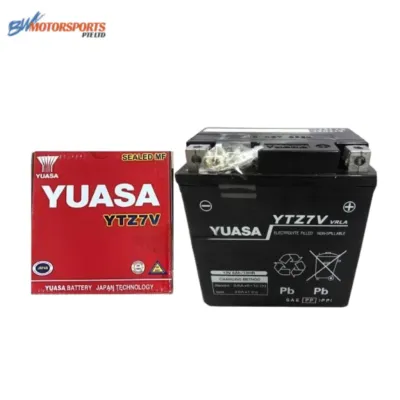
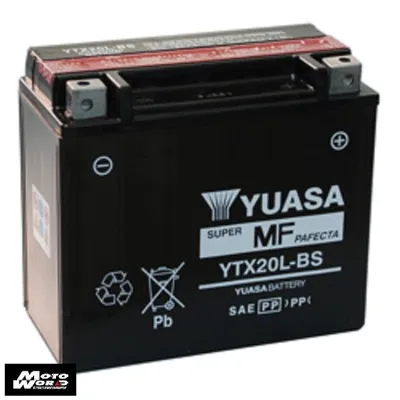
Prices are valid at publication and may change. Please refer to the product page for the latest price.
Begin by recording the physical dimensions of your current battery. Measure the length, width, and height in millimeters, ensuring you account for any protruding terminal posts or casing edges. The battery must fit precisely within the motorcycle’s battery box or tray. A battery that is too large will not fit, while a battery that is too small can slide around, leading to terminal damage or internal plate failure from excessive vibration.
Next, identify the terminal layout and terminal type. Look at the battery from the front (the side with the label facing you) and note whether the positive (+) terminal is on the left or the right. This is known as the polarity layout. You must also check the terminal connection style, such as standard lead posts, screw-in terminals, or spade connectors. Forcing cables to reach a reversed terminal layout can stretch the wiring harness or lead to an accidental polarity reversal, which can instantly destroy your motorcycle’s electronic control unit (ECU).
Finally, note the electrical performance ratings. These include the Cold Cranking Amps (CCA), which measures the battery’s ability to start the engine under load, and the Amp-hour (Ah) capacity, which indicates how much electrical energy the battery can store. These values are critical for matching the electrical load of your motorcycle’s starting motor and onboard electronics.
Never guess the battery size or rely solely on generic online fitment guides based on the motorcycle’s model year. Mid-year production changes, regional market variations, or modifications by previous owners—such as aftermarket alarms, auxiliary lights, or upgraded horns—can significantly alter your bike’s actual battery requirements. Always verify the physical and electrical specifications against your specific machine before making a purchase.
Comparing Motorcycle Battery Types: Which One Fits Your Riding Style?
Motorcycle batteries are available in three primary chemistries, each offering a different balance of cost, performance, maintenance, and lifespan. Selecting the right type depends on your motorcycle’s charging system, your riding frequency, and your budget.

Conventional (Flooded) Lead-Acid Batteries
Conventional lead-acid batteries, often called flooded or wet-cell batteries, are the oldest and most traditional battery technology. They feature lead plates suspended in a liquid sulfuric acid electrolyte. These batteries are best suited for older motorcycles, vintage restorations, or riders on a strict budget who do not mind performing regular maintenance. In Singapore, these batteries typically occupy the lower price bracket, ranging from approximately S$40 to S$80.
The primary drawback of conventional batteries is their high maintenance requirement. You must periodically inspect the fluid levels and top them up with distilled water to replace liquid lost during the charging process. Additionally, conventional batteries are significantly heavier than modern alternatives and are highly prone to sulfation if left in a discharged state for extended periods.
Because they contain free-flowing liquid acid, conventional batteries must be kept upright to prevent hazardous leaks. They are not suitable for modern sportbikes that experience extreme lean angles, nor are they ideal for off-road or adventure motorcycles that subject the battery to severe vibrations.
Absorbent Glass Mat (AGM) Batteries
Absorbent Glass Mat (AGM) batteries represent the modern standard for the vast majority of motorcycles. In an AGM battery, the liquid electrolyte is absorbed and suspended within fine fiberglass mats sandwiched between the lead plates. This design makes AGM batteries completely sealed, maintenance-free, and spill-proof. They are highly recommended for daily commuters, touring bikes, and motorcycles equipped with moderate electronic accessories like GPS units or auxiliary lights. In the local market, quality AGM batteries generally cost between S$80 and S$180.
AGM batteries offer several advantages over conventional flooded units. They handle engine vibration and road shocks exceptionally well, making them highly durable. Because they are sealed, they can be mounted at various angles without risk of leaking acid. They also deliver reliable cranking power and have a lower self-discharge rate, meaning they hold their charge longer when the motorcycle is parked.
While AGM batteries are heavier than lithium options, they are highly compatible with standard motorcycle charging systems. They do not require specialized voltage regulators or engine control unit upgrades, making them a direct, drop-in replacement for almost any modern motorcycle.
Lithium-Ion (LiFePO4) Batteries
Lithium Iron Phosphate (LiFePO4) batteries are the premium, high-performance option on the market. These batteries utilize lithium chemistry to deliver massive cranking power in an incredibly lightweight package. They are the top recommendation for performance sportbikes, track-day enthusiasts, or any rider looking to reduce overall vehicle weight, as they can be up to 70% lighter than equivalent lead-acid batteries. In Singapore, lithium motorcycle batteries are a premium investment, typically ranging from S$180 to over S$350.
In addition to weight savings, lithium batteries offer an exceptionally low self-discharge rate and a significantly longer cycle life compared to lead-acid batteries. They provide consistent, high-voltage output throughout their discharge cycle, ensuring rapid and reliable starting.
However, lithium batteries have specific technical limitations and safety boundaries. They require a dedicated, lithium-compatible smart charger; using a standard lead-acid charger can overcharge, overheat, and permanently damage the lithium cells, creating a severe safety hazard. While lithium batteries can struggle to crank in freezing temperatures, this is rarely an issue in Singapore’s tropical climate. However, if you plan to tour colder regions, you must ensure the battery has a built-in Battery Management System (BMS) with thermal protection.
Crucially, you must verify your motorcycle’s charging system compatibility before installing a lithium battery. Older motorcycles with unregulated charging systems or those prone to high-voltage spikes can easily destroy a lithium battery’s sensitive internal electronics. A modern, stable charging system that maintains a steady voltage output (typically between 13.8V and 14.6V) is mandatory for safe lithium battery operation.
How to Match Specifications and Terminal Layout
To ensure a successful replacement, you must systematically match the physical and electrical specifications of the new battery to your motorcycle’s original requirements.
Dimensions and Fitment Physical fitment is the first constraint you must satisfy. You must measure and verify the exact Length, Width, and Height of the battery compartment. If a replacement battery is even a few millimeters too large, it will not fit inside the designated tray or clear the seat bracket. Conversely, if the battery is too small, it will move and vibrate excessively within the compartment. This movement can stress the terminal cables, loosen connections, and cause internal plate damage. If you must use a slightly smaller battery (common when upgrading to lightweight lithium units), you must use high-density foam spacers to pack the empty space and secure the battery firmly.
CCA vs. Ah Understanding the difference between Cold Cranking Amps (CCA) and Amp-hours (Ah) is essential for selecting a battery that meets your bike’s electrical demands. CCA represents the maximum current the battery can deliver for 30 seconds at cold temperatures while maintaining a minimum voltage. This rating is critical for overcoming engine compression during startup, especially for large-displacement or high-compression engines. Ah measures the battery’s capacity to deliver a specific current over a 20-hour period. This rating dictates how long the battery can power onboard electronics, such as alarms or keyless systems, while the engine is off.
As a strict rule of thumb, you should match or slightly exceed the OEM ratings for both CCA and Ah. Never install a battery with a lower CCA rating than specified by the manufacturer, as this can lead to slow cranking, starter motor strain, or a complete failure to start.
Terminal Layout and Polarity You must pay close attention to the terminal layout and polarity of the replacement battery. Polarity is typically viewed from the front of the battery, where the label faces you. If your motorcycle requires a left-positive (+ on the left, – on the right) layout, you must purchase a battery with that exact configuration. Attempting to install a battery with reversed terminals will force you to cross the cables. If you accidentally connect the positive cable to the negative terminal, you will cause an immediate short circuit that can destroy the ECU, melt the wiring harness, or blow the main fuses.
Specification Verification Table Use the following checklist to record and verify your specifications before purchasing a replacement battery:
| Specification | OEM Specification | Replacement Battery Match | Verification Status |
|---|---|---|---|
| Part Number | e.g., YTX9-BS | Must match or cross-reference | [ ] Verified |
| Length (mm) | Record exact length | Must fit battery tray | [ ] Verified |
| Width (mm) | Record exact width | Must fit battery tray | [ ] Verified |
| Height (mm) | Record exact height | Must clear brackets/seat | [ ] Verified |
| CCA Rating | Record minimum CCA | Must meet or exceed OEM | [ ] Verified |
| Ah Capacity | Record minimum Ah | Must meet or exceed OEM | [ ] Verified |
| Terminal Position | Left-Positive / Right-Positive | Must match OEM layout | [ ] Verified |
Pre-Installation Checks and Safe Battery Replacement
Replacing a motorcycle battery involves working with live electrical components. Prioritizing safety and performing diagnostic checks will prevent damage to your new battery and your motorcycle’s electrical system.
Pre-Installation Diagnostic If your previous battery failed prematurely—meaning it lasted less than two years—do not simply install a new one. A premature failure is often a symptom of an underlying charging system issue. Before installing the new battery, use a multimeter to test the output of your motorcycle’s stator and regulator/rectifier. With the engine running at approximately 3,000 RPM, the voltage across the battery terminals should read between 13.5V and 14.8V. If the voltage is below 13.0V, the battery is undercharging and will eventually drain. If the voltage exceeds 15.0V, the regulator is faulty and will quickly destroy the new battery through overcharging.
Hardware Inspection Before positioning the new battery, inspect the battery tray, hold-down straps, and terminal cables. Look for signs of corrosion, fraying, or physical wear. Clean any accumulated corrosion or dirt from the terminal connectors using a wire brush. If you are cleaning lead-acid corrosion, you can use a mild mixture of baking soda and water, taking extreme care to prevent any mixture from entering the battery cells. Once the terminals are clean and dry, apply a thin layer of dielectric grease to the connections after tightening. This grease protects the metal from moisture, humidity, and oxidation, which is especially important in Singapore’s humid coastal environment.
Safe Disconnect/Reconnect Sequence When removing and installing a battery, you must follow a strict sequence to prevent accidental short circuits:
- Disconnect Sequence: Always disconnect the negative (ground, usually black) terminal first, followed by the positive (usually red) terminal. This ensures that if your metal wrench accidentally touches the motorcycle's metal frame while loosening the positive terminal, it will not create a dangerous electrical short circuit.
- Reconnect Sequence: When installing the new battery, reverse the process. Always connect the positive terminal first, tighten it securely, and then connect the negative terminal.
Professional Boundaries Many modern motorcycles feature highly sensitive electronic systems, including CAN-bus wiring networks, factory-fitted anti-theft immobilizers, and electronic rider aids. Disconnecting the battery on these machines can sometimes trigger error codes, lock the ignition system, or require specialized ECU resets and throttle body recalibrations. Always check your motorcycle manufacturer’s instructions and the battery product label before beginning. If the instructions conflict, if your motorcycle has complex integrated electronics, or if you are uncomfortable performing electrical work, stop immediately and consult a qualified professional workshop. Never force, bend, or modify terminal posts to make cables fit.
Frequently Asked Questions (FAQ)
Can I use a standard car battery charger on my motorcycle battery?
No, you should avoid using a standard automotive battery charger on a motorcycle battery. Car battery chargers typically output a high charging current (often 4A to 10A or more) designed for much larger automotive batteries. Applying this high amperage to a smaller motorcycle battery can cause rapid overheating, boil the internal electrolyte, warp the lead plates, and ruin the battery. Instead, always use a dedicated smart charger or battery maintainer with a low-amperage setting (typically 2A or less) that is compatible with your specific battery chemistry (especially AGM or Lithium).
How long does a typical motorcycle battery last?
The lifespan of a motorcycle battery depends heavily on its chemistry, maintenance, and usage patterns. Under normal operating conditions, conventional flooded batteries generally last 2 to 3 years, AGM batteries last 3 to 5 years, and high-quality lithium batteries can last 5 years or longer. In Singapore’s hot climate, chemical reactions are accelerated, which can slightly shorten these lifespans. The primary causes of premature battery failure are parasitic drain from aftermarket accessories (such as GPS trackers, alarms, or cameras), leaving the ignition key on, and extended periods of inactivity without a battery maintainer.
Do I need to charge a new AGM or Lithium battery before installing it?
Yes, it is highly recommended to check and fully charge a new battery before installation. Although many modern AGM and Lithium batteries are factory-activated and shipped in a charged state, they can lose a portion of their charge while sitting on retail shelves or in warehouses. Before installing the battery, use a digital multimeter to check its resting voltage. Connecting the new battery to a compatible smart charger for a final top-up ensures it reaches maximum initial capacity, helps balance the cells (which is critical for lithium batteries), and establishes a healthy baseline for optimal longevity.
Community discussion
Share your experience or ask a question. Comments are reviewed before publication.