
Choosing the right car bumper lip requires a systematic approach to compatibility, material selection, and installation safety. A bumper lip does not just alter your vehicle’s visual profile; it directly interacts with your car’s aerodynamics, ground clearance, and structural mounting points. To avoid purchasing a part that misaligns, detaches at high speeds, or damages your factory bumper, you must look past generic marketing claims and verify the exact specifications of your vehicle against the manufacturer’s product documentation.
Verify Your Vehicle's Exact Make, Model, and Year
Before browsing aftermarket catalogs, establish your vehicle’s precise identity. Knowing the basic model name is rarely sufficient, as manufacturers frequently introduce subtle design changes that alter the bumper’s physical shape. Locate the factory door jamb sticker on the driver’s side or consult your official vehicle registration documents to find the exact manufacturing year, make, model, and trim level.
Trim levels are critical because sport packages or luxury editions often feature completely different bumper shapes than base models. A vehicle equipped with an active factory body kit or a sport-line bumper will not accept a lip designed for the standard trim. Additionally, mid-cycle facelifts can change the lower bumper contours mid-year without changing the model name.
Products mentioned in this guide
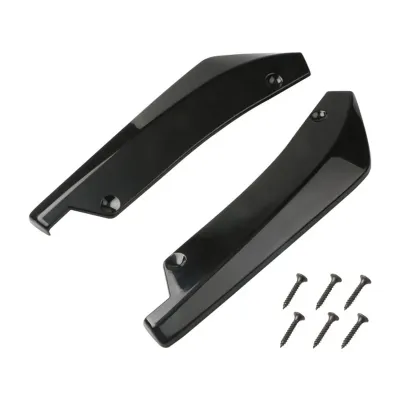
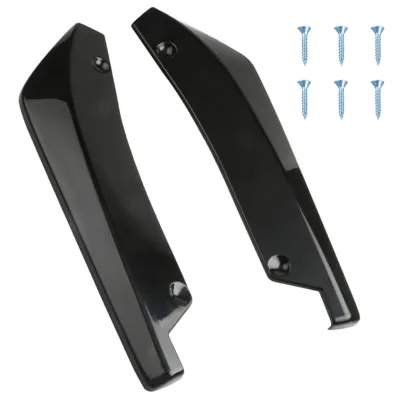
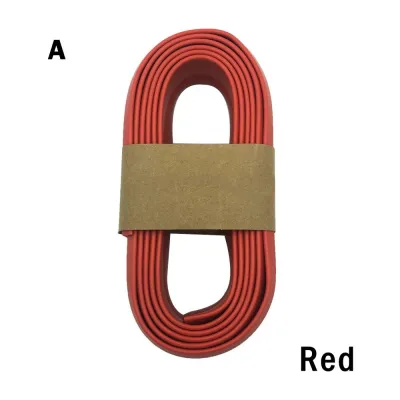
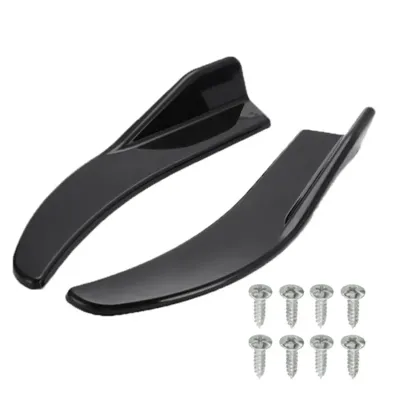
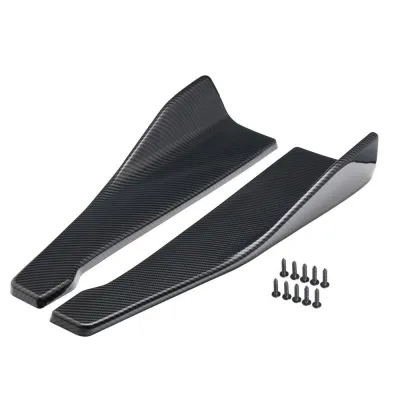
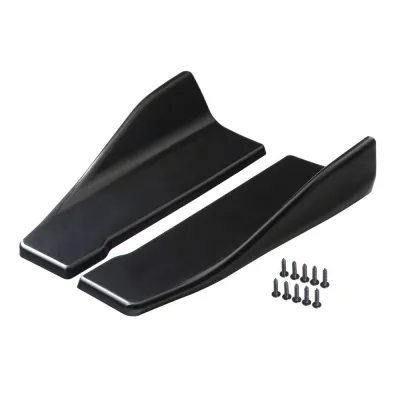
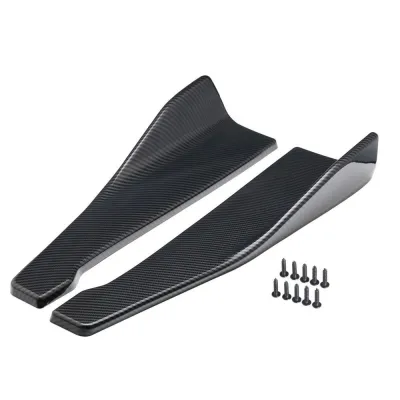
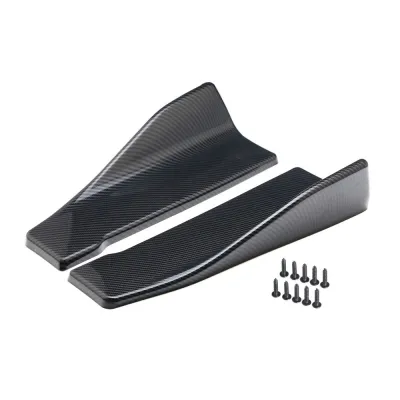
Prices are valid at publication and may change. Please refer to the product page for the latest price.
Regional variations also affect fitment. A car manufactured for one market may feature different bumper reinforcement beams, sensor placements, or lower valance shapes compared to the same model sold elsewhere. Cross-reference your Vehicle Identification Number (VIN) with an authorized parts database or consult your factory manual to confirm baseline exterior dimensions before searching for accessories.
Check Product Fitment and Compatibility Labels
Once you have your vehicle’s exact specifications, you must evaluate how aftermarket manufacturers label their products. Never rely on broad search terms or generic online listings that claim a product fits “most models.” Instead, examine the manufacturer’s explicit compatibility list on the product packaging or the official technical specification sheet. Reliable manufacturers list the exact range of compatible years, models, and specific trim packages.

You will generally encounter two categories of products: model-specific and universal bumper lips. Model-specific lips are molded to match the exact contours, curves, and mounting points of a particular bumper. These parts offer a seamless look and typically align with existing factory mounting holes, reducing the need for custom modifications. However, they require absolute precision during selection, as even a minor trim difference will prevent proper installation.
In contrast, universal bumper lips are designed to bend or be cut to fit a wide variety of vehicles. While they are often more accessible and less expensive, they demand significant installation effort and rarely provide a perfect, flush fit. Universal options often rely heavily on adhesives or generic screws, which may not hold up under high aerodynamic pressure. Additionally, you must check whether the product package includes all necessary mounting hardware, such as model-specific brackets, or if you must source these components separately to ensure a secure attachment.
Review Installation Methods and Safety Boundaries
Installing an exterior accessory like a car bumper lip introduces specific safety and structural considerations. Because this component is exposed to constant wind resistance and road vibrations, the attachment method must be incredibly secure. Common methods include automotive-grade double-sided tape, self-tapping screws, and factory clip integration. Each method carries distinct trade-offs regarding physical stability and the preservation of your vehicle’s original parts.
Automotive-grade double-sided tape works well for positioning lightweight lips, but it should rarely be the sole fastening method. Self-tapping screws provide a secure mechanical hold but require drilling into the underside of your factory bumper. Because drilling is an irreversible modification that can affect resale value and structural integrity, always review the product’s instructions and your vehicle’s warranty terms before making permanent alterations.
Safety is the primary priority for any exterior modification. An improperly secured bumper lip can detach at highway speeds, creating a severe hazard. Always review original-vehicle instructions regarding bumper removal and sensor placement. If your vehicle features front parking sensors, adaptive cruise control radar, or active grille shutters, verify that the lip does not obstruct their field of view or impede their operation.
Establish clear stop conditions before starting. If the product lacks clear manufacturer instructions or visibly misaligns during a dry fit, halt the process immediately. Never force or heavily modify a rigid part to make it fit. If structural modifications like cutting the factory bumper or altering the frame are unexpectedly required, stop and consult a qualified professional modifier.
Assess Material Types and Maintenance Conditions
The material composition of a car bumper lip dictates its durability, flexibility, and maintenance requirements. When evaluating options, check the product label or technical specifications for the exact material used. The most common materials are ABS plastic, polyurethane, and carbon fiber, each offering distinct physical characteristics under daily driving conditions.
ABS plastic is a rigid, lightweight material that holds its shape well and can be painted, but it is susceptible to cracking upon impact. Polyurethane is highly flexible and resilient, absorbing minor scrapes without breaking, though it is heavier and can warp under extreme heat. Carbon fiber offers premium aesthetics and high strength, but its rigidity and high cost make it vulnerable to permanent damage from minor road scrapes.
Your local driving environment should heavily influence your material choice. If your daily commute involves navigating steep ramps, speed bumps, or uneven road surfaces, you must plan for regular visual inspections. Check the ground clearance of your vehicle after installation to ensure you can safely clear common obstacles. Regularly inspect the underside of the lip for signs of scraping, loose fasteners, or hairline cracks.
Maintenance should align strictly with the manufacturer’s care instructions. Avoid using generic chemical cleaners, harsh degreasers, or abrasive polishes, as these can degrade the protective clear coat on carbon fiber or cause ABS plastic to become brittle and discolored. Use only mild, automotive-safe soaps and soft microfiber cloths to clean the lip, ensuring you preserve both its appearance and structural integrity over time.
Follow a Step-by-Step Selection and Installation Workflow
To ensure a successful upgrade, follow a structured workflow that covers everything from your initial purchase to the final quality check. This systematic approach minimizes the risk of buying incompatible parts and ensures the installation is physically secure.
Begin with a comprehensive pre-purchase checklist. First, confirm the exact model, year, and trim match using your vehicle’s documentation. Second, download and read the manufacturer’s installation manual online before buying to understand the required tools and skill level. Third, verify the retailer’s return policy, ensuring you can return or exchange the product if you discover fitment issues during the initial inspection.
Once the product arrives, transition to the pre-installation preparation phase. Thoroughly clean the lower bumper surface using an automotive-safe surface prep cleaner to remove road grime, wax, and grease. Before applying any adhesive or drilling any holes, perform a complete dry fit. Hold the bumper lip against the car using painter’s tape or assistance from a helper to verify that all curves, edges, and mounting holes align perfectly with the factory bumper.
After securing the bumper lip according to the manufacturer’s instructions, evaluate the installation against clear post-installation acceptance criteria. Inspect the edge gaps to ensure there are no visible spaces where wind could catch the lip. Test the physical firmness by gently shaking the installed lip; there should be no play or wobbling. Finally, measure the new ground clearance and ensure the lip does not negatively interfere with the vehicle’s approach angle, allowing you to drive safely without immediate scraping.
Frequently Asked Questions (FAQ)
Will installing a bumper lip void my car's warranty?
Installing an aftermarket bumper lip typically does not void your entire vehicle warranty. Under standard consumer protection regulations, a manufacturer can only deny warranty coverage if the aftermarket part directly causes damage to a related factory component. For example, if an improperly secured lip detaches and damages your front parking sensors, the repair for those sensors would not be covered. To verify the exact terms and protect your coverage, consult your vehicle’s warranty manual or contact an authorized dealership before proceeding with the installation.
How do I remove a bumper lip without damaging the paint?
Removing an adhesive-mounted bumper lip requires patience and the correct tools to avoid lifting your vehicle’s clear coat. Begin by using a heat gun or a hair dryer on a low setting to gently warm and soften the automotive-grade double-sided tape. Once the adhesive is warm, apply a manufacturer-approved adhesive remover or high-purity isopropyl alcohol to the edges. Slowly work a piece of dental floss or plastic trim removal tools behind the lip to slice through the softened tape. If you meet excessive resistance, or if you observe any signs of paint bubbling or clear coat lifting, stop immediately and seek professional detailing assistance.
Community discussion
Share your experience or ask a question. Comments are reviewed before publication.