
Choosing the correct bracket holder for your parking sensor or rear camera is the difference between a seamless, factory-like safety upgrade and an unreliable system that gives false alerts or falls off on the road. To make the right choice, you must align three critical factors: the physical dimensions of your camera or sensor, the specific curvature and material of your vehicle’s bumper, and the environmental conditions the bracket must endure. Taking the time to verify these details before purchasing prevents costly compatibility errors and ensures your driver-assist systems function exactly as intended.
Assess Your Bumper Curvature and Surface Material
Bumpers are rarely perfectly flat. Most modern vehicles feature aerodynamic curves, contoured edges, and stylized recesses. When selecting a bracket holder, you must examine the exact mounting location to determine its curvature. A flat bracket forced onto a curved bumper creates gaps that collect dirt and moisture, putting unnecessary stress on both the adhesive and the bumper itself.
The material of your bumper also dictates the mounting strategy. Most passenger vehicles use thermoplastic bumpers made of polypropylene or polyurethane, which are flexible and highly receptive to specialized double-sided automotive adhesives. However, some utility vehicles, trucks, or older models feature steel, aluminum, or fiberglass bumpers. Metal bumpers require robust mechanical fasteners or specialized drill bits, while fiberglass demands careful handling to prevent cracking during installation.
Products mentioned in this guide
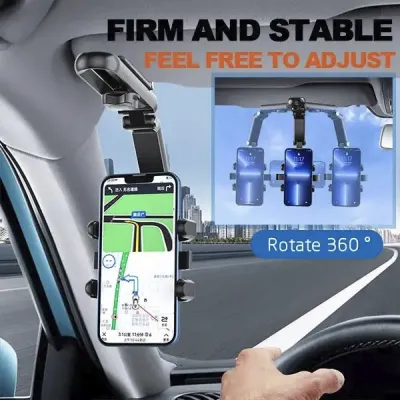
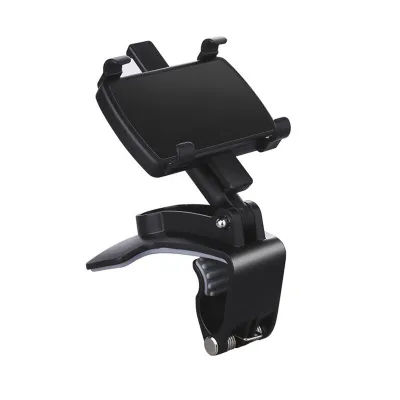
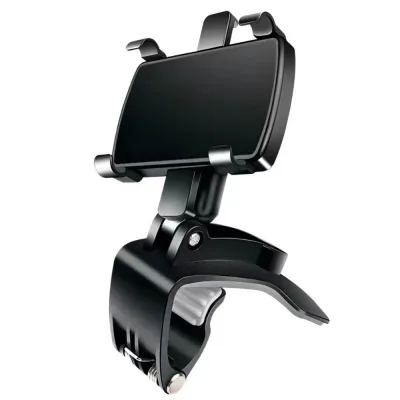
Prices are valid at publication and may change. Please refer to the product page for the latest price.
Before finalizing your bracket choice, conduct a thorough inspection of the bumper’s surface. Look for existing paint peeling, deep scratches, or structural cracks. Applying a heavy bracket or strong adhesive over compromised paint can cause the paint to lift, leading to the bracket falling off. If you detect any structural weakness or damage near the mounting zone, address these repairs first to ensure a stable foundation for your parking assist hardware.
Match the Bracket to Your Sensor or Camera Specifications
Precision is vital when matching a bracket holder to your parking sensor or rear camera. Parking sensors, typically ultrasonic, rely on exact diameter fits—often measured down to the millimeter, such as 18mm, 20mm, or 22mm. A bracket that is even slightly too large will allow the sensor to vibrate, triggering false obstacle alerts while driving. Conversely, a bracket that is too tight can pinch the sensor housing, damaging the delicate internal piezoelectric elements.

For rear cameras, the bracket must accommodate the specific shape of the camera body, whether it is square, cylindrical, or keyhole-style. Beyond physical fit, the bracket must preserve the camera’s required field of view. A poorly designed bracket can block the edges of the lens, creating blind spots or obscuring the parking guidelines projected on your dashboard screen. Look for brackets that offer angle adjustability, allowing you to fine-tune the camera’s pitch to capture the ground and the space directly behind your vehicle accurately.
Do not overlook the space required for cable routing and connector clearance. The back of the bracket must have sufficient depth and an unobstructed pathway for the wiring harness. If the bracket forces the cable to bend at a sharp, ninety-degree angle against the inner bumper, the copper strands inside the wire can break over time. Ensure the design allows the connector plug to pass through easily without requiring you to cut or splice the factory wiring.
Evaluate Bracket Material and Environmental Durability
The bracket holder is constantly exposed to harsh road environments, making material selection a key factor in its longevity. Acrylonitrile Butadiene Styrene (ABS) plastic is a highly popular choice for automotive brackets because it is lightweight, impact-resistant, and relatively inexpensive. High-quality ABS brackets can absorb minor road vibrations without cracking. For heavy-duty applications or exposed off-road use, aluminum alloy brackets offer superior structural strength, though they add slightly more weight and require proper insulation to prevent galvanic corrosion when mounted against steel.
Environmental factors like intense sunlight, high humidity, and frequent rain—common in tropical climates like Singapore—can rapidly degrade low-quality plastics. When choosing a plastic bracket, verify that the manufacturer specifies UV-resistant additives in the material formulation. Without UV protection, standard plastics become brittle, fade, and crack after only a few months of sun exposure. For metal brackets, look for anodized or powder-coated finishes that prevent rust and oxidation from constant exposure to moisture.
Waterproofing is another critical consideration for the longevity of your parking system. While the sensor or camera itself is typically sealed, the bracket must not trap water around the electrical connections. Review product specifications for sealing mechanisms, such as integrated rubber gaskets or silicone seals, that prevent water from pooling inside the bracket housing. Protecting these connection points from high-pressure water during car washes is essential to prevent short circuits and system failures.
Step-by-Step Pre-Purchase Compatibility Checklist
To ensure a seamless purchase, follow a structured verification workflow before placing your order. First, gather the necessary measuring tools. A digital caliper is highly recommended for measuring the outer diameter of your parking sensors or the casing of your camera, as standard tape measures lack the precision required for millimeter-level accuracy. Measure the depth of the sensor as well, ensuring the bracket housing is deep enough to fully enclose the unit.
Next, cross-reference your vehicle’s specific details—including the make, model, year, and trim level—with the bracket manufacturer’s official fitment guide. Bumper designs often change during mid-generation refreshes, meaning a bracket designed for a 2024 model might not fit a 2026 version of the same vehicle. If your vehicle has aftermarket body kits or modified bumpers, standard fitment guides may not apply, requiring you to rely strictly on physical measurements rather than vehicle databases.
Finally, always verify the seller’s return and exchange policies before completing your purchase. Even with meticulous measurements, the subtle contours of a bumper can sometimes cause unexpected alignment issues during a dry fit. Choosing a seller that offers hassle-free returns or exchanges ensures you are not left with unusable hardware if the bracket does not sit perfectly flush against your bumper.
Installation Boundaries and When to Seek Professional Help
Before beginning any installation, you must understand the safety boundaries of working on your vehicle’s exterior. Mounting methods generally fall into two categories: non-invasive and invasive. Non-invasive methods, such as using automotive-grade double-sided acrylic foam tape or license plate frame brackets, are ideal for DIY enthusiasts because they require no permanent modifications to the vehicle. Invasive methods, which involve drilling holes into the bumper for screws or routing cables, carry a much higher risk of permanent damage and require precise execution.
Modern bumpers are not just plastic covers; they house a complex network of safety and electronic components. Beneath the surface, you may find factory wiring harnesses, impact-absorbing foam, active grille shutter mechanisms, or sensitive blind-spot monitoring radar sensors. Drilling into a bumper without verifying what lies directly behind it can sever critical electrical lines or damage expensive safety systems. Always consult your vehicle’s original service manual to identify these hidden structures before planning any drilling or routing.
Establish clear stop conditions before you begin. If you encounter unexpected resistance while routing cables, if the bracket instructions conflict with your vehicle’s manual, or if you are unsure about how to safely tap into your vehicle’s electrical system for power, halt the installation immediately. In these scenarios, consulting a qualified automotive technician or professional installer is the safest path. Professional installation ensures that your parking assist system is integrated without compromising your vehicle’s structural integrity, safety sensors, or factory warranty.
Frequently Asked Questions (FAQ)
Can I use a universal bracket holder for any vehicle?
While universal bracket holders are designed to accommodate a wide range of sensor and camera models, they are not a guaranteed fit for every vehicle. Universal brackets typically feature adjustable arms or multiple mounting slots to adapt to different shapes, but they often struggle with highly contoured, angled, or aggressive bumper designs. To achieve a secure, rattle-free fit on complex bumpers, you may need to use custom shims, rubber spacers, or specialized automotive adhesives to fill any remaining gaps.
How do I prevent water from leaking through the bracket into the bumper?
Preventing water ingress is crucial to protecting both your vehicle’s interior trunk space and its electrical systems. When installing the bracket, use high-quality, automotive-grade silicone sealants or the rubber gaskets provided by the manufacturer around any drilled holes or cable entry points. Additionally, ensure that your installation does not block the bumper’s natural drainage paths or factory weep holes, which are designed to let condensation and rainwater escape safely from behind the bumper panels.
Community discussion
Share your experience or ask a question. Comments are reviewed before publication.