
Finding the correct replacement side mirror for your car involves more than simply matching the make and model. Even within a single production year, manufacturers often introduce subtle design changes, different trim levels, and regional specifications that alter the physical shape, mounting points, and electrical connectors of your exterior mirrors. Selecting an incompatible part can lead to installation failures, electrical short circuits, or compromised road visibility. By systematically verifying your vehicle’s specifications and comparing part details, you can confidently secure a replacement mirror that fits perfectly and functions safely.
Identify Your Exact Vehicle Specifications
To begin your search, you must gather the precise technical details of your vehicle. The most reliable starting point is the 17-character Vehicle Identification Number (VIN), which is typically visible through the bottom of the windshield on the driver’s side or printed on the door jamb sticker. This unique identifier allows you to pinpoint the exact manufacturing date, trim level, and factory-installed options of your car, eliminating the guesswork associated with generic model years.
You must also identify the specific side of the vehicle that requires the replacement. In automotive terms, “left” and “right” always refer to the sides of the vehicle from the perspective of a person sitting inside facing forward. Additionally, pay close attention to regional driving configurations. Vehicles built for right-hand drive markets, such as Singapore, often feature different mirror glass angles and housing shapes compared to those designed for left-hand drive regions to ensure proper driver visibility.
Products mentioned in this guide
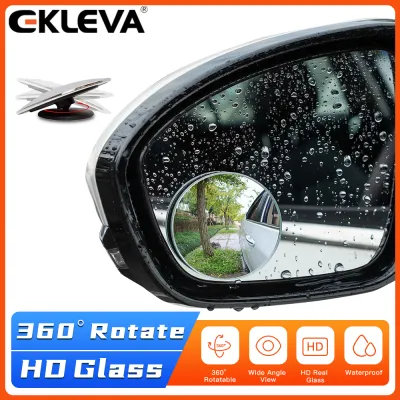
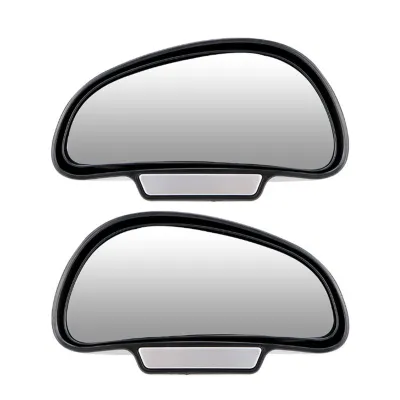
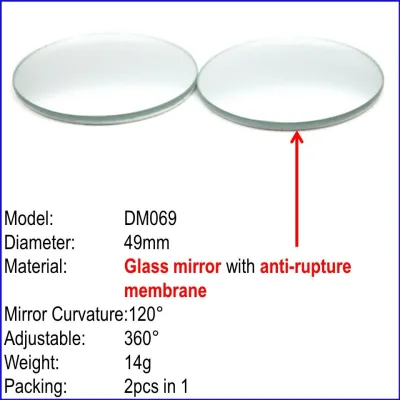
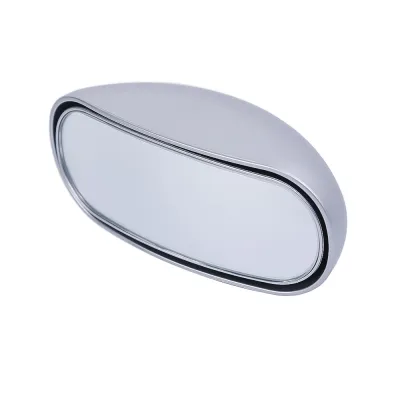
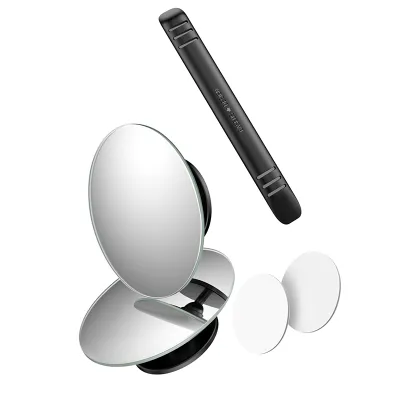
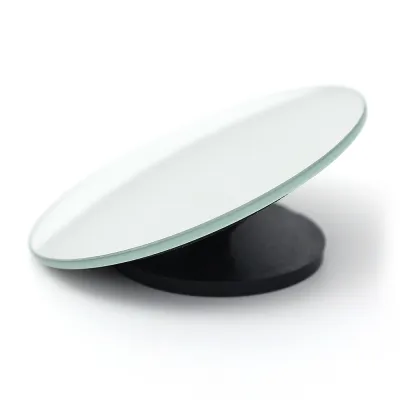
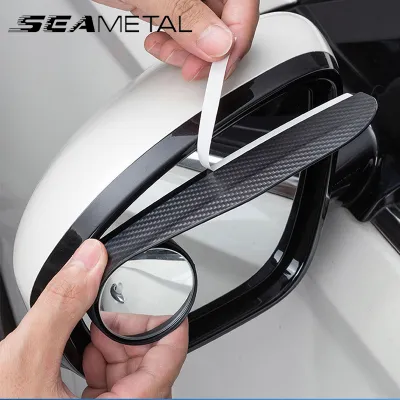
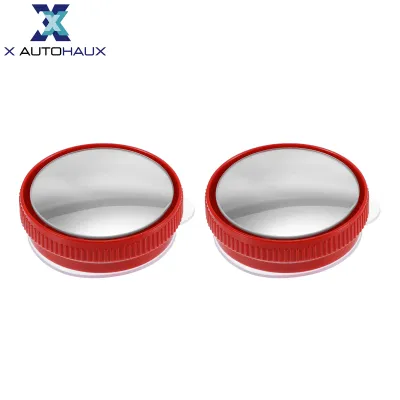
Prices are valid at publication and may change. Please refer to the product page for the latest price.
Before ordering any parts, inspect the existing mirror housing for any physical clues. Many original equipment manufacturer (OEM) mirrors have part numbers, manufacturer logos, or engineering codes stamped directly onto the plastic underside or behind the glass panel. Documenting these numbers provides an invaluable reference point when browsing online catalogs or consulting with parts specialists.
Match Glass Types and Heating Elements
The glass surface itself is highly specialized and must match your original setup to maintain legal visibility standards and safety. Driver-side mirrors in many regions utilize flat glass to provide an accurate representation of distance, whereas passenger-side mirrors typically feature convex or aspherical glass to minimize blind spots by offering a wider field of view. Installing the wrong glass type can distort your depth perception and create dangerous blind spots on the road.

If your vehicle is equipped with heated mirrors to clear condensation or frost, you must verify that the replacement glass includes the integrated heating grid. These elements rely on specific metal terminals on the back of the glass that connect to the vehicle’s electrical system. Choosing a non-heated replacement for a heated system will disable this convenience feature, while attempting to install a heated mirror on a non-heated vehicle may leave you with loose, unanchored wiring inside the housing.
Modern side mirrors also house advanced driver-assistance features that must be matched precisely. Look closely at your original glass to see if it features a laser-etched icon for blind-spot monitoring or if it has an auto-dimming (electrochromic) coating that reduces glare from headlights behind you. These features require dedicated internal wiring and sensors; a standard replacement glass will not support these functions and may trigger diagnostic trouble codes on your dashboard.
Verify Housing and Adjustment Mechanisms
The internal mechanisms of the mirror housing dictate how it interacts with your vehicle’s cabin controls. Determine whether your mirror features manual adjustment levers or power-adjustable glass driven by internal electric motors. If your car has memory seat functions, the side mirrors usually contain specialized position sensors that communicate with the vehicle’s central computer to restore your preferred viewing angles automatically.
Power-folding mirrors represent another layer of complexity. This feature uses an internal motor to fold the housing flat against the door when parking in tight spaces. If your original mirror has this motorized function, a standard manual-folding replacement will not interface with your interior switchgear. Conversely, buying a power-folding mirror for a car that lacks the necessary control modules and wiring will not magically upgrade your vehicle’s capabilities.
The physical exterior of the housing must also align with your car’s safety features and body lines. Many modern mirrors integrate LED turn signal repeaters or downward-facing puddle lamps that illuminate the ground when you unlock the doors. Ensure the replacement housing features the exact same light configurations and that its mounting base matches the curvature of your door panel precisely to prevent wind noise, vibration, and water leaks.
Verify Fitment and Part Numbers Before Purchasing
Cross-referencing official part numbers is the most effective way to guarantee compatibility before spending money. Take your VIN to an authorized dealership parts counter or input it into an official OEM online parts database to retrieve the exact part number assigned to your mirror assembly. This number accounts for every variable, including paint color, electrical options, and manufacturing batches.
Once you have the OEM part number, compare it directly with the aftermarket or replacement part numbers listed by the seller. Reliable aftermarket manufacturers will explicitly state which OEM numbers their products replace. If the numbers do not match or are not listed as compatible, do not assume the part will fit, even if the listing claims it fits your vehicle’s model and year.
To eliminate any remaining doubt, you should physically count the pins inside the electrical connector of your original mirror. Unplug the mirror harness from behind the interior door trim and look at the plastic plug. The number of metal pins (such as a 3-pin, 5-pin, or 9-pin connector) corresponds directly to the features supported by the mirror, such as heating, power adjustment, or turn signals. The replacement plug must have the exact same pin configuration and connector shape to plug into your vehicle’s harness.
Inspect the Replacement Mirror Upon Delivery
When your replacement mirror arrives, perform a thorough physical inspection before beginning any disassembly or removing protective plastic films. Carefully examine the glass surface for hairline cracks, scratches, or signs of delamination around the edges. Inspect the plastic housing for stress marks, hairline fractures, or molding defects that could compromise its structural integrity or allow water to penetrate the internal electronics.
Next, turn your attention to the electrical components. Inspect the wiring harness along its entire length, checking for any exposed copper, pinched insulation, or loose wires where they enter the connector plug. Look closely inside the plastic connector plug to ensure none of the metal pins are bent, pushed back, or corroded, as damaged pins will prevent a reliable electrical connection.
If you have access to a safe, low-voltage power source and the necessary technical knowledge, you can test the integrated turn signals or puddle lamps before mounting the assembly. Verifying that these components function correctly while the mirror is still off the car saves significant time and effort, allowing you to initiate a return immediately if a component is defective from the factory.
Installation Boundaries and When to Seek Professional Help
Replacing a side mirror often requires a moderate level of mechanical and electrical competence. In most vehicles, accessing the mounting bolts and the electrical harness plug requires removing the interior door panel. This process involves locating hidden screws behind trim pieces, carefully popping plastic retaining clips, and disconnecting window switches without damaging the delicate interior components.
You must establish clear boundaries for when to stop and seek professional assistance. If you remove your door panel and find that the replacement mirror’s wiring colors do not match your vehicle’s harness, or if the plug shapes are different, do not attempt to cut, splice, or bypass the wiring. Doing so can damage your vehicle’s electrical system, void warranties, or disable critical safety features. Instead, consult a qualified automotive technician or electrician to resolve the discrepancy.
Additionally, never force the mirror base onto the door structure if the mounting holes do not align perfectly. Forcing the bolts can strip the threads, crack the vehicle’s paint, or warp the door sheet metal, which can lead to permanent wind noise or water leaks. If the base does not sit flush against the door frame, or if you break the plastic door panel clips during disassembly, seek professional help to ensure the vehicle’s structural integrity and moisture barriers remain intact.
Frequently Asked Questions (FAQ)
Can I upgrade my manual side mirror to a power-folding one?
Upgrading from a manual side mirror to a power-folding model is rarely a simple plug-and-play process. To make this transition, your vehicle typically requires additional wiring harnesses, a compatible interior control switch, and often a completely different door control module. Furthermore, many modern vehicles require computer reprogramming to recognize and power the folding motors. Before purchasing any upgrade parts, consult your vehicle’s technical documentation to determine if the door panels and electrical systems are pre-wired to support these advanced motorized functions.
What should I do if the new mirror's wiring harness plug looks different?
If the wiring harness plug on your new mirror does not match the connector inside your door panel, do not attempt to force the connection or splice the wires together. A mismatched plug indicates that the mirror is designed for a different trim level, model year, or regional market. Forcing or splicing wires without an official wiring diagram can cause electrical shorts, blow fuses, or damage your vehicle’s central body control module. The safest course of action is to stop the installation, verify your OEM part number, and return the mirror to exchange it for the correct pin configuration.
Community discussion
Share your experience or ask a question. Comments are reviewed before publication.